[John] says, “I noticed an unfortunate lack of many flamethrower guitars on the web so I filled the need. ” That’s just awesome by us.
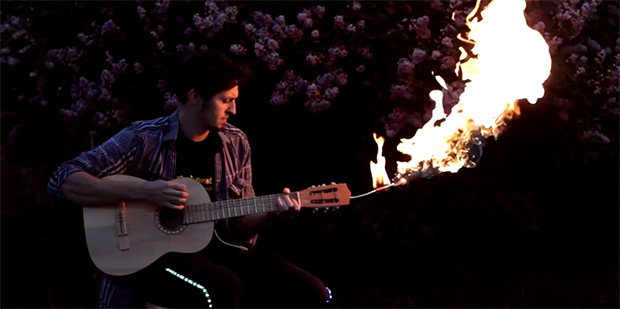
This series of guitar-mounted flamethrowers started with a small build, able to shoot a six-foot flame for about 40 seconds. Yes, very theatrical, but not something you’d want to change out after every song. From there the builds progressed to systems with more barrels, more fuel tanks, and a huge system that shoots 18-foot long flames colored with standard pyrotechnic supplies.
It should go without saying that this stuff probably isn’t something you should try at home. That being said, you really have to admire the craftsmanship and tenacity to make a guitar mounted flamethrower. Just don’t bring it to an indoor gig.