
[TenTech]’s Fuzzyficator brings fuzzy skin — a textured finish normally limited to sides of 3D prints — to the top layer with the help of some non-planar printing, no hardware modifications required. You can watch it in action in the video below, which also includes details on how to integrate this functionality into your favorite slicer software.
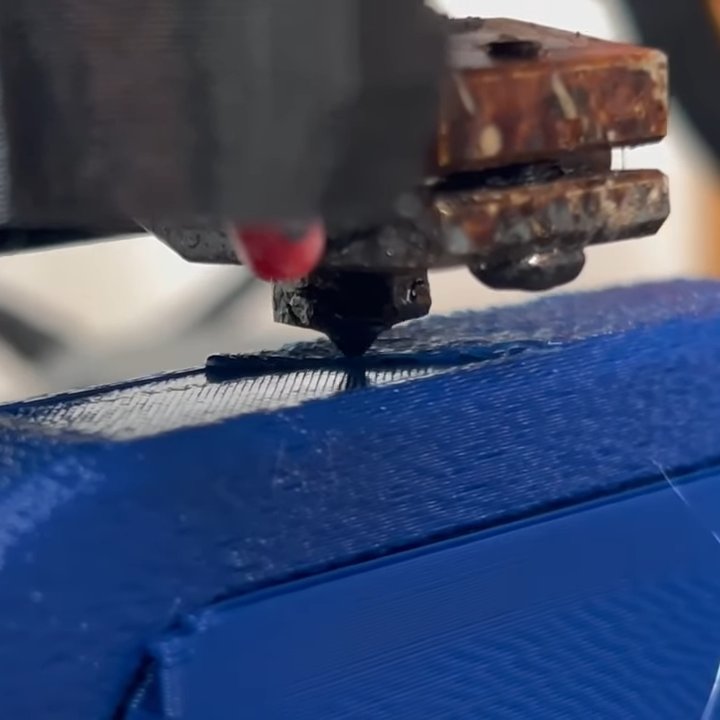
Fuzzyficator essentially works by moving the print nozzle up and down while laying down a top layer, resulting in a textured finish that does a decent job of matching the fuzzy skin texture one can put on sides of a print. Instead of making small lateral movements while printing outside perimeters, the nozzle does little z-axis hops while printing the top.
Handily, Fuzzyficator works by being called as a post-processing script by the slicer (at this writing, PrusaSlicer, Orca Slicer, and Bambu Studio are tested) which also very conveniently reads the current slicer settings for fuzzy skin, in order to match them.
Non-planar 3D printing opens new doors but we haven’t seen it work like this before. There are a variety of ways to experiment with non-planar printing for those who like to tinker with their printers. But there’s work to be done that doesn’t involve hardware, too. Non-planar printing also requires new ways of thinking about slicing.
Continue reading “Fuzzy Skin Finish For 3D Prints, Now On Top Layers”


