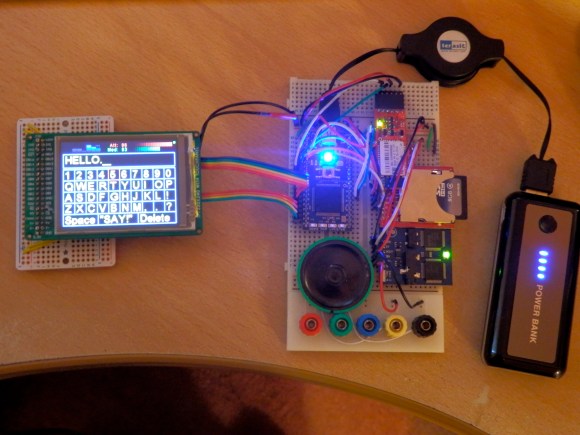
[Kemper Smith] built a little piece of nature in Processing. He was inspired by a biology experiment that excited squid cells using electricity. The result is an interactive display that mimics that biology.
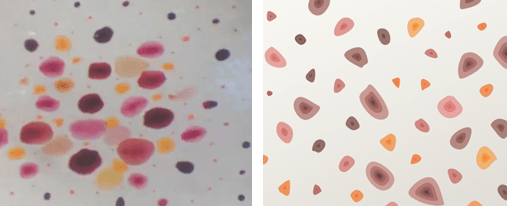
Last August we saw a peculiar experiment that forced Cyprus Hill music on the color changing cells of a squid. The cells make colors by stretching sacs of pigment; the larger they get the more of that color is shown. Normally this is used for camouflage. The image on the left is the reaction from connecting headphone wires while music is being played.
But we can’t all get our hands on this type of wet-ware — especially if life far inland. So [Kemper] got to work writing some Processing code. The result is seen on the right. It does a good job of replicating the motion and color palette of the original. He’s put together a web-based demonstration which you can interact with using your mouse cursor. But we also saw him demonstrate a Kinect based version at our local hackerspace.
Continue reading “Modeling Squid Cells In Code Foregoes Connecting Voltage To Animals”