FDM 3D printing is fairly messy on a molecular scale, with the filament being heated up to temperatures high enough to melt it, which produces ultra-fine particles (UFPs) and volatile organic compounds (VOCs) in addition to the new plastic item on the build plate. Recently [Simon Pow] got somewhat worried about this pollution considering that he spends a considerable amount of time in the same room as FDM printers, sharing air.
While there is a lot of context within the topic, it’s notable that even ‘low risk’ PLA already emits formaldehyde, a group 1 carcinogen. Studies like this 2022 one by [Taehun Kim] et al. on formaldehyde, PM10 and PM2.5 show that common filaments like PLA, ABS and TPU score pretty bad here, even compared to the often maligned resin printing, also in the study. Having good ventilation in a room helps a lot, but it doesn’t reduce the levels to zero.
As noted by [Simon], PETG is much better in the VOC area, while TPU emits siloxanes, some of which are dangerous but most are considered harmless. Once you hit nylon (e.g. PA6), you’re adding caprolactam, which is mildly toxic but mostly just an irritant. Where things get serious is with ABS and ASA, when you add styrene to the mix. This substance is very dangerous, being toxic, mutagenic and possibly carcinogenic, but on the plus side it smells kind of sweet.
Polycarbonate (PC) emits BPA, with its worrying long-term health implications, while carbon fibers in particular can have asbestos-like long-term effects, as we covered previously. Definitely wear PPE while doing things like sanding CF parts and safely dispose of any debris.
Of course, you can do something about this problem, such as having an enclosure around the printer, with HEPA filtration and activated carbon, potentially exhausting into the outside air. The options here are covered in the video, including a BentoBox filter. For [Simon] the biggest improvement – as measured by a whole room sensor – came from a big fan in the window, while the default activated carbon filter in the Bambu Lab printer did effectively nothing.
The problem here is mostly one of long-term exposure, so even basic precautions like filtration and ventilation can already make all the difference. Ideally you’d not have the printer in the same room as where you work, of course, but adding a good filtration setup doesn’t have to be expensive or hard.
Continue reading “Investigating The Health Impacts Of UFPs And VOCs From FDM Printers” →

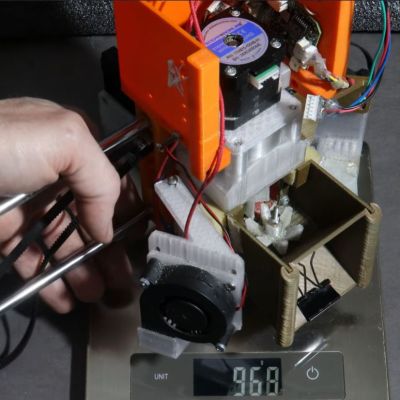 Whether you’re using granules or filament, FDM printing relies heavily on a consistent flowrate of the extruder. This is also the challenge with [HomoFaciens]’s direct granule extruder. Version 7.1 here refines some parameters before being

 In
In 


