New angles and concepts in 3D printing are always welcome, and we haven’t seen anything quite like [Horn & Rhode]’s 3D prints that do not look anything like 3D prints, accomplished with an experimental tool called HueForge. The concept behind it is simple (though not easy), and the results can be striking when applied correctly.
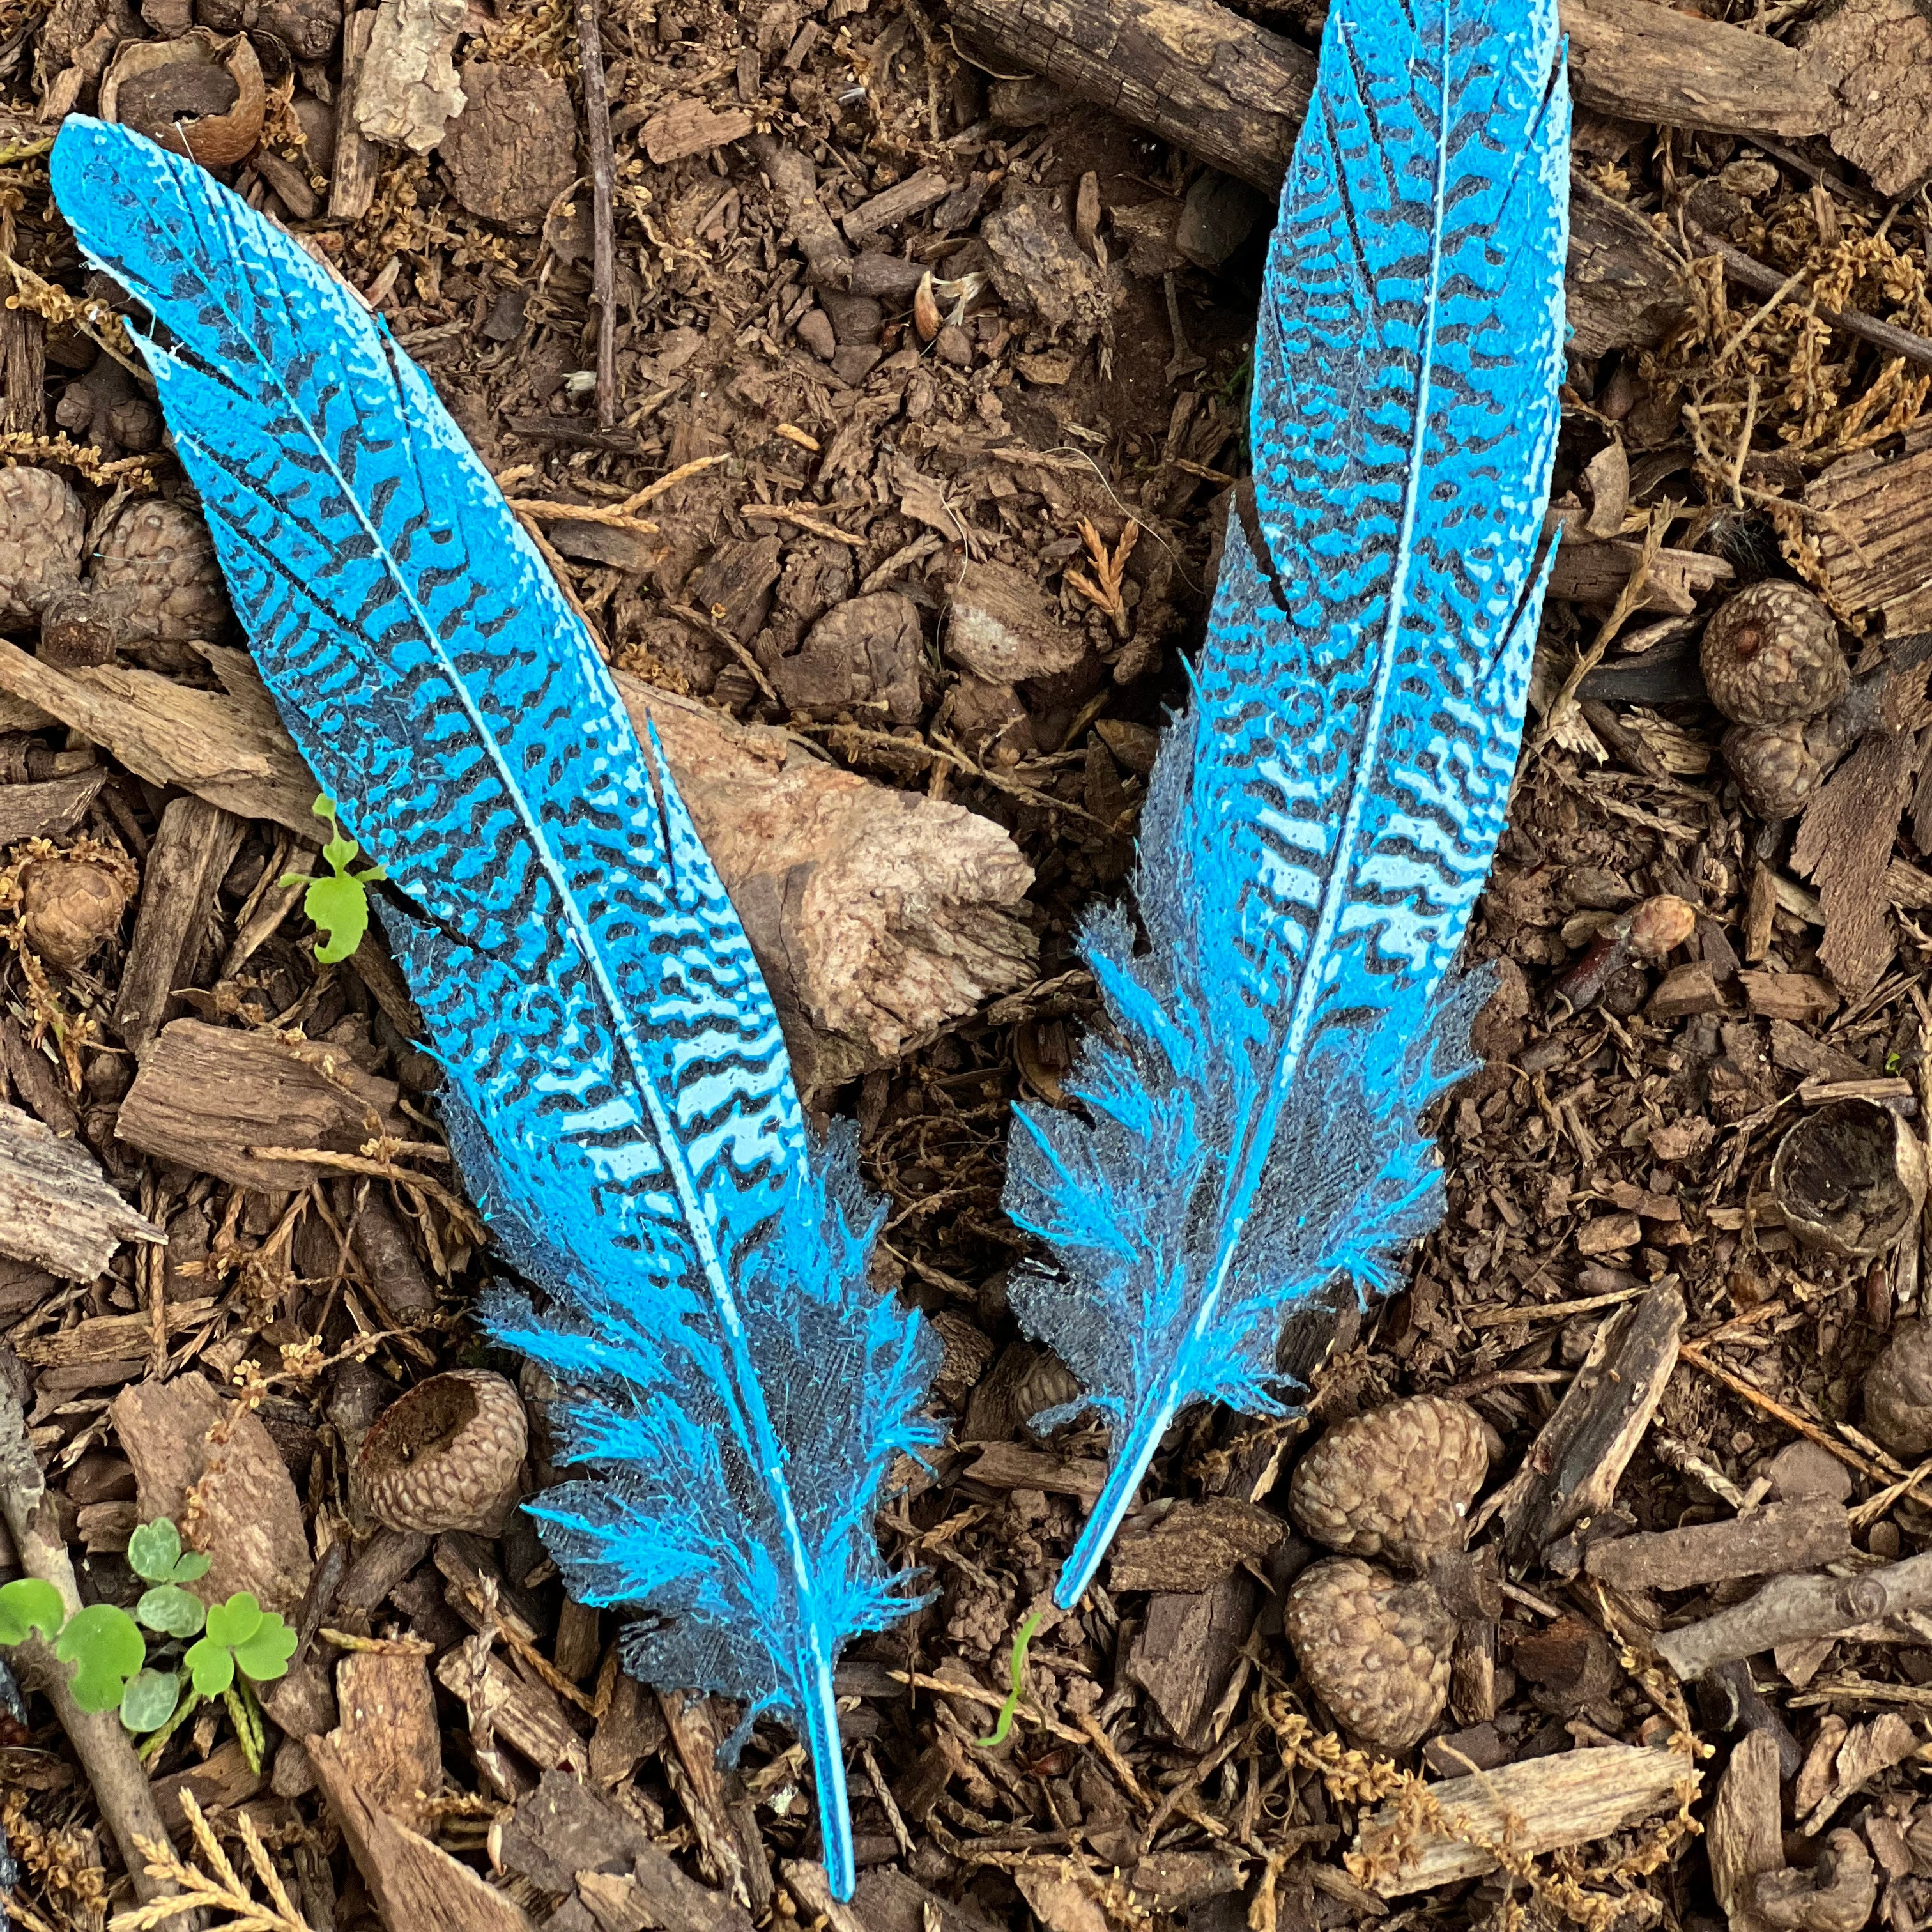
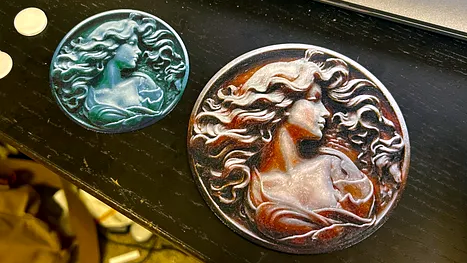
The idea is this: colored, melted filament is, in a sense, not that different from colored paint. Both come in various colors, are applied in thin layers, and blend into new colors when they do so. When applied correctly, striking imagery can emerge. An example is shown here, but there are several more both on the HueForge project page as well as models on Printables.
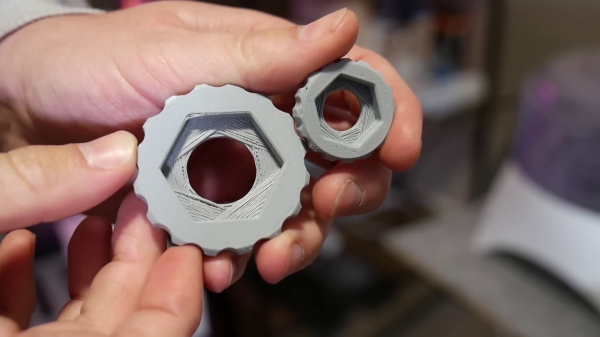
Instead of the 3D printer producing a 3D object, the printer creates a (mostly) flat image similar in structure to a lithophane. But unlike a lithophane, these blend colors in clever and effective ways by printing extremely thin layers in highly precise ways.
Doing this effectively requires a software tool to plan the color changes and predict how the outcome will look. It all relies on the fact that even solid-color filaments are not actually completely opaque — not when printed at a layer height of 0.08 mm, anyway — and colors will, as a result, blend into one another when layered. That’s how a model like the one shown here can get away with only a few filament changes.
Of course, this process is far from being completely automated. Good results require a solid amount of manual effort, and the transmissivity of one’s particular filament choices plays a tremendous role in how colors will actually blend. That’s where the FilaScope comes in: a tool to more or less objectively measure how well (or how poorly) a given filament transmits light. The results plug into the HueForge software to better simulate results and plan filament changes.


When done well, it’s possible to create things that look nothing at all like what we have come to expect 3D-printed things to look. The cameo proof-of-concept model is available here if you’d like to try it for yourself, and there’s also an Aztec-style carving that gives a convincing illusion of depth.
[Horn & Rhode] point out that this concept is still searching for a right-sounding name. Front-lit lithophane? Reverse lithophane? Filament painting? Color-blended bas-relief? If you have a better idea, we urge you not to keep it to yourself because [Horn & Rhode] absolutely want to hear from you.