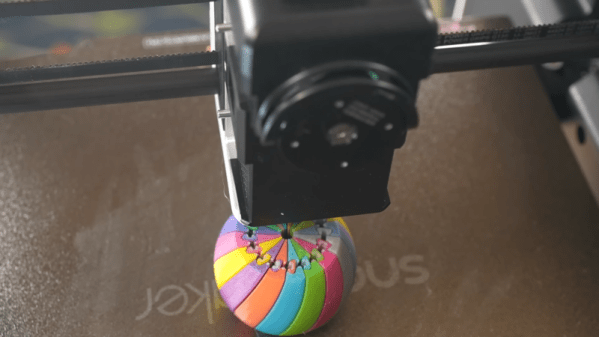
Many modern desktop 3D printers include the ability to print in multiple colors. However, this typically only works with a few colors at a time, and the more colors you can use, the higher the machine’s cost and complexity. However, a recent technique allows printers to mix new colors by overlaying thin sheets of different filaments. [YGK3D] looks at how it works in a recent video.
In the early days of 3D printing, there were several competing approaches. You could have separate extruders, each with a different color. Some designs used a single extruder and switched between different filaments on demand. Others melted different filaments together in the hot end.
 One advantage of the hotends that melted different materials is that you could make different colors by adjusting the feed rates of the plastics. However, that has its own problems with maintaining flow rate, and you can’t really use multiple material types. But using single or multiple hotends that take one filament at a time means you can only handle as many colors as you have filaments. You can’t mix, say, white and black to get gray.
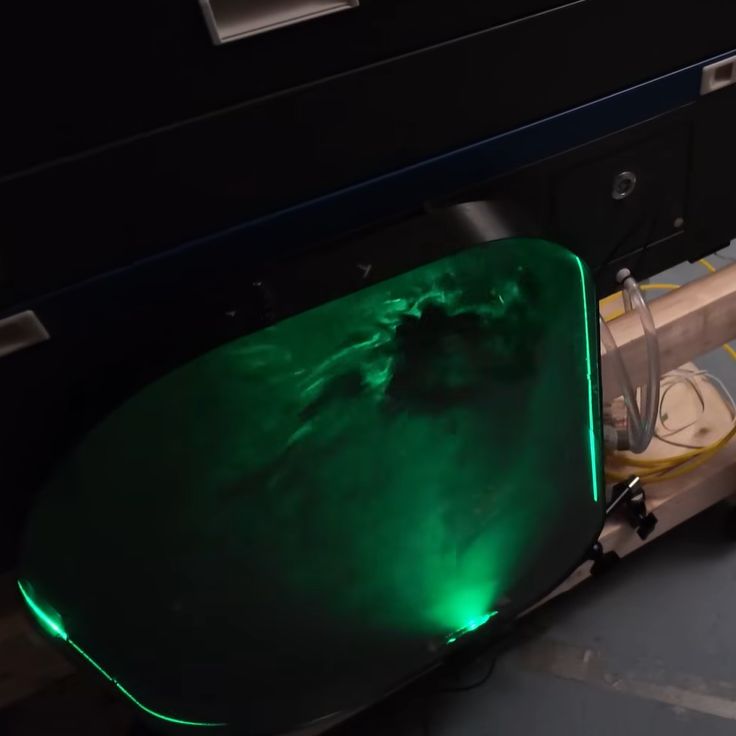
Using Full Spectrum, you can define virtual filaments, and the software figures out how to approximate the color you want by using thin layers of different colors. The results are amazing. While this technically could work on any printer, in reality, a filament-switching printer will create a ton of waste to mix colors, and a single-filament machine will drive you batty manually swapping filament.
So you probably really need a tool changer and translucent plastic. You can see the difference in the test article when using opaque filament vs translucent ones. At low layer heights, four filament colors can give you 39 different colors. At more common layer heights, you may have to settle for 24 different colors.
One issue is that the top and bottom surfaces don’t color well. However, a new plugin that adds texture to the surfaces may help overcome that problem.
We looked at Full Spectrum earlier, but development continues. If you are still trying to get a handle on your filament-switching printer, we can help.