New Video Series: Designing With Complex Geometry

Whether it’s a 3D printed robot chassis or a stained glass window, looking at a completed object and trying to understand how it was designed and put together can be intimidating. But upon closer examination, you can often identify the repeating shapes and substructures that were combined to create the final piece. Soon you might find that the design that seemed incredibly intricate when taken as a whole is actually an amalgamation of simple geometric elements.

This skill, the ability to see an object for its principle components, is just as important for designing new objects as it is for understanding existing ones. As James McBennett explains in his HackadayU course Designing with Complex Geometry, if you want to master computer-aided design (CAD) and start creating your own intricate designs, you’d do well to start with a toolbox of relatively straightforward geometric primitives that you can quickly modify and reuse. With time, your bag of tricks will be overflowing with parametric structures that can be reshaped on the fly to fit into whatever you’re currently working on.

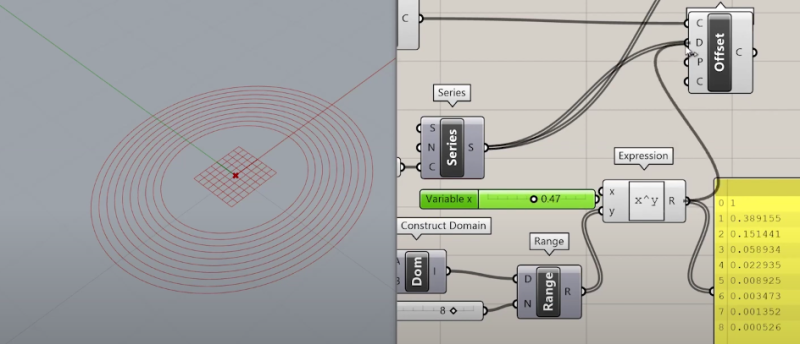
His tool of choice is Grasshopper, a visual programming language that’s part of Rhino. Designs are created using an interface reminiscent of Node-RED or even GNU Radio, with each interconnected block representing a primitive shape or function that can be configured through static variables, interactive sliders, conditional operations, and even mathematical expressions. By linking these modules together complex structures can be generated and manipulated programmatically, greatly reducing the time and effort required compared to a manual approach.

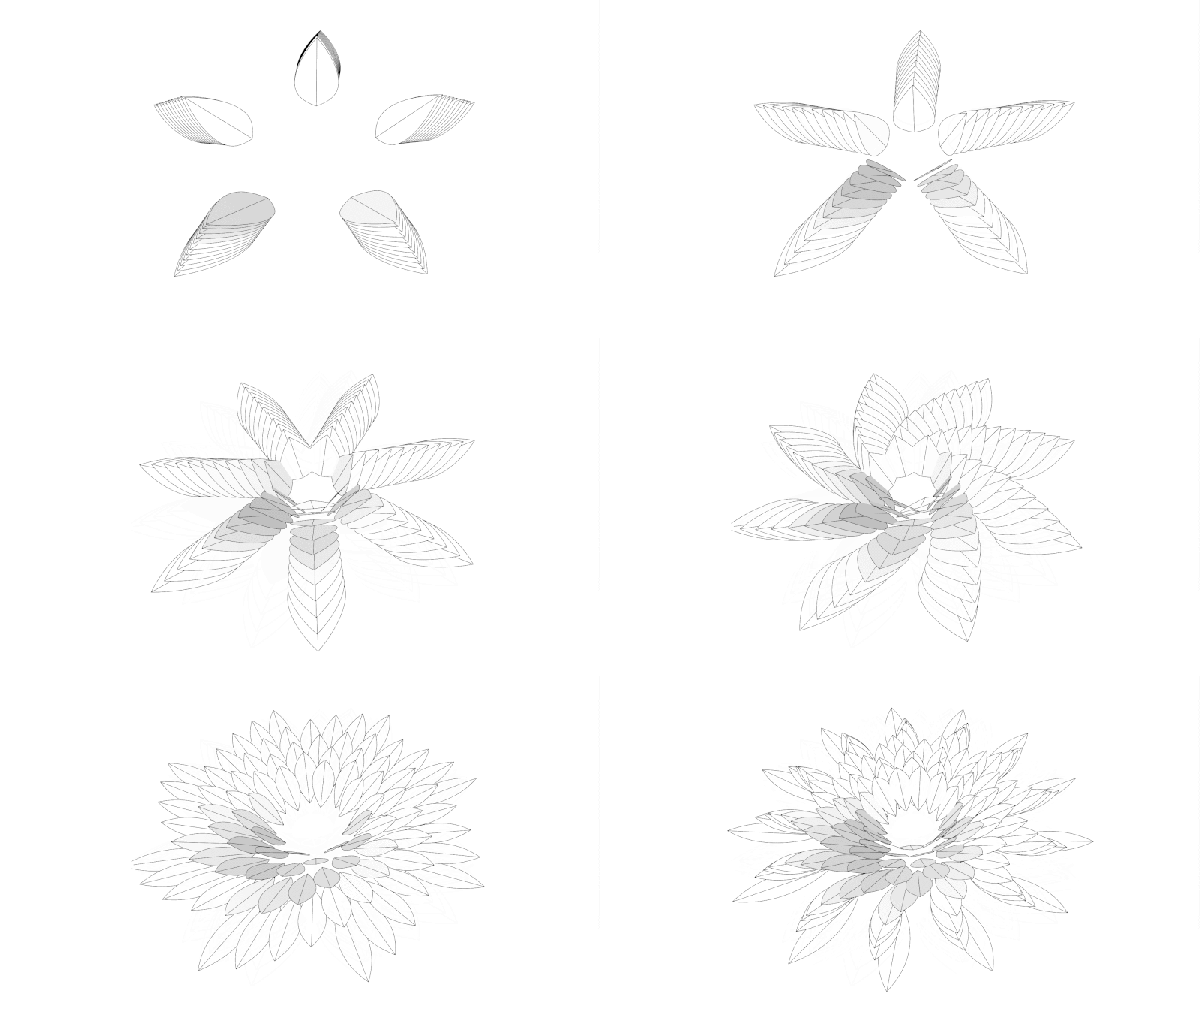
As with many powerful tools, there’s certainly a learning curve for Grasshopper. But over the course of this five part series, James does a great job of breaking things down into easily digestible pieces that build onto each other. By the final class you’ll be dealing with physics and pushing your designs into the third dimension, producing elaborate designs with almost biological qualities.

Of course, Rhino isn’t for everyone. The $995 program is closed source and officially only runs on Windows and Mac OS. But the modular design concepts that James introduces, as well as the technique of looking at large complex objects as a collection of substructures, can be applied to other parametric CAD packages such as FreeCAD and OpenSCAD.

Designing with Complex Geometry is just one of the incredible courses offered through HackadayU, our pay-as-you-wish grad school for hardware hackers. From drones to quantum computing, the current list of courses has something for everyone.

Continue reading “New Video Series: Designing With Complex Geometry”

Design An Electronic Catan Board In A Day

One of the things that makers sometimes skip over is the design of the project that they’re creating. Some of us don’t do any design at all, we just pants it. The design part of making something can take quite a while – there is sketching to do, as well as 3d-modelling and PCB creation. [Sam March] wanted to try and create something interesting where he did the design in a single day. The result is, or will be, a 3D printed, electronic, Settlers of Catan game board.

Continue reading “Design An Electronic Catan Board In A Day”

3D Printering: The Search For Better Search

There’s no question that a desktop 3D printer is at its most useful when it’s producing parts of your own design. After all, if you’ve got a machine that can produce physical objects to your exacting specifications, why not give it some? But even the most diligent CAD maven will occasionally defer to an existing design, as there’s no sense spending the time and effort creating their own model if a perfectly serviceable one is already available under an open source license.

But there’s a problem: finding these open source models is often more difficult than it should be. The fact of the matter is, the ecosystem for sharing 3D printable models is in a very sorry state. Thingiverse, the community’s de facto model repository, is antiquated and plagued with technical issues. Competitors such as Pinshape and YouMagine are certainly improvements on a technical level, but without the sheer number of models and designers that Thingiverse has, they’ve been unable to earn much mindshare. When people are looking to download 3D models, it stands to reason that the site with the most models will be the most popular.

It’s a situation that the community is going to have to address eventually. As it stands, it’s something of a minor miracle that Thingiverse still exists. Owned and operated by Makerbot, the company that once defined the desktop 3D printer but is today all but completely unknown in a market dominated by low-cost printers from the likes of Monoprice and Creality, it seems only a matter of time before the site finally goes dark. They say it’s unwise to put all of your eggs in one basket, and doubly so if the basket happens to be on fire.

So what will it take to get people to consider alternatives to Thingiverse before it’s too late? Obviously, snazzy modern web design isn’t enough to do it. Not if the underlying service operates on the same formula. To really make a dent in this space, you need a killer feature. Something that measurably improves the user experience of finding the 3D model you need in a sea of hundreds of thousands. You need to solve the search problem.

Continue reading “3D Printering: The Search For Better Search”

Ask Hackaday: Help Me Pick A CAD Package

Of all the skills that I have picked up over the years as an engineer, there is one that has stayed with me and been a constant over the last three decades. It has helped me work on electronic projects, on furniture, on car parts, robots, and even garments, and it is likely that I will continue using it periodically for the rest of my career. You see, I am a trained PAD expert.

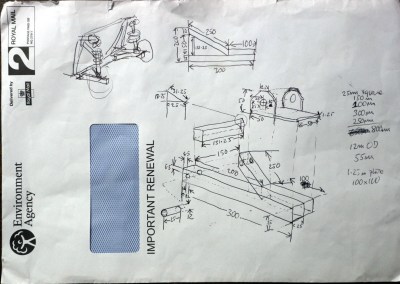
Don't build this, it's fundamentally flawed! Sometimes the front of an envelope is as effective as its back.
Don’t build this, it’s fundamentally flawed! Sometimes the front of an envelope is as effective as its back.

PAD, you ask? OK, it’s an acronym of my own coinage, it stands for Pencil Aided Design, and it refers to the first-year undergraduate course I sat many years ago in which I learned technical drawing to the old British standard BS308. If I’m making something then by far the quickest way for me to visualise its design is to draw it, first a freehand sketch to get a feel of how everything will sit, then a series of isometric component drawings on graph paper with careful attention to dimensions and angles. Well, maybe I lied a little there, the graph paper only comes in when I’m doing something very fancy; the back of an envelope is fine as long as the dimensions on the diagram are correct.

Continue reading “Ask Hackaday: Help Me Pick A CAD Package”

Mastering OpenSCAD Workflow

As you may have noticed in our coverage, we’re big fans of OpenSCAD around these parts. The fact that several of the Hackaday writers organically found and started using the parametric CAD package on their own is not only a testament to our carefully cultivated hive mind but also to the type of people it appeals to. Hackers love it because it allows you to model physical objects as if you were writing software: models are expressed in code, and its plain text source files can be managed with tools like git and make. If you’re a real Pinball Wizard you could design objects and export them to STL without ever using a graphical interface.
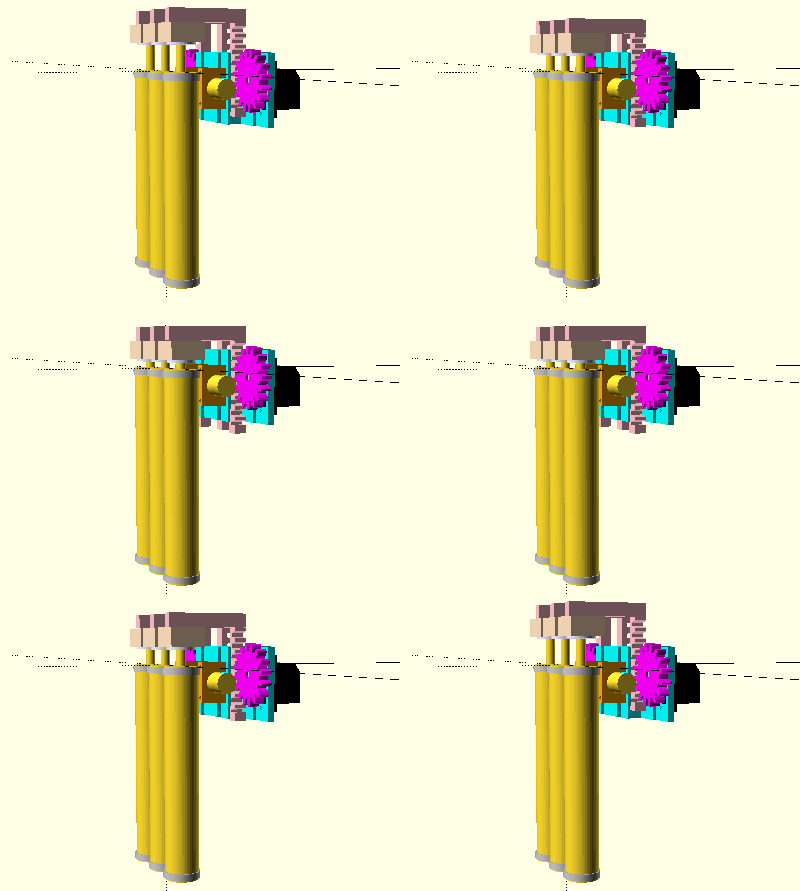
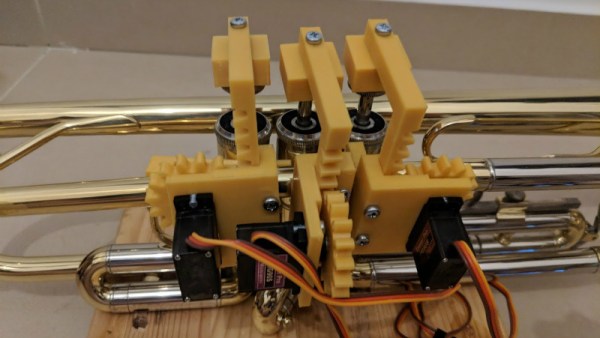
But as you might expect, with such power comes a considerable learning curve. OpenSCAD devotee [Uri Shaked] recently wrote in to share with us his workflow for designing complex interacting mechanisms, which serves as an excellent primer to the world of parametric design. From animating your models to recreating the “vitamins” of your build, his post contains plenty of tips that can help both new and veteran OpenSCAD users alike.

Perhaps the biggest takeaway from his post is that you should be thinking of your projects as a whole, rather than as individual models. [Uri] recalls his early attempts at designing mechanisms: designing each component individually, printing it out, and only then finding out if it fits together with the other pieces. This method of trial and error is probably familiar to anyone who’s designed their own 3D printed parts — but it’s slow and wastes materials. The alternative, as he explains it, is to design all of the pieces at the same time and “assemble” them virtually. This will allow you to check clearances and fitment without dedicating the time and materials to test it in the real world.

In fact, as [Uri] explains, you’re better off spending your time bringing real-world parts into OpenSCAD. By carefully measuring the hardware components you want to interact with (servos, gears, switches, etc), you can create facsimiles of them to use as a reference in your OpenSCAD project. As time goes on, you can build up your own library of drop-in reference models which will accelerate future designs.

He also spends a little time talking about something that doesn’t seem to be terribly well known even among the OpenSCAD converts: you don’t have to use the built-in editor if you don’t want to. Since OpenSCAD source code files are plain text, you can write them in whatever editor you like. The OpenSCAD model viewer even has an option specifically for this scenario, which will cause it to update the rendered preview as soon as it detects the source has been updated. For [Uri] this means he can create his designs in Visual Studio Code with a constantly updating preview in another window.

If you’re looking for examples of what the parametric capabilities of OpenSCAD can do for you, we’ve got no shortage of excellent examples. From creating customized computer cases to saving time by using mathematically derived components. Our very own [Elliot Williams] even has a write up about that most glorious of OpenSCAD commands: hull().

You Got A 3D Printer, Now What?

Given the incredibly low prices on some of the models currently on the market, it’s more than likely a number of Hackaday readers have come out of the holiday season with a shiny new desktop 3D printer. It’s even possible some of you have already made the realization that 3D printing is a bit harder than you imagined. Sure the newer generation of 3D printers make it easier than ever, but it’s still not the same “click and forget” experience of printing on paper, for instance.

In light of this, I thought it might be nice to start off the new year with some advice for those who’ve suddenly found themselves lost in a forest of PLA. Some of this information may seem obvious to those of us who’ve spent years huddled over a print bed, but as with many technical pursuits, we tend to take for granted the knowledge gained from experience. For my own part, the challenges I faced years ago with my first wooden 3D printer were wholly different than what I imagined. I assumed that the real challenge would be getting the machine assembled and running, but the time it took to build the machine was nothing in comparison to the hours and hours of trial and error it took before I gained the confidence to really utilize the technology.

Of course, everyone’s experience is bound to be different, and we’d love to hear about yours in the comments. Grand successes, crushing defeats, and everything in between. It’s all part of the learning process, and all valuable information for those who are just starting out.

Continue reading “You Got A 3D Printer, Now What?”

Husband Uses MRI Images To 3D Print Wife’s Skull And Tumor

[Michael Balzer] shows us that you are your own best advocate when it comes to medical care – having the ability to print models of your own tumors is a bonus. [Michael’s] wife, Pamela, had been recovering from a thyroidectomy when she started getting headaches. She sought a second opinion after the first radiologist dismissed the MRI scans of her head – and learned she had a 3 cm tumor, a meningioma, behind her left eye.  [Michael], host of All Things 3D, asked for the DICOM files (standard medical image format) from her MRI.  When Pamela went for a follow-up, it looked like the tumor had grown aggressively; this was a false alarm. When [Michael] compared the two sets of DICOM images in Photoshop, the second MRI did not truly show the tumor had grown. It had only looked that way because the radiologist had taken the scan at a different angle! Needless to say, the couple was not pleased with this misdiagnosis.

However, the meningioma was still causing serious problems for Pamela. She was at risk of losing her sight, so she started researching the surgery required to remove the tumor. The most common surgery is a craniotomy: the skull is sawed open and the brain physically lifted in order to access the tumor below it. Not surprisingly, this carries a high risk of permanent damage to any nerves leading to loss of smell, taste, or sight if the brain is moved the wrong way. Pamela decided to look for an alternative surgery that was less invasive. [Michael] created a 3D print of her skull and meningioma from her MRIs. He used InVesalius, free software designed to convert the 2D DICOM files into 3D images. He then uploaded the 3D rendered skull to Sketchfab, sharing it with potential neurologists. Once a neurologist was found that was willing to consider an alternative surgery, [Michael] printed the skull and sent it to the doctor. The print was integral in planning out the novel procedure, in which a micro drill was inserted through the left eyelid to access the tumor. In the end, 95% of the tumor was removed with minimal scarring, and her eyesight was spared.

If you want to print your own MRI or CT scans, whether for medical use or to make a cool mug with your own mug, there are quite a few programs out there that can help. Besides the aforementioned InVesalius, there is DeVIDE, Seg3D, ImageVis3D, and MeshLab or MeshMixer.