When we first started 3D printing, we used ABS and early slicers. Using supports was undesirable because the support structures were not good, and ABS sticks to itself like crazy. Thankfully today’s slicers are much better, and often we can use supports that easily detach. [Teaching Tech] shows how modern slicers create supports and how to make it even better than using the default settings.
The video covers many popular slicers and their derivatives. If you’ve done a lot with supports, you might not find too much of this information surprising, but if you haven’t printed with supports lately or tried things like tree supports, you might find a few things that will up your 3D printing game.
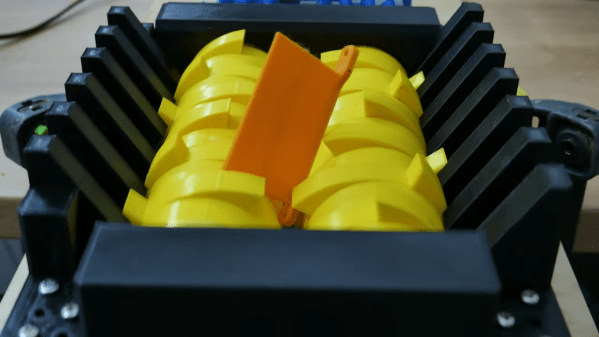
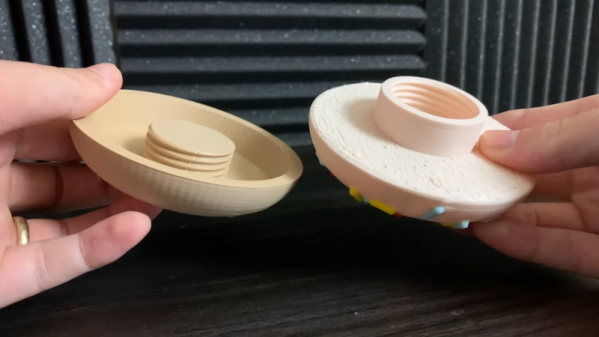
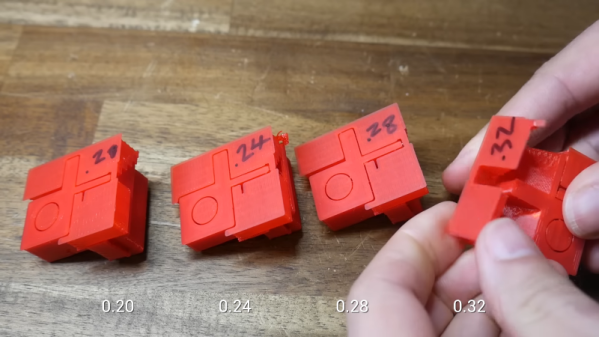
One thing we really like is that the video does show different slicers, so regardless of what slicer you like to use, you’ll probably find exactly what different settings are called. Of course, because slicers let you examine what they produce layer-by-layer, you can do like the video and examine the results without printing. [Michael] does do some prints with various parameters, though, and you can see how hard or easy the support removal is depending on some settings. The other option is to add support to your designs, as needed manually, or — even better — don’t design things that need support.
This video reminded us of a recent technique we covered that added a custom support tack to help the slicer’s automatic support work better. If you want a longer read on supports that also covers dissolvable support, we’ve seen that, too.