An anemometer outside

DIY Anemometer For Projects Big And Small

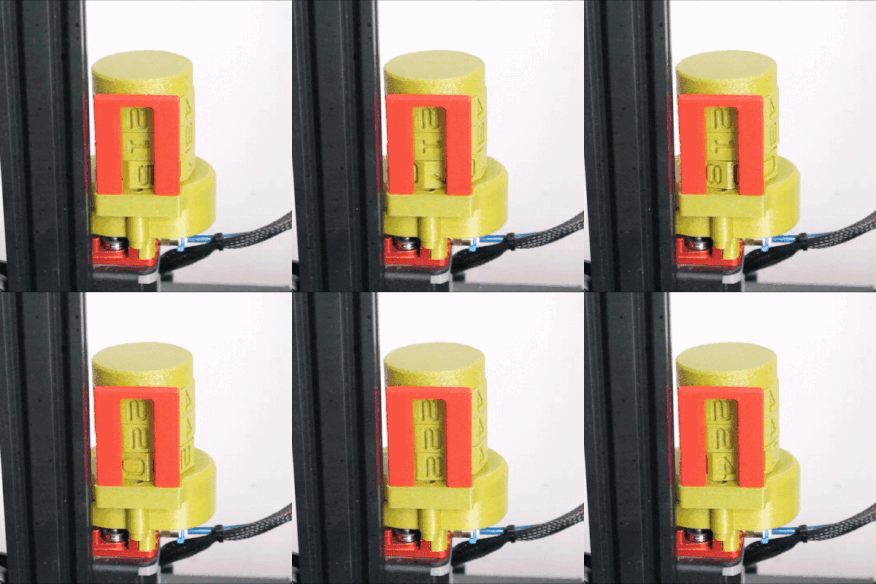
When [Fab] needed an anemometer for his latest project, he was stymied by the limited range and relatively high prices of commercial options. Undeterred, his solution was an impressive DIY anemometer that rivals the off-the-shelf alternatives.

AnemoSens was designed from the ground up as a component for the ambitious WinDIY_2 Horizontal Axis Wind Turbine, however it’s just as suitable as part of your standard home weather station. The microcontroller unit uses RS485/Modbus connectivity, ensuring that data from the wind sensor is accessible across a variety of platforms. Serial-stream via USB and an SD cart slot are also available for recording data, the latter being particularly useful for long-term unsupervised monitoring. [Fab] also integrated an ESP32 for recording data over the air.

The MCU also features a location for the venerable BME280, which is a relatively accurate temperature, pressure and humidity sensor often deployed in DIY weather stations. This feels like a nice touch, as it means the anemometer package alone could feasibly serve as a rudimentary weather sensing station, or as a backup for more elaborate environmental monitoring.

The prototype currently uses a Hall effect sensor for measuring the wind speed, while a AS5048B magnetic rotary encoder does a decent job of measuring rotation (wind direction). Some calibration is likely necessary to improve the accuracy of this setup, but it’s a promising start.

[Fab] has already identified some shortcomings with the bearing, but has a plan for future iterations. He might want to check out this spare-parts anemometer that uses a bearing from an old hard drive.

Continue reading “DIY Anemometer For Projects Big And Small”

World’s Cheapest And Possibly Worst IR Camera

Don’t blame us for the title. [CCrome] admits it may well be the cheapest and worst IR camera available. The concept is surprisingly simple. Mount a cheap Harbor Freight non-contact thermometer on a 3D printer carriage and use it to scan the target. The design files are available on GitHub.

There is, of course, an Arduino to grab the data and send it to the PC. Some Python code takes care of converting it into an image.

Perhaps you don’t need a camera, but having a way to communicate with an $11 IR temperature sensor might come in handy someday. You do have to mash the measurement button down, so [CCrome] used the 3D printer to make a clamp for the button that also holds the POGO pins to the PCB. We would have been tempted to solder across the switch and also solder the wires to the pad. But, then again, you need a 3D printer for the project anyway.

Don’t expect the results you would get from a real thermal sensor. If you want that, you may have to build it yourself or open your wallet wide. If you need some inspiration for a use case, look at the thermal camera contest from a few years back.

Lots of parts printed at once with a resin printer

Making The Most Of Your Resin Printer Investment

To the extent that we think of 3D printers as production machines, we tend to imagine huge banks of FDM machines slowly but surely cranking out parts. These printer farms are a sensible way to turn a slow process into a high-volume operation, but it turns out there’s a way to do the same thing with only one printer — as long as you think small.

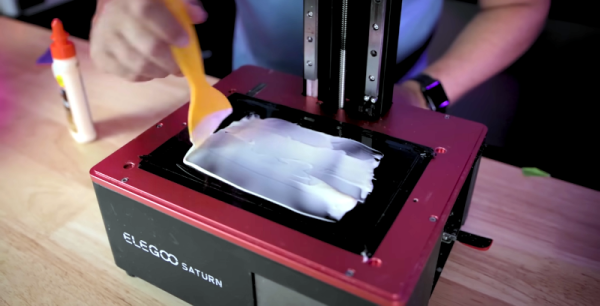
This one comes to us by way of [Andrew Sink], who recently showed us a neat trick for adding a dash of color to resin printed parts. As with that tip, this one centers around his Elegoo resin printer, which is capable of intricately detailed prints but like any additive process, takes quite a bit of time to finish a print. Luckily, though, the printer uses the MSLA, or masked stereolithography, process, which exposes the entire resin tank to ultraviolet light in one exposure. That means that, unlike FDM printers, it takes no more time to print a dozen models than it does to print one. The upshot of this is that however many models can fit on the MSLA print platform can be printed in the same amount of time it takes to print the part with the most layers. In [Andrew]’s case, 22 identical figurine models were printed in the same three hours it took to print just one copy.

It seems obvious, but sometimes the simplest tips are the best. And the next step is obvious, especially as MSLA printer prices fall: a resin printer farm, with each printer working on dozens of small parts at a time. Such a setup might rival injection molding in terms of throughput, and would likely be far cheaper as far as tooling goes. Continue reading “Making The Most Of Your Resin Printer Investment”

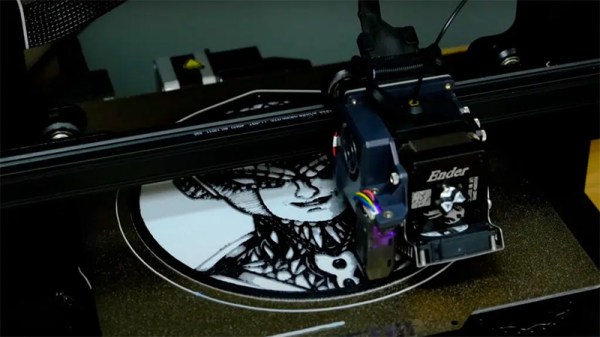
Art of 3D printer in the middle of printing a Hackaday Jolly Wrencher logo

3D Printering: Corrugated Plastic For Cheaper & Easier Enclosures

Clear acrylic panels have long been a mainstay of 3D printer enclosure designs, but they can also add significant cost in terms of money, shipping, weight, and hassle. An alternative material worth looking at is corrugated plastic (also known by its trade name coroplast) which is cheap, light, an excellent insulator, and easy to work with. Many enclosure designs can be refitted to use it instead of acrylic, so let’s take a closer look at what it has to offer.

What’s Wrong With Acrylic?

It’s not just the purchase price that makes acrylic a spendy option. Acrylic is fairly heavy, and shipping pieces the size of enclosure panels can be expensive. Also, cutting acrylic without special tools can be a challenge because it cracks easily if mishandled. Acrylic cuts beautifully in a laser cutter, but most laser cutters accessible to a hobbyist are not big enough to make enclosure-sized panels. If you are stuck with needing to cut acrylic by hand, here are some tips on how to get by with the tools you have.

It is best to source acrylic from a local shop that can also cut it to size with the right tools for a reasonable price, but it is still far from being a cheap material. There’s another option: corrugated plastic has quite a few properties that make it worth considering, especially for a hobbyist.

Continue reading “3D Printering: Corrugated Plastic For Cheaper & Easier Enclosures”

Enraged Rabbit Project Is A Filament Cocktail Special

As long as 3D printers have been around, it seems as though many of us have dreamed about nozzle-sharing solutions for multicolor 3D prints. Just because Prusa’s MMU has had the spotlight for some time doesn’t mean that there’s no space to design something original. If you’re craving something new to feast your eyes upon, look no further than the EnragedRabbitProject by [EtteGit]. Built for Voron 3D printers, it’s a scalable filament changing solution designed from the ground up that expands to accommodate up to 9 filaments.

EnragedRabbitProject is broken into four main components. First comes the Enraged Rabbit Carrot Feeder (ERCF), the system that handles filament selection, retraction, and loading. Next, comes the Carrot Patch (ERCP), a spool holder/buffer combo that’s needed per spool. For those unfamiliar with filament changers, unspooling filament is easy, but rewinding it back onto the spool is hard. And since the nozzle will retract a significant length of filament when it switches between filaments, it’s important to manage all this extra loose filament to prevent tangles. A filament buffer is the solution; it’s a clever mechanical addition to the spool holder that will manage the extra filament that gets unwound during these filament changes. Beyond these two systems is the King’s Seat (ERKS) a Voron-2 setup that purges extra filament into beads instead of purge blocks, and finally, the filament sensor, which detects filament presence for filament changes.

It’s sometimes hard to appreciate the reliability of these sorts of CNC systems. On that note, keep in mind that the prints on the project’s landing page are the results of hundreds if not thousands of filament swaps — truly an astonishing feat. Beyond reliability is the project’s presentation. [EtteGit] has kindly posted STEP and STL files for all mechanical components, the Klipper configuration files, and a bill-of-materials that will scale according to the number of filaments you’re installing.

We’re thrilled to see folks continue to innovate on the concept of what it means to be a multi-color or multi-material 3D printer. For other takes on multi-filament setups, have a look at [Paul Paukstelis’] microscope-inspired head changer, and [MihaiDesigns’] removable tool head concept.

Continue reading “Enraged Rabbit Project Is A Filament Cocktail Special”

Expanding On The Creation Of Collapsible Containers

You might remember that industrial designer [Eric Strebel] tried to make a collapsible silicone container with 3D printed molds a few weeks ago, and was finally successful after dozens of attempts. Someone commented that commercial containers are molded in the collapsed position instead of the expanded position, so naturally, [Eric] had to try it once he saw the photographic proof of these molds.

Adding sand to a partially-cured silicone piece so it will take the shape of the expanded mold.This time around, [Eric] made things easier on himself by adding some handles to the mold and using both wax and spray mold release before pouring in the degassed silicone. The first one was a failure —  he had let it cure the whole time in the collapsed mold, and it just didn’t want to stay expanded. On the second attempt, [Eric] decided to pull the piece while it was curing, about 5 1/2 hours into the process.

After carefully de-molding the piece, he pressed it into the grooves of one of the older molds from the days of molding containers in the expanded state. Then he filled it with sand and let it cure the rest of the way. That worked out quite well, but even so, [Eric] made a third attempt that he pulled after 3.5 hours or so when the silicone was still sticky.  He did the sand trick again, but this time, he ran a piece of string up the wall and over the edge so that the air that gets trapped under the sand can escape. The final result looks great, albeit a little bit floppy, but [Eric] fits the final product into a frame that makes them much sturdier. Check out the process in the video after the break.

Did you miss the first installment? It’s worth a look into the science of creating collapsible walls.

Continue reading “Expanding On The Creation Of Collapsible Containers”

Erasable Pen Ink Adds Colors To 3D Prints

Changing colors during a 3D print is notoriously difficult. Either you need multiple heads ready to go during the print which increases operating and maintenance costs for your printer, or you need to stop the print to switch the filament and then hope that everything matches up when the print is resumed. There are some workarounds to this problem, but not many of them are as smooth an effortless as this one which uses erasable pen ink to add colors to the filament on the fly.

Erasable pen ink is a thermochromic material that doesn’t get removed from paper when erased like graphite from a pencil. Instead the heat from the friction of erasing causes it to become transparent. By using this property for a 3D print, the colors in the print can be manipulated simply by changing the temperature of the hot end. Of course the team at [Autodrop3d] had quite a learning curve when experimenting with this method, as they had to run the extruder at a much lower temperature than normal to have control over the ink’s color, had to run the print much slower than normal, and were using a very sticky low-temperature plastic for the print.

With all of these modifications to the print setup, there are bound to be some limitations in material and speed, but the results of the project speak for themselves. This allows for stock 3D printers to use this method with no hardware modifications, and the color changes can be done entirely in software. While everyone catches up with this new technology, there are some other benefits to a 3D printer with multiple print heads, though, and some clever ways of doing the switching without too much interruption.

Continue reading “Erasable Pen Ink Adds Colors To 3D Prints”