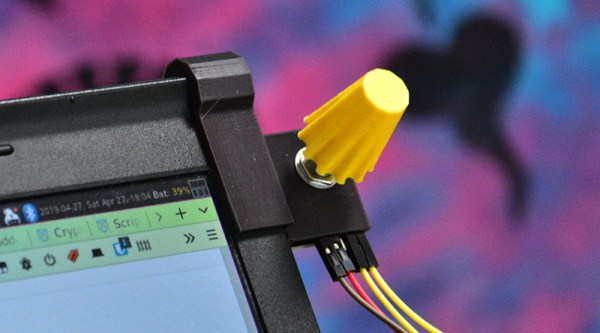
Security is something that’s far too often overlooked in embedded devices. One of the main risks is that if the device doesn’t verify the authenticity of incoming firmware updates. [Walter Schreppers] was working on a USB password storage device, so security was paramount. Thus, it was necessary to develop a secure bootloader.
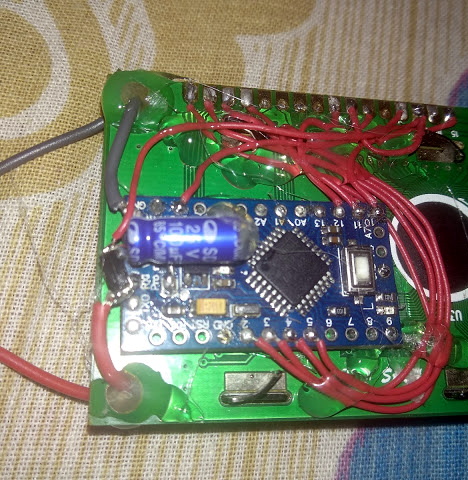
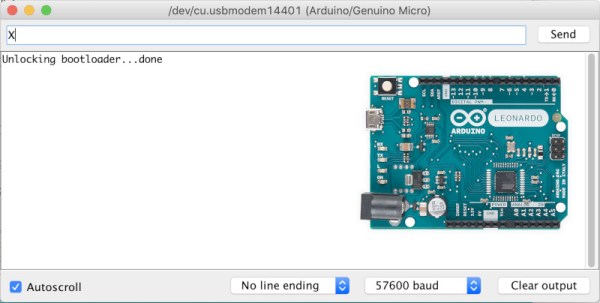
[Walter]’s device was based upon the Arduino Leonardo. Starting with the Caterina bootloader, modifications were made to enable the device to be locked and unlocked for programming. This can be done in a variety of ways, depending on how things are setup. Unlocking can be by using a secret serial string, an onboard jumper, and [Walter] even suspects a SHA1 challenge/response could be used if you were so inclined.
It’s never too soon to start thinking about security in your projects. After all, we must stave off the cyberpunk future in which leather-clad youths flick all your lights on and off before burning your house down in the night by overclocking the water heater. Naturally, we’ve got a primer to get you going in the right direction. Happy hacking!


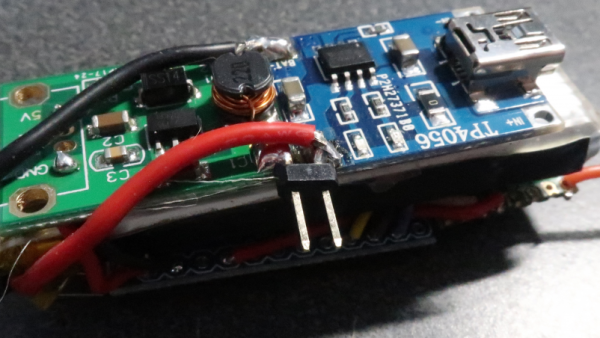
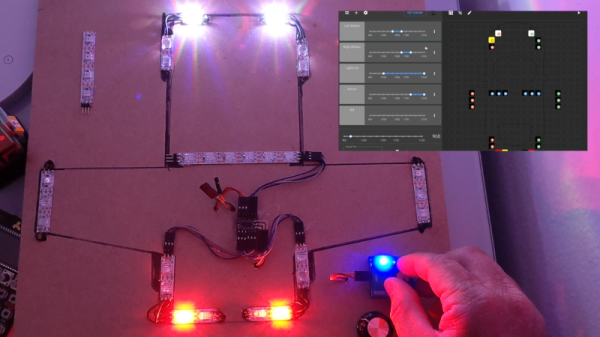
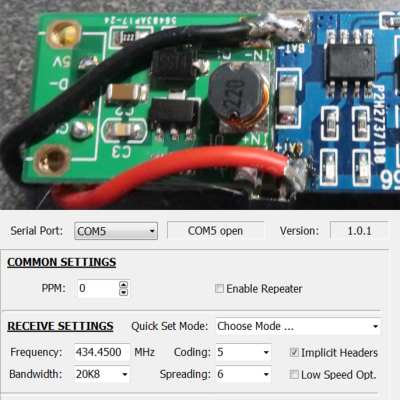 [Dave Akerman]’s interest in high-altitude projects means he is no stranger to long-range wireless communications, for which LoRa is amazingly useful. LoRa is a method of transmitting at relatively low data rates with low power over long distances.