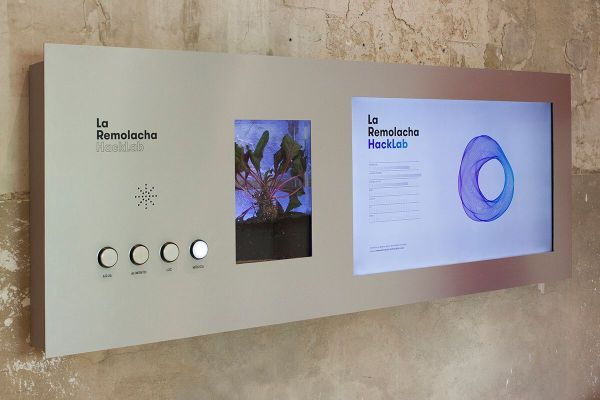
Zaragoza, Spain hacklab La Remolacha (“The Beet”) sports a logo which responds to human interaction with a beet plant growing in the space. Sensors keep track of temperature as well as humidity for both air and ground, while buttons add more water, plant food, light, and music.
The shape and activity of the visualization respond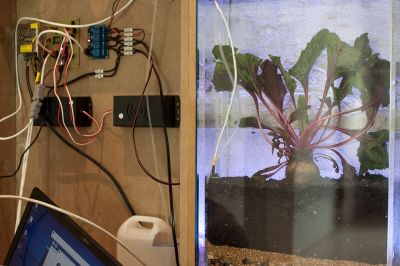 s to the sensors. The higher the temperature, the more folds in the shape. More distortions appear when there’s more humidity in the soil, while rotation speed increases with air humidity. Adding food increases the size of the visualization, and music triggers more vibrations.
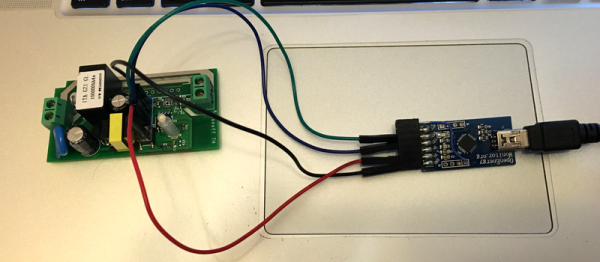
An Arduino keeps track of the buttons and humidity sensors, while a nearby computer, connected via USB, sends the data to a node.js server. The data are displayed on the website through the torus visualization, which is done in WebGL.
The beet’s environment also signals the health of the space, because if no one is visiting, no one can feed the plant. On the other hand, could too many visitors actually kill the thing?
The project was created by [Innovart], [Miguel Frago], and [Santi Grau] with help from other folks.
Thanks [Esther Borao Moros] for the tip!
Continue reading “Hacklab’s Logo Changes With The Habitat Of A Beet Plant”
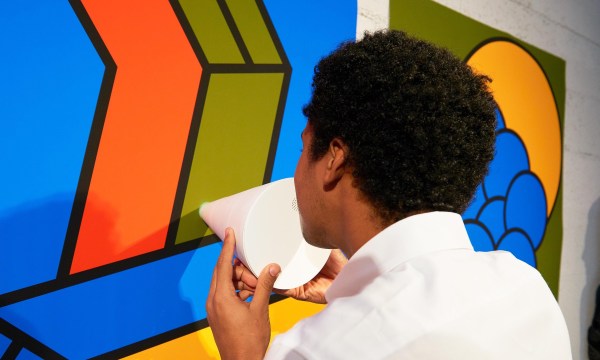
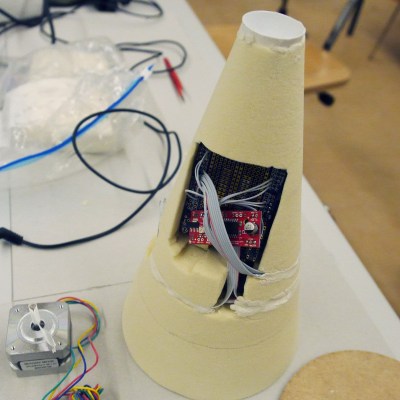 The project consists of an Arduino connected to a color sensor as well as a SparkFun EasyDriver. The EasyDriver controls a stepper motor which rotates a disc of scent swatches so you sniff the swatch corresponding with the color. The students chose strawberry for red, and blue ended up being “ocean”-scented room spray.