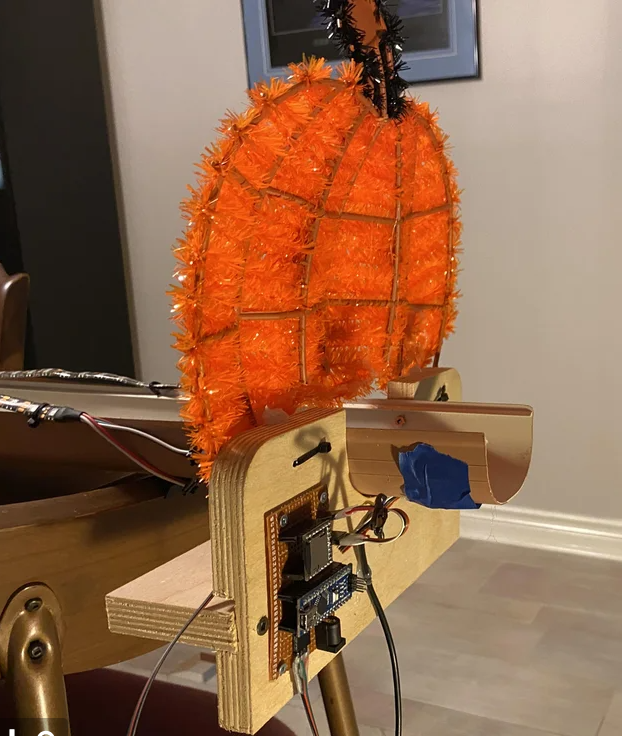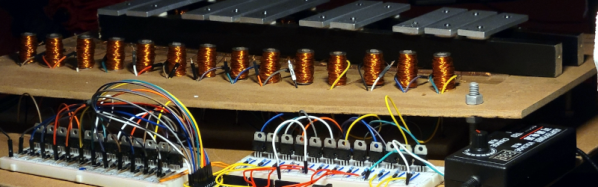
Want to play the xylophone but don’t want to learn how? [Rachad]’s automatic xylophone might be just the ticket. It uses homemade solenoids to play tunes under computer control. Think of it as a player piano but with electromagnetic strikers instead of piano keys. You can hear the instrument in action in the video below.
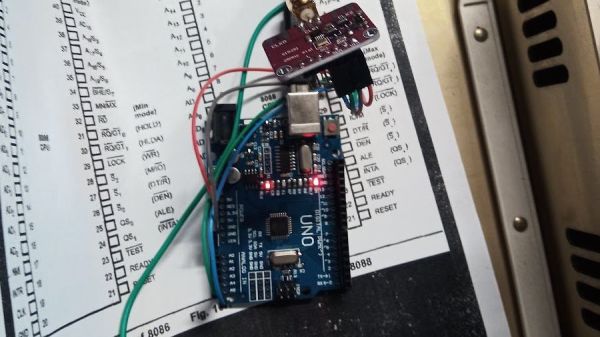
Since the project required 24 solenoids, [Rachad] decided to build custom ones using coils of wire and nails. We were amused to see a common curling iron used as an alternate way to apply hot glue when building the coils. The other interesting part of the project was the software. He now uses a toolchain to convert MIDI files into a serial output read by the Arduino. Eventually, he wants to train an AI to read sheet music, but that’s down the road, apparently.
Honestly, we were a bit surprised that it sounded pretty good because we understand that the material used to strike the xylophone and the exact position of the strike makes a difference. We doubt any orchestra will be building one of these, but it doesn’t sound bad to us.
The last one of these we saw did have more conventional strikers if you want to compare. Honestly, we might have just bought the solenoids off the shelf but, then again, we don’t make our own relays either.