Unless you live off-the-grid and have abundant free electricity, leaving your rig on while you go away on trips is hardly economic. So if you’re like [Josh Forwood] and you happen to use a remote desktop client all the time while on the road, you might be interested in this little hack he threw together. It’s a remote Power-On-PC from anywhere device.
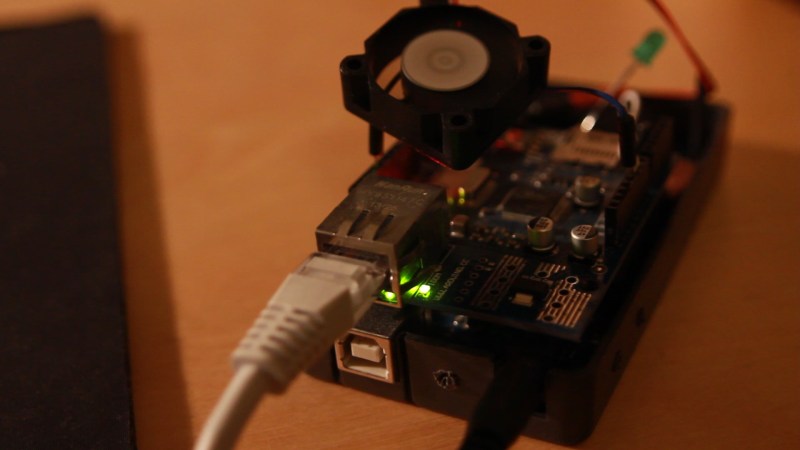
It’s actually incredibly simple. Just one Arduino. He’s piggybacking off of the excellent Teleduino software by [Nathan] who actually gave him a hand manipulating it for his purpose. The Arduino runs as a low-power server which allows [Josh] to access it via a secure website login. From there, he can send a WOL packet to his various computers to wake them up.
The system is working so well, he’s set it up with all his roommates’ computers as well, giving each their own login information on the Arduino’s page to allow them to access their own computer. Not a patient fellow, he also wanted a way to tell when his desktop would be ready to access…
Continue reading “Turn On Your Computer From Anywhere With An Arduino Server”