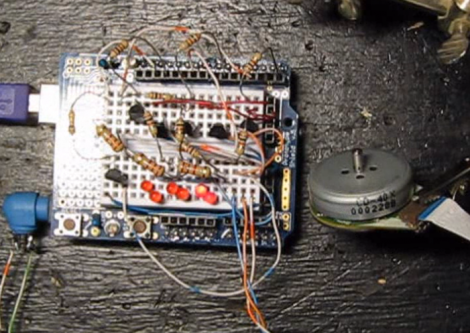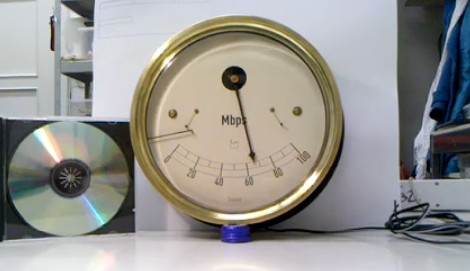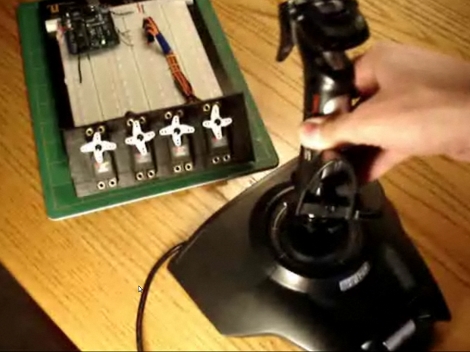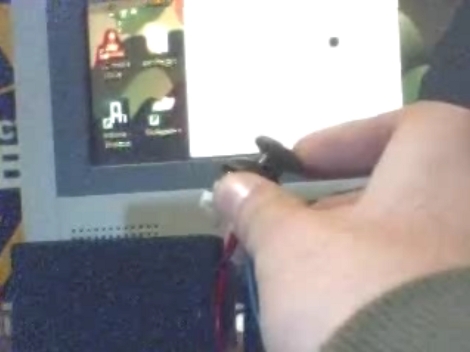
This beautiful music syncronized double helix was made by Syyn labs. Last time we saw them, they had created that amazing rube goldberg style music video for OK Go. This 100 foot long LED DNA strand took over 1000 combined man hours to build. It took 512 LEDs, 32 LED controllers, 4 Arduinos, 4 computers, over a mile of wire and a very dedicated team, which included [Eliot Phillips]. It takes input from beatmatching/VU software as well as a 32 button console or an iPad. You can catch a video of it in action after the break, and they plan on releasing a timelapse of the build in the near future.
Arduino Hacks3063 Articles
Next Generation Arduino Manufacturing Problems?
[The Moogle] just got his new Arduino Uno; wow, that was fast. What should have been a happy unboxing turned sour when he took a close look at the board. It seems that it exhibits several examples of sloppy fabrication. The the lower-left image shows unclean board routing, a discolored edge, and a sharp tooth sticking out from the corner. The shield header shown in the upper left is not flush with the board, resulting in a weaker physical union and a crooked connection. There are vias that look like they’re not be centered in the solder mask, and areas where raw copper is exposed.
It saddens us to see this because the original Arduino boards were so well manufactured. Keep in mind that this may be an isolated case, and as of yet the company hasn’t been given the chance to swap out the board for one that has passed a more rigorous quality control inspection. But if you’ve already ordered one of your own, take a close look and make sure you’re satisfied with it upon arrival.
Not sure what we mean by next generation Arduino? Take a look at the new hardware that was recently unveiled.
Update: Here’s a direct response from the Arduino blog.
Update #2: [Massimo Banzi], one of the founders of Arduino, took the time to comment on this post. It details the organization’s willingness to remedy situations like [The Moogle] encountered and also links to the recent Arduino blog post.
Single String Servo Electric Guitar
Ah, we love musical hacks that actually play music. [Mike Baxter] is back again with a new servo electric guitar. This one, called the physical string synthesizer, and has only one string. He’s using two Arduinos to control the unit. One to change the midi file to a note within the string’s limits and the second to actually control the servo. It seems like that could be simplified a little bit, but we’re pretty sure his end goal was to build an instrument quickly, not learn to be a circuit ninja. Last time we saw Mike Baxter, he had built a servo electric guitar that used a keypad for control. You can see a video of the single string one after the break.
Arduino UNO And Mega 2560
The Arduino Team presented some new products at Maker Faire this weekend. It’s a significant update. The Arduino UNO and Arduino Mega 2560 update the Duemilanove and Mega respectively. They now use an ATMega8U2 instead of an FTDI USB to serial converter chip. Allowing an Arduino to become nearly any kind of USB device. A fourth mounting hole has been added to the UNO for more stable mounting. The booloader is now the Optiboot bootloader. The boards can run firmata out of the box. We are not sure about existing Arduino boards, but the last six bytes of EEPROM have a unique serial number. At this point, the Mega 2560 has some kind of issue with gcc on certain platforms and unable to use the full memory available until there is an update to the IDE.
The team also gave a preview of some works in progress. Arduino Ethernet POE can be power over ethernet and loaded with TFTP. Available October 18, TinkerKit will be released. Geared toward designers, the kit has PCB modules that include a joystick, soft pots, transistor, relay, power MOSFET, push button, LEDs and motor driver. That same day will be the launch of the multi-lingual Arduino Store.
These developments will be a nice addition to the toolset out there that you can use and we look forward to new projects using these tools.
Update: [PT] sent us a link to an ever-growing FAQ about this hardware.
WiiMote Accessibility Modifications
[Catea] has put some considerable effort into making a wiimote more accessible to people with physical disabilities. He started by extending the buttons out to much larger versions mounted on a lap tray. This makes playing games much easier for those that are lacking the fine motor skills to hit the buttons on the wiimote. This alone is a pretty substantial improvement, but [Catea] wanted to do more.
Taking the whole idea further, [Catea] published a second instructible where he outlines the process of adding two Arduinos and Xbee modulse to make the external buttons wireless.
5 Tones, 1 Arduino
Because the Arduino is in such high demand for producing multiple musical tones at the same time; [Jeremy Blum] has successfully figured out the math and other necessaries that will take your once previously single tone producing MCU and turn it into a 5 tone producing machine. unsurprisingly its really just some creative use of PWM control but it all works out in the end anyway and helps prevent you from purchasing additional sound generating chips. This truly does open up some new doors, as [Jeremy] shows with his still in production thingamakit like project: ReacXion.
Auxiliary Scoreboard Reads Status Directly From Memory
[StaticChanger] built a scoreboard to display his kill statistics from Halo for the PC. Yes, we’ve seen kill counters before, but we like the way that he gathers the data. This project is reading the score directly from an address in memory.
Using a program called Cheat Engine, the memory used by a program can be sniffed. After a few passes, the program will help you find a static memory address for your desired data. Once you have that it’s just a matter of using a pointer to that address in your desired programming language. In this case, a C# program polls the value and instructs an Arduino to display the value on a couple of 7-segment displays. Voila, the number appears next to your screen as you see in the image above.