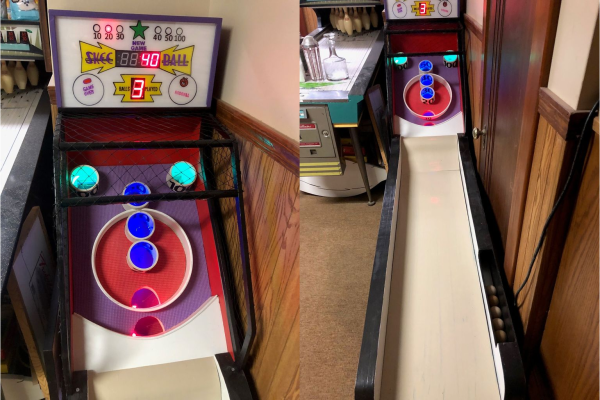
Bowling is great and all, but the unpredictability of that little ball jump in Skee-Ball is so much more exciting. You can play it straight, or spend a bunch of time perfecting the 100-point shot. And unlike bowling, there’s nothing to reset, because gravity gives you the balls back.
In one of [gcall1979]’s earlier Skee-Ball machines, gravity assisted the scoring mechanism, too: each ball rolls back to the player and lands in a lane labeled with the corresponding score, which is an interesting engineering challenge in its own right. He decided to build automatic scoring into his newest Skee-Ball machine.
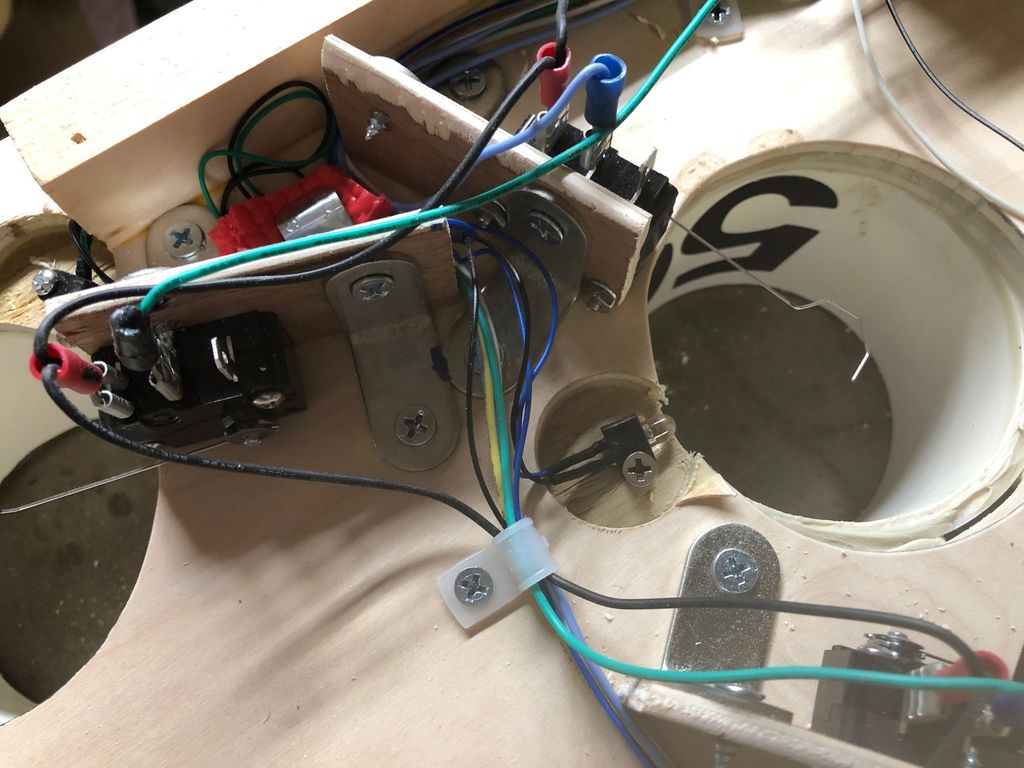
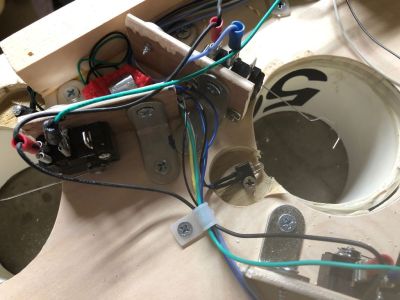 At the bottom of each cylinder is an arcade machine coin door switch with a long wire actuator. These had to be mounted so they’re close enough to the hole, but out of the way of the balls.
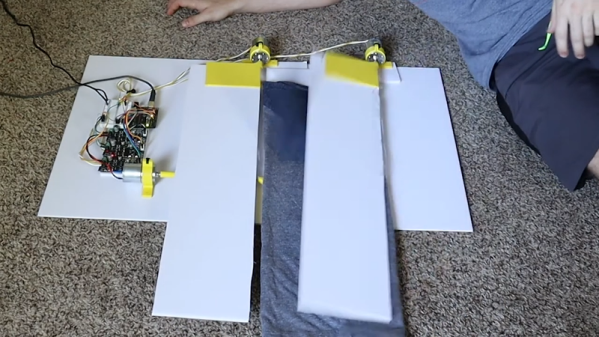
Each switch is wired up to an Arduino Mega along with four large 7-segments for the score, and a giant 7-segment to show the number of balls played. Whenever the game is reset, a servo drops a door to release the balls, just like a commercial machine.
The arcade switches work pretty well, especially once he bent the wire into hook shape to cover more area. But they do fail once in a while, maybe because the targets are full-size, but the balls are half regulation size. For the next one, [gcall1979] is planning to use IR break-beam targets which ought to work with any size ball. If you prefer bowling, you won’t strike out with break-beam targets there, either.