![The LEGO-lookalike displaying [Paul]'s dashboard](https://hackaday.com/wp-content/uploads/2026/03/Screenshot-2026-03-04-at-14-08-38-Watt-IV-–-the-M2x2.png?w=600&h=450)
There’s just something delightful about scaled items. Big things shrunk down, like LEGO’s teeny tiny terminal brick? Delightful. Taking that terminal brick and scaling it back to a full-sized computer? Even better. That’s what designer [Paul Staal] has done with his M2x2 project.
In spite of the name, it actually has a Mac Mini M4 as its powerful beating heart. An M2 might have been more on-brand, but it’s probably a case of wanting the most horsepower possible in what [Paul] apparently uses as his main workstation these days. The build itself is simple, but has some great design details. As you probably expected, the case is 3D printed. You may not have expected that he can use the left stud as a volume control, thanks to an IKEA Symfonisk remote hidden beneath. The right stud comes off to allow access to a wireless charger.
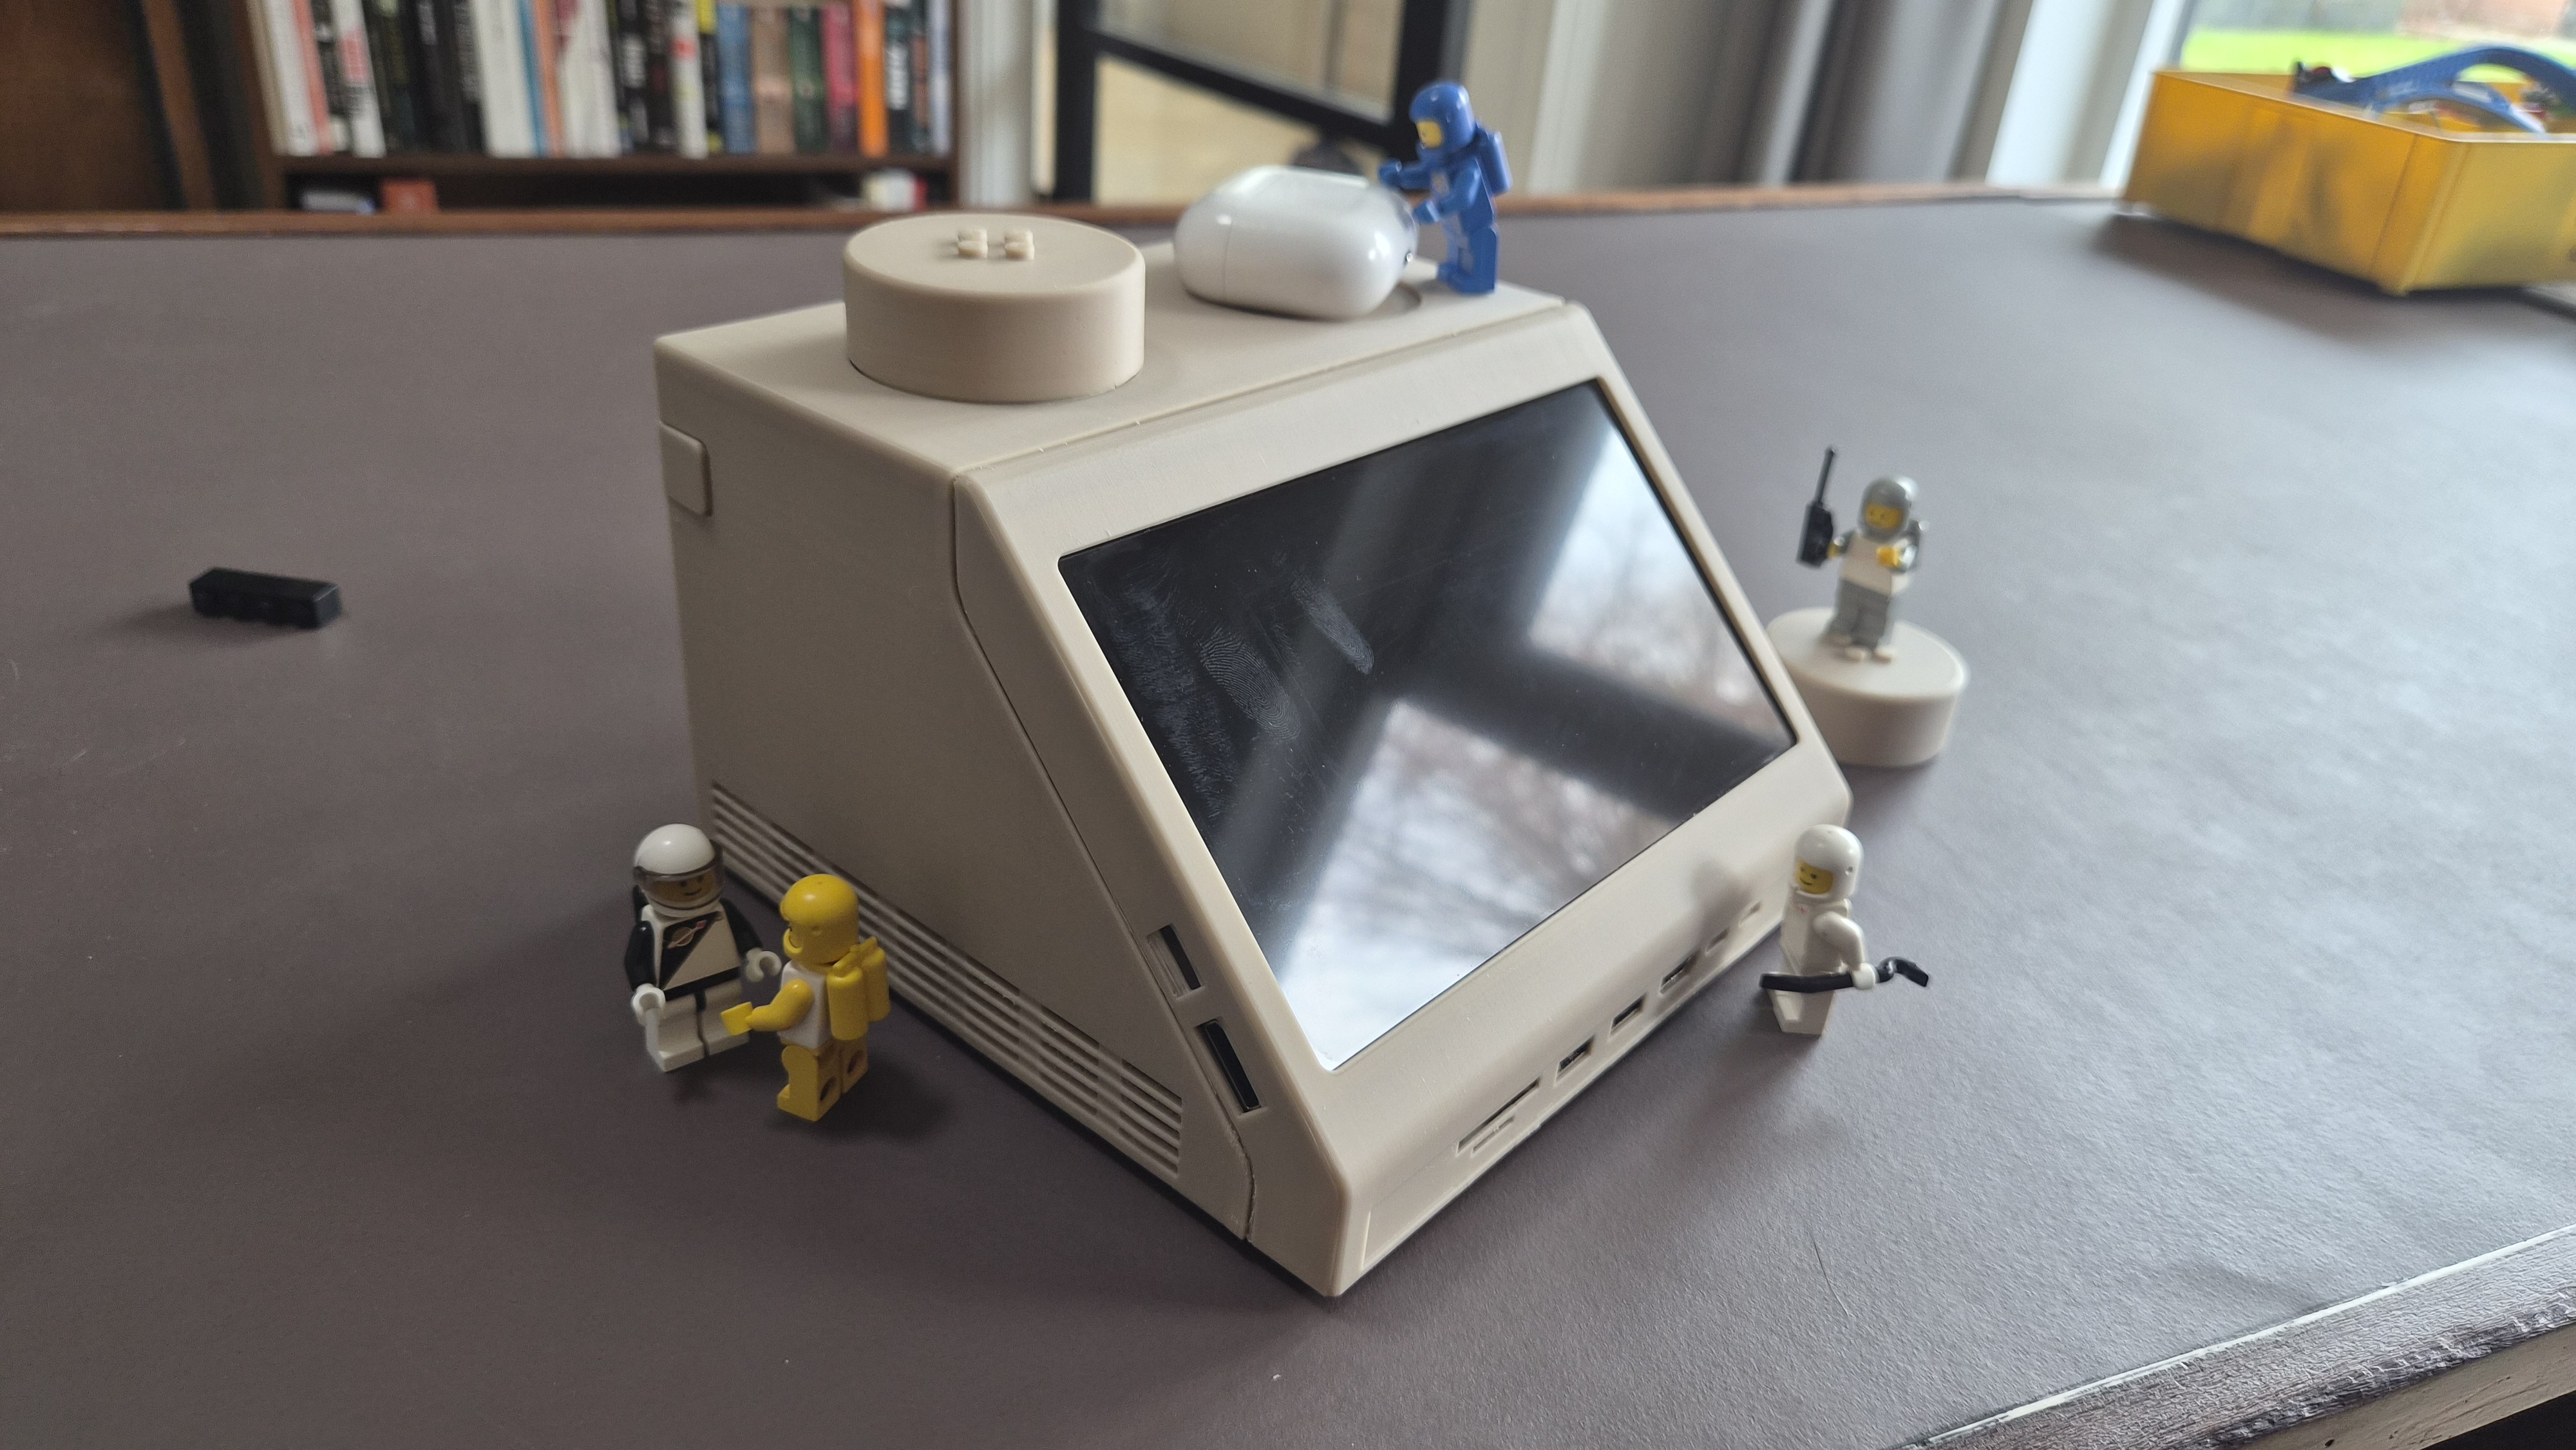
The 7″ screen can display anything, but [Paul] mostly uses it either for a custom home assistant dashboard, or to display an equalizer, both loosely styled after ‘screen’ on the original brick. We have to admit, as cool as it looked with the minifigs back in the day, that sharp angle to the screen isn’t exactly ergonomic for humans.
Perhaps the best detail was putting LEGO-compatible studs on top of the 10:1 scaled up studs, so the brick that inspired the project can sit securely atop its scion. [Paul] has provided a detailed build guide and the STLs necessary to print off a brick, should anyone want to put one of these nostalgic machines on their own desk.
We’ve covered the LEGO computer brick before, but going the other way–putting a microcontroller and display in the brick it to run DOOM. We’ve also seen it scaled up before, but that project was a bit more modest in size and computing power.