Almost all modern cars come with keyless entry, some even come with keyless start. Of course, the price you pay for this technology is a bulky plastic keyfob that is an absolute pain to remove from your pockets, and generally spoils the lines of your carefully chosen outfit. [Jeremy] decided enough was enough.
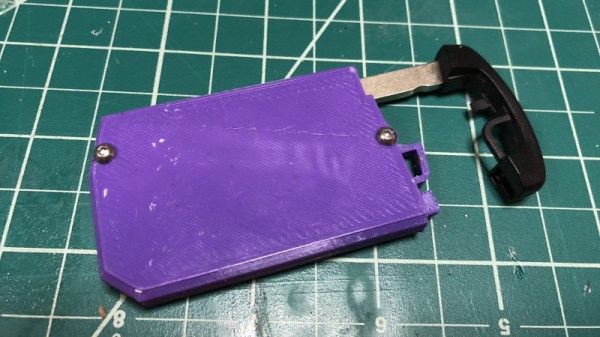
The project begins with a careful disassembly of the original key. This is important to avoid damaging the PCB inside, particularly if there are any delicate wire links between different sections of the keyfob. With the piece disassembled, it was then time to start designing a replacement encasement to hasten escapement while pacing the pavement.
The 3D printer really is the perfect tool for the job here, and [Jeremy] employs it well. With this being a proximity-based keyfob, the buttons are only necessary if you want to operate the locks at a distance. They simply took up too much vertical space, so they had to go. In the end, with a redesigned housing for the PCB, and while retaining the backup mechanical key, the new fob is just 11mm, down from 18mm – a nearly 40% saving in thickness!
It’s a tidy way to clean up your pockets and make life easier. We’ve seen similar work before, too.