SegaPi Zero Shows Game Gear Some Respect

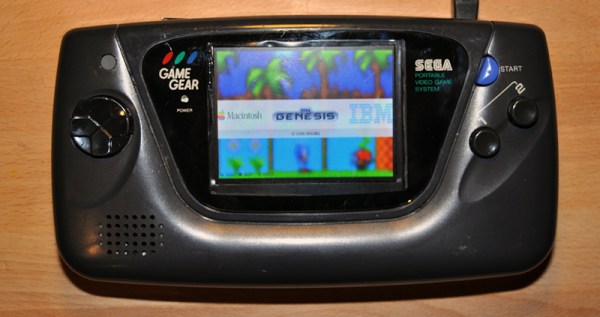
If you were a gamer in 1991, you were presented with what seemed like an easy enough choice: you could get a Nintendo Game Boy, the gray brick with a slightly nauseating green-tinted screen that was already a couple of years old, or you could get yourself a glorious new Sega Game Gear. With full color display and games that were ported straight from Sega’s home consoles, it seemed like the Game Gear was the true future of portable gaming. But of course, that’s not how things actually went. In reality, technical issues like abysmal battery life held the Game Gear back, and conversely Nintendo and their partners were able to squeeze so much entertainment out of the Game Boy that they didn’t even bother creating a true successor for it until nearly a decade after its release.

While the Game Gear was a commercial failure compared to the Game Boy back in the 1990s and never got an official successor, it’s interesting to think of what may have been. A hypothetical follow-up to the Game Gear was the inspiration for the SegaPi Zeo created by [Halakor]. Featuring rechargeable batteries, more face buttons, and a “console” mode where you can connect it to a TV, it plays to the original Game Gear’s strengths and improves on its weaknesses.

As the name implies the SegaPi Zero is powered by the Raspberry Pi Zero, and an Arduino Pro Micro handles user input by tactile switches mounted behind all the face buttons. A TP4056 charging module and step-up converter are also hiding in there, which take care of the six 3.7 lithium-Ion 14500 batteries nestled into the original battery compartments. With a total capacity of roughly 4,500 mAh, the SegaPi Zero should be able to improve upon the 3 – 4 hour battery life that helped doom the original version.
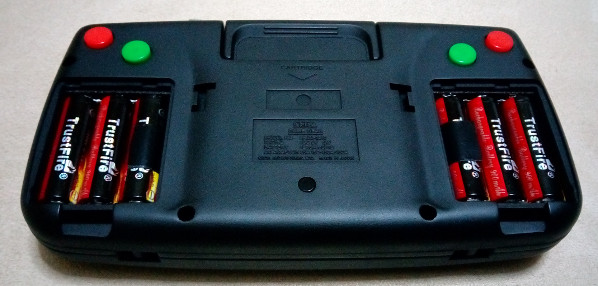
There’s no shortage of projects that cram a Raspberry Pi into a classic game system, but more often than not, they tend to be Nintendo machines. It could simply be out of nostalgia for Nintendo’s past glories, but personally we’re happy to see another entry into the fairly short list of Sega hacks.

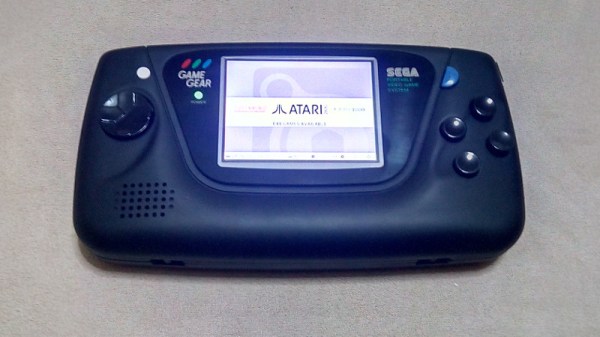
Game Gear HDMI With SNES Controller

With its backlit color screen and Master System compatibility, the Game Gear was years ahead of its main competition. The major downside was that it tore through alkaline batteries quickly, and for that reason the cheaper but less equipped Game Boy was still able to compete. Since we live in the future, however, the Game Gear has received new life with many modifications that address its shortcomings, including this latest one that adds an HDMI output.

The core of the build is an FPGA which is used to handle pixel decoding and also handles the HDMI output. The FPGA allows for a speed high enough to handle all the data that is required, although [Stephen] still has to iron out some screen-filling issues, add sound over HDMI, and take care of a few various pixel glitches. To turn this hack into a complete hodgepodge of adapters, though, [Stephen] has also added an SNES controller adapter to the Game Gear as well. Nintendo has featured Sonic in many of its games, so although we may have disagreed back in the early 90s we think that this Sega/Nintendo pairing is not crossing any boundaries anymore.

Game Gears have had their share of other modifications as well to make them more capable as a handheld system than they were when they were new. We’ve also seen them turned into a console system (they were Master System compatible, after all) and converted into other things entirely, too.

Continue reading “Game Gear HDMI With SNES Controller”

Game Gear, Console Edition

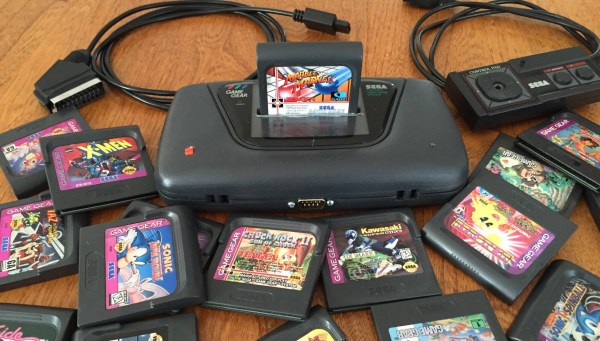
What if the Game Gear had been a console system? [Bentika] answered that question by building a consolized version of this classic handheld. For those not in the know when it comes to 1980s Sega consoles, the Game Gear is technically very similar to the Master System. In fact, the Game Gear can even play Master System games with a third-party adapter. However, the reverse isn’t the case as the screen aspect ratios were different and the Game Gear had a larger palette, which meant the Master System wasn’t compatible with Game Gear titles.

Sega’s decision to omit an AV connection meant that Game Gear games were forever locked into a tiny LCD screen. [EvilTim] changed that with his AV board, so [Bentika] decided to take things to their natural conclusion by building a proper console version of the Game Gear.

He started by ditching the screen and wiring in [EvilTim’s] video adapter board. The cartridge slot was then removed and reconnected atop the PCB. This turned the system into a top loader. [Bentika] then went to work on the case. He used Bondo to fill in the holes for the d-pad and buttons. After a spray paint finish failed, [Bentika] went back to the drawing board. He was able to get paint color matched to the original Game Gear gray at a household paint store. Careful priming, sanding, and painting resulted in a much nicer finish for this classic build. Check out [Bentika’s] video after the break!

Continue reading “Game Gear, Console Edition”

Sega’s Game Gear Gets A Video Output

[EvilTim] dug deep into a classic system to finally give the Game Gear a proper video output.  The Game Gear was Sega’s answer to Nintendo’s Gameboy. Rushed to market, the Game Gear reused much of the hardware from the very popular Master System Console. The hardware wasn’t quite identical though – especially the cartridge slot. You couldn’t play Game Gear games on a Master System, and the game gear lacked an AV output, which meant gamers were stuck playing on a small fluorescent backlit LCD screen.

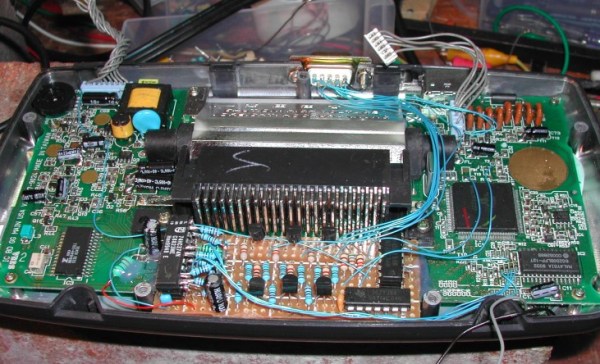
[EvilTim] wanted to play some of those retro titles on a regular TV using the original hardware. To accomplish this he had to start digging into the signals driving the Game Gear’s LCD. The Master System lineage was immediately apparent, as Game Gear’s LCD drive signals were similar in timing to those used to drive a TV. There was even a composite sync signal, which was unused on in the Game Gear.

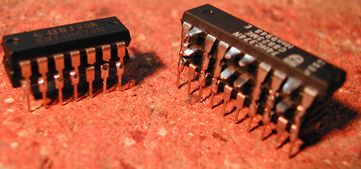
[EvilTim] first designed a circuit using discrete ’74 series logic which would convert the LCD drive signals to SCART RGB. Of note is the construction technique used in this circuit. A tower of three 74HC374 chips allows [EvilTim] to create R, G, and B outputs without the need for a complex circuit board.
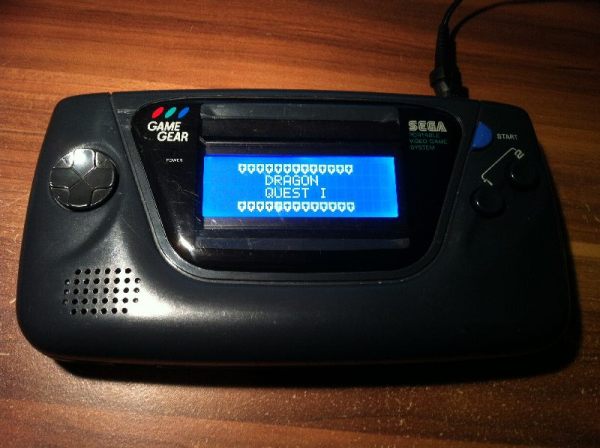
As pretty as a three-story chip tower is, [EvilTim] knew there was a better way. He re-spun the circuit with a 32 macrocell CPLD. This version also has an NTSC and PAL video encoder so those without a SCART interface can play too. If you’re not up to building your own, [EvilTim] sells these boards on his website.

We’ve seen some incredible retro gaming hacks over the years. From a NES inside a cartridge to incredible RetroPi builds. Hit the search bar and check it out!

Upgrade The Graphics On A Sega Game Gear To Mental

[Nino K] built a portable game player for text adventures. He decided he had spent enough time with the ATmega328 kit from NerdKits to build a more advanced project.

To start with, he built a prototype PCB and tested out the concept. It worked so he began on the real thing. He tore out the guts from a broken Game Gear, saving some parts like those responsible for supplying power. Impressively, he etched his own replacement boards for the Game Gear’s control pads; surprising himself at how simple it ended up being. He fit a 16×4 LCD into the space previously occupied by the Game Gear’s screen.

The program itself is a simple text adventure of his own creation. He even added little 8-bit sprites. The story is classic, a princess has gotten herself in some trouble and a brave hero has been coerced into saving her. Last, he added some music and sound effects from Zelda with a piezo buzzer.

This project is guaranteed to disappoint a visiting younger cousin or relative, but we like to think of that as a feature and not a bug. Great work!

RetroPie Game Gear

RetroPie Meets Game Gear, Again

If you’re a fan of video game systems of yesteryear then you are probably familiar with RetroPie. For those who aren’t, RetorPie is a collection of software and video game emulators that can run on a Raspberry Pi. The package makes it easy to get your fix of old games without having to own a bunch of consoles or loose your breath blowing on cartridges.

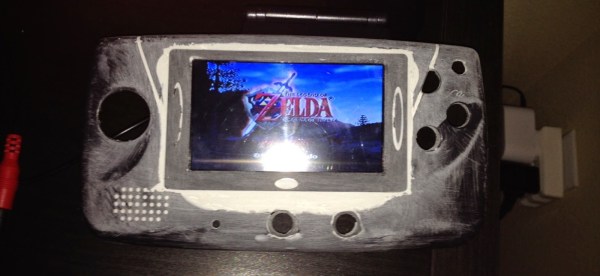
[brooksyx] already had a broken Game Gear, Raspberry Pi and a 4.3 inch LCD screen kicking around so he thought it would be a good idea to put them together into a handheld RetroPie. Clearly, the new screen was not going to fit in the old screen’s place. The Game Gear’s case was cut and the bezel from the new LCD screen was epoxied in place, gaps filled and finally sanded.

RetroPie Game Gear


The screen is not the only modifications done to the case. Down on the bottom right of the case front [brooksyx] added 4 buttons for the N64 C-buttons. Out back the battery compartments and cartridge slot were filled in.

This project isn’t done yet and we are excited to see how it comes out. If you’re digging this RetroPie portable, you may like this Game Gear with an unmodified case or this large-screened Game Boy.

RetroPie Turned Game Gear

Running vintage console emulators on a Raspberry Pi seems to be the thing all the cool kids are doing. The coolest RetroPie builds take a vintage console – usually of the Nintendo genus – stuff a Raspi in there somehow, and Bob’s your uncle. [Phil Herlihy] over at Adafruit is throwing his hat into the ring with a similar build. For this one, though, he’s using Sega’s oft-maligned Game Gear. He might actually get more than a few hours out of the battery with this one, and the battery is rechargeable, too. You can’t beat that.

The build begins with tearing down an old Game Gear, chopping up the PCB to save the button contact, and starting to fit all the components in there. The display is completely replaced with a 3.5″ composite display, a bit larger than the 3.2″ display found in a stock Game Gear. That’s not a problem, there’s a surprising amount of space behind the bezel, and if you’re good enough with an xacto blade and a file, it will look stock.

The rest of the components include an amplifier board, battery charge regulator, a 2500mAh LiPo, and a Teensy to read the buttons. There are a few modifications required for the Pi, but the finished device presents a USB port to the outside world; keep a keyboard by your side, and this is a portable Pi in every respect.