The demoscene usually revolves around the Commodore 64, and when you compare the C64 hardware to other computers of a similar vintage, it’s easy to see why. There’s a complete three-voice synthesizer on a chip, the hardware allows for sprites, a ton of video pages, and there are an astounding sixteen colors, most of which look good. You’re not going to find many demos for the Apple II, because the graphics and sound are terrible. You’re also not going to find many demos for an original IBM PC from 1981, because for thirty years, the graphics and audio have been terrible.
8088 MPH by [Hornet], [CRTC], and [DESire], the winner of the recent 2015 Revision Demo compo just turned conventional wisdom on its head. It ran on a 4.77 MHz 8088 CPU – the same found in the original IBM PC. Graphics were provided via composite output by a particular IBM CGA card, and sound was a PC speaker beeper, beeping sixty times a second. Here’s a capture of the video.
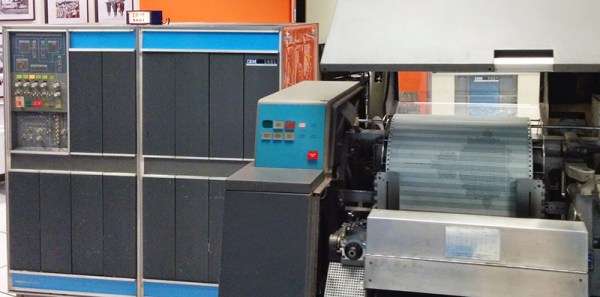
Because of the extreme nature of this demo, it is unable to run on any emulator. While the initial development happened on modern machines with DOSbox, finishing the demo needed to happen on an IBM 5160, equivalent to the 5150, but much easier to find.
Despite the meager hardware and a CPU that reads a single byte in four cycles, effectively making this a 1.19 MHz CPU, the team produced all the usual demoscene visuals. There are moire patterns, bobbing text, rotated and scaled bitmaps, and an astonishing 1024-color mode that’s an amazing abuse of 80×25 text mode with NTSC colorburst turned on.
Below you can find a video of the demo, and another video of the audience reaction at the Revision compo.