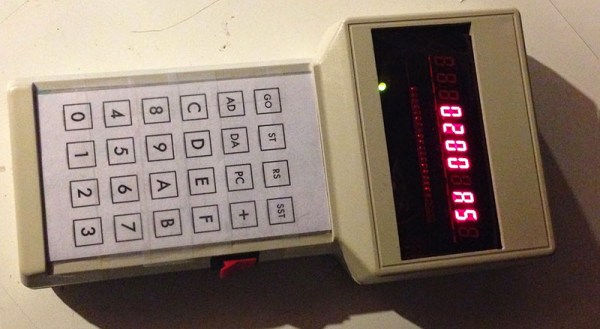
The KIM-1 was the first computer to use the 6502, a CPU that would later be found in the Apple, Ataris, Commodores, and the Nintendo Entertainment System. Being the first, the KIM-1 didn’t actually do a whole lot with only 1k of ROM and a bit more than 1k of RAM. This is great news for anyone with an Arduino; you can easily replicate an entire KIM-1, with a keypad and 7-segment display. That’s what [Scott] did, and he put it in an enclosure that would look right at home in a late 70s engineering lab.
The impetus for this build was [Scott]’s discovery of the KIM-Uno, a kit clone of the KIM-1 using an Arduino Pro Mini. The kit should arrive in a few weeks, so until then he decided to see if he could cobble one together with parts he had sitting around.
Inside a handheld industrial enclosure is an Arduino Uno, with a protoshield connecting the keypad and display. The display is an 11-digit, seven-segment display [Scott] picked up at a surplus shop, and the metal dome keypad came from a hamfest.
Getting the software working took a bit of work, but the most important parts are just modifications to the standard Arduino libraries.
Now that [Scott] has a KIM-1 replica, he can program this virtual 6502 one hex digit at a time, run Microchess, or use the entire thing as a programmable calculator.
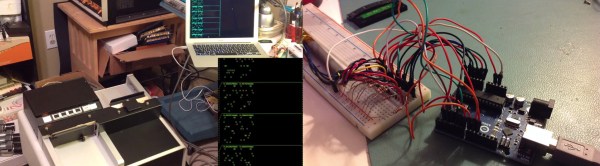

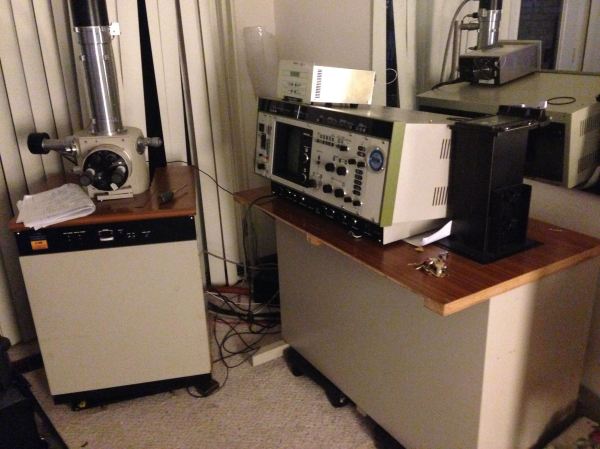
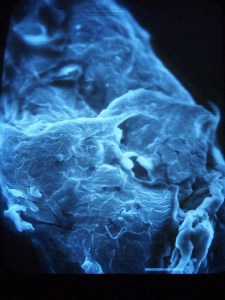 The SEM sprang to life and gave [Macona] and a friend their first images. However, SEMs are finicky beasts. Eventually the filament burned out and needed to be replaced. New filaments are $500 US for a box of 10, which is more than [Macona] wanted to spend. It turns out filaments can be built at home. A bit of .089mm tungsten wire and a spot welder were all it took to fix the issue. Next to go bad was the scan amplifier. While SEMs use many exotic parts, the Hitachi used relatively common Sanyo STK070 audio amplifiers for the purpose – an easy fix!