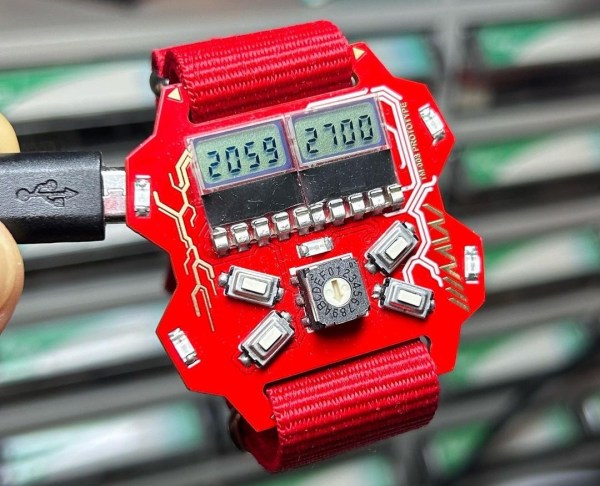
The primary purpose of a wristwatch is to tell the time, which pretty much any watch does perfectly fine. It’s in the aesthetics, as well as features other than time-telling, where a watchmaker can really make their product stand out from the rest. Watchmaker and electronic artist [Eric Min] focused on those two areas when he designed the Time Machine Mk.8, which combines exquisite design with simple, offline smartwatch functionality.
The heart of the watch is a Microchip ATSAMD21G18 low-power 32-bit microcontroller. [Eric] chose it for its high performance, ease of use and large number of integrated peripherals, a real-time clock being one of them. With the basic clock function thus taken care of, he then decided to add several useful sensors: a battery fuel gauge to keep an eye on the 40 mAh rechargeable lithium cell, a three-axis accelerometer to enable motion sensing and an environmental sensor to track temperature, humidity and pressure.
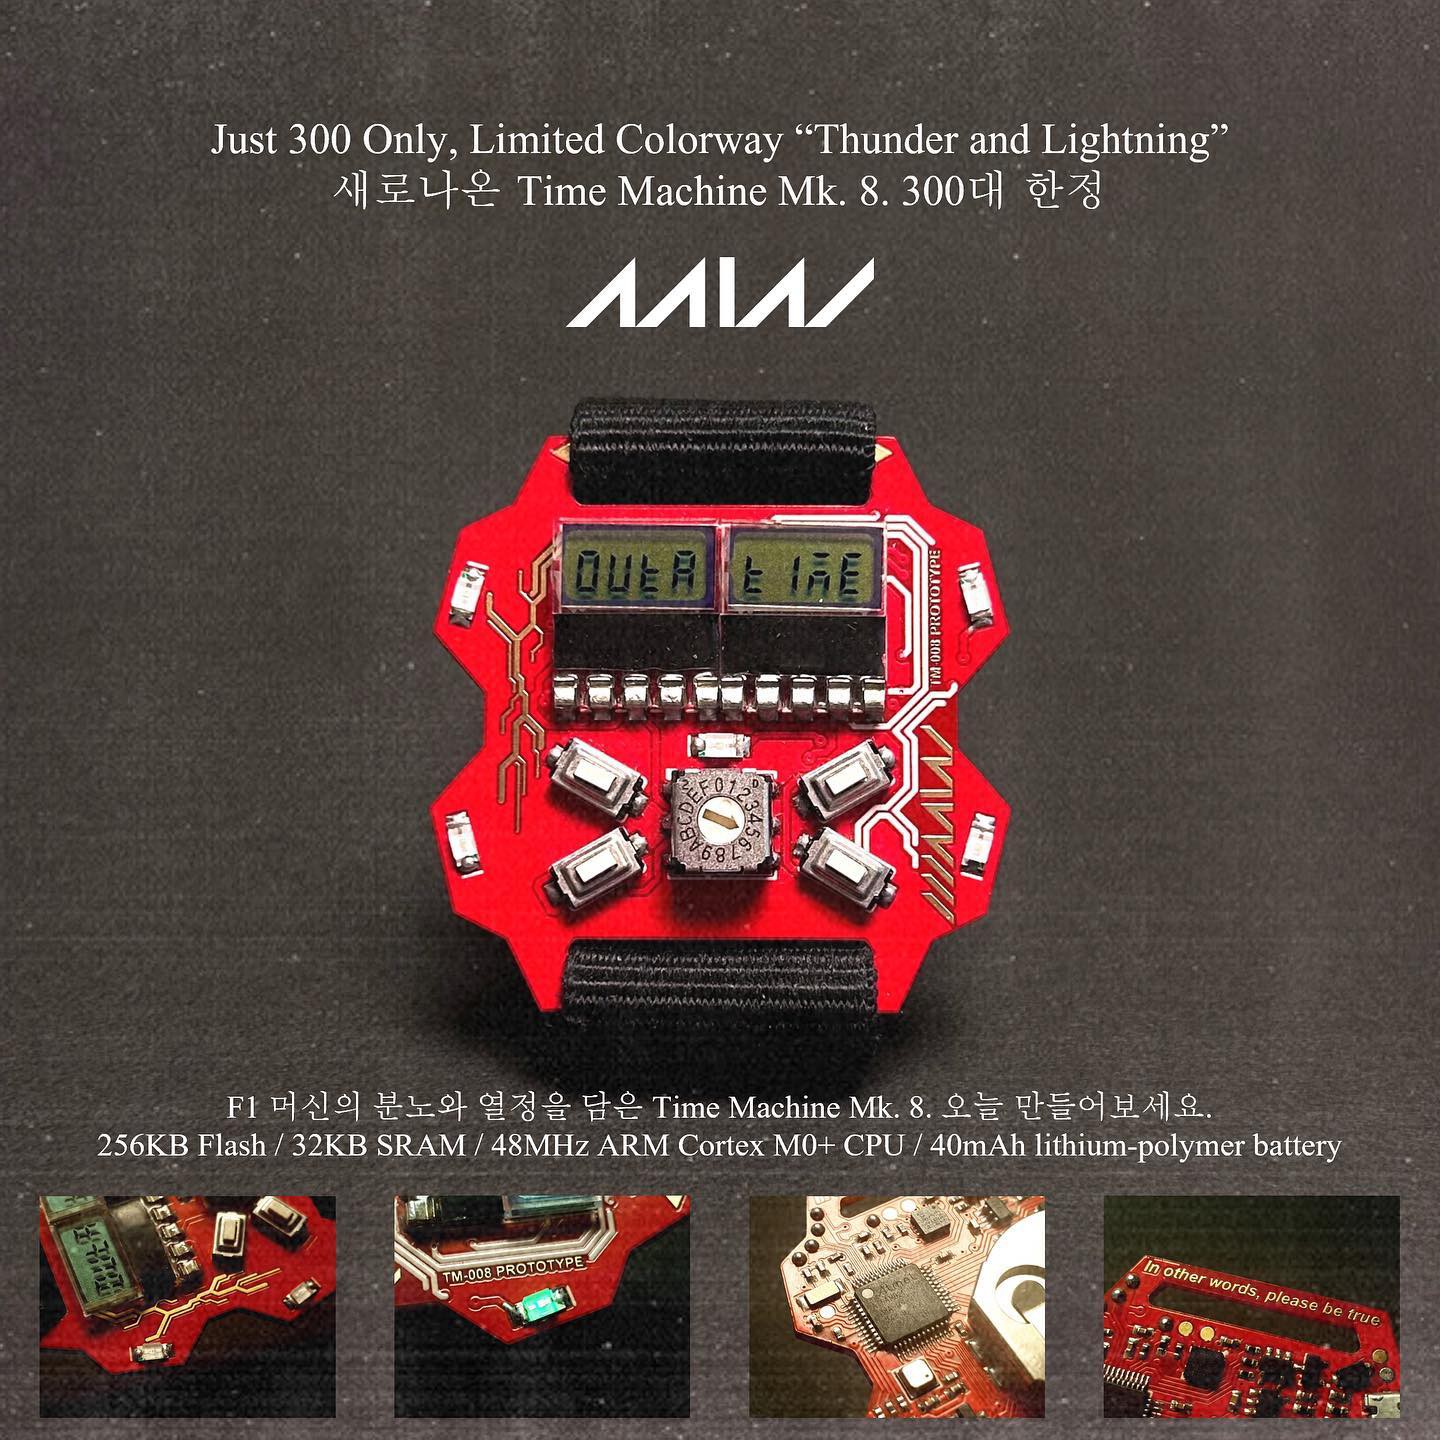 The various functions are operated using four pushbuttons along with a 16-step rotary encoder set in the middle. The overall design of the watch is inspired by Formula 1 steering wheels, as well as various sports cars and media franchises like Neon Genesis Evangelion and Akira. [Eric] considered a few different options for the display but eventually settled on two four-digit seven-segment LCDs, which fit nicely into the retro-futuristic aesthetic of the Mk.8. It’s so retro, in fact, that it almost makes [Eric]’s faux 1980s magazine ad look genuine.
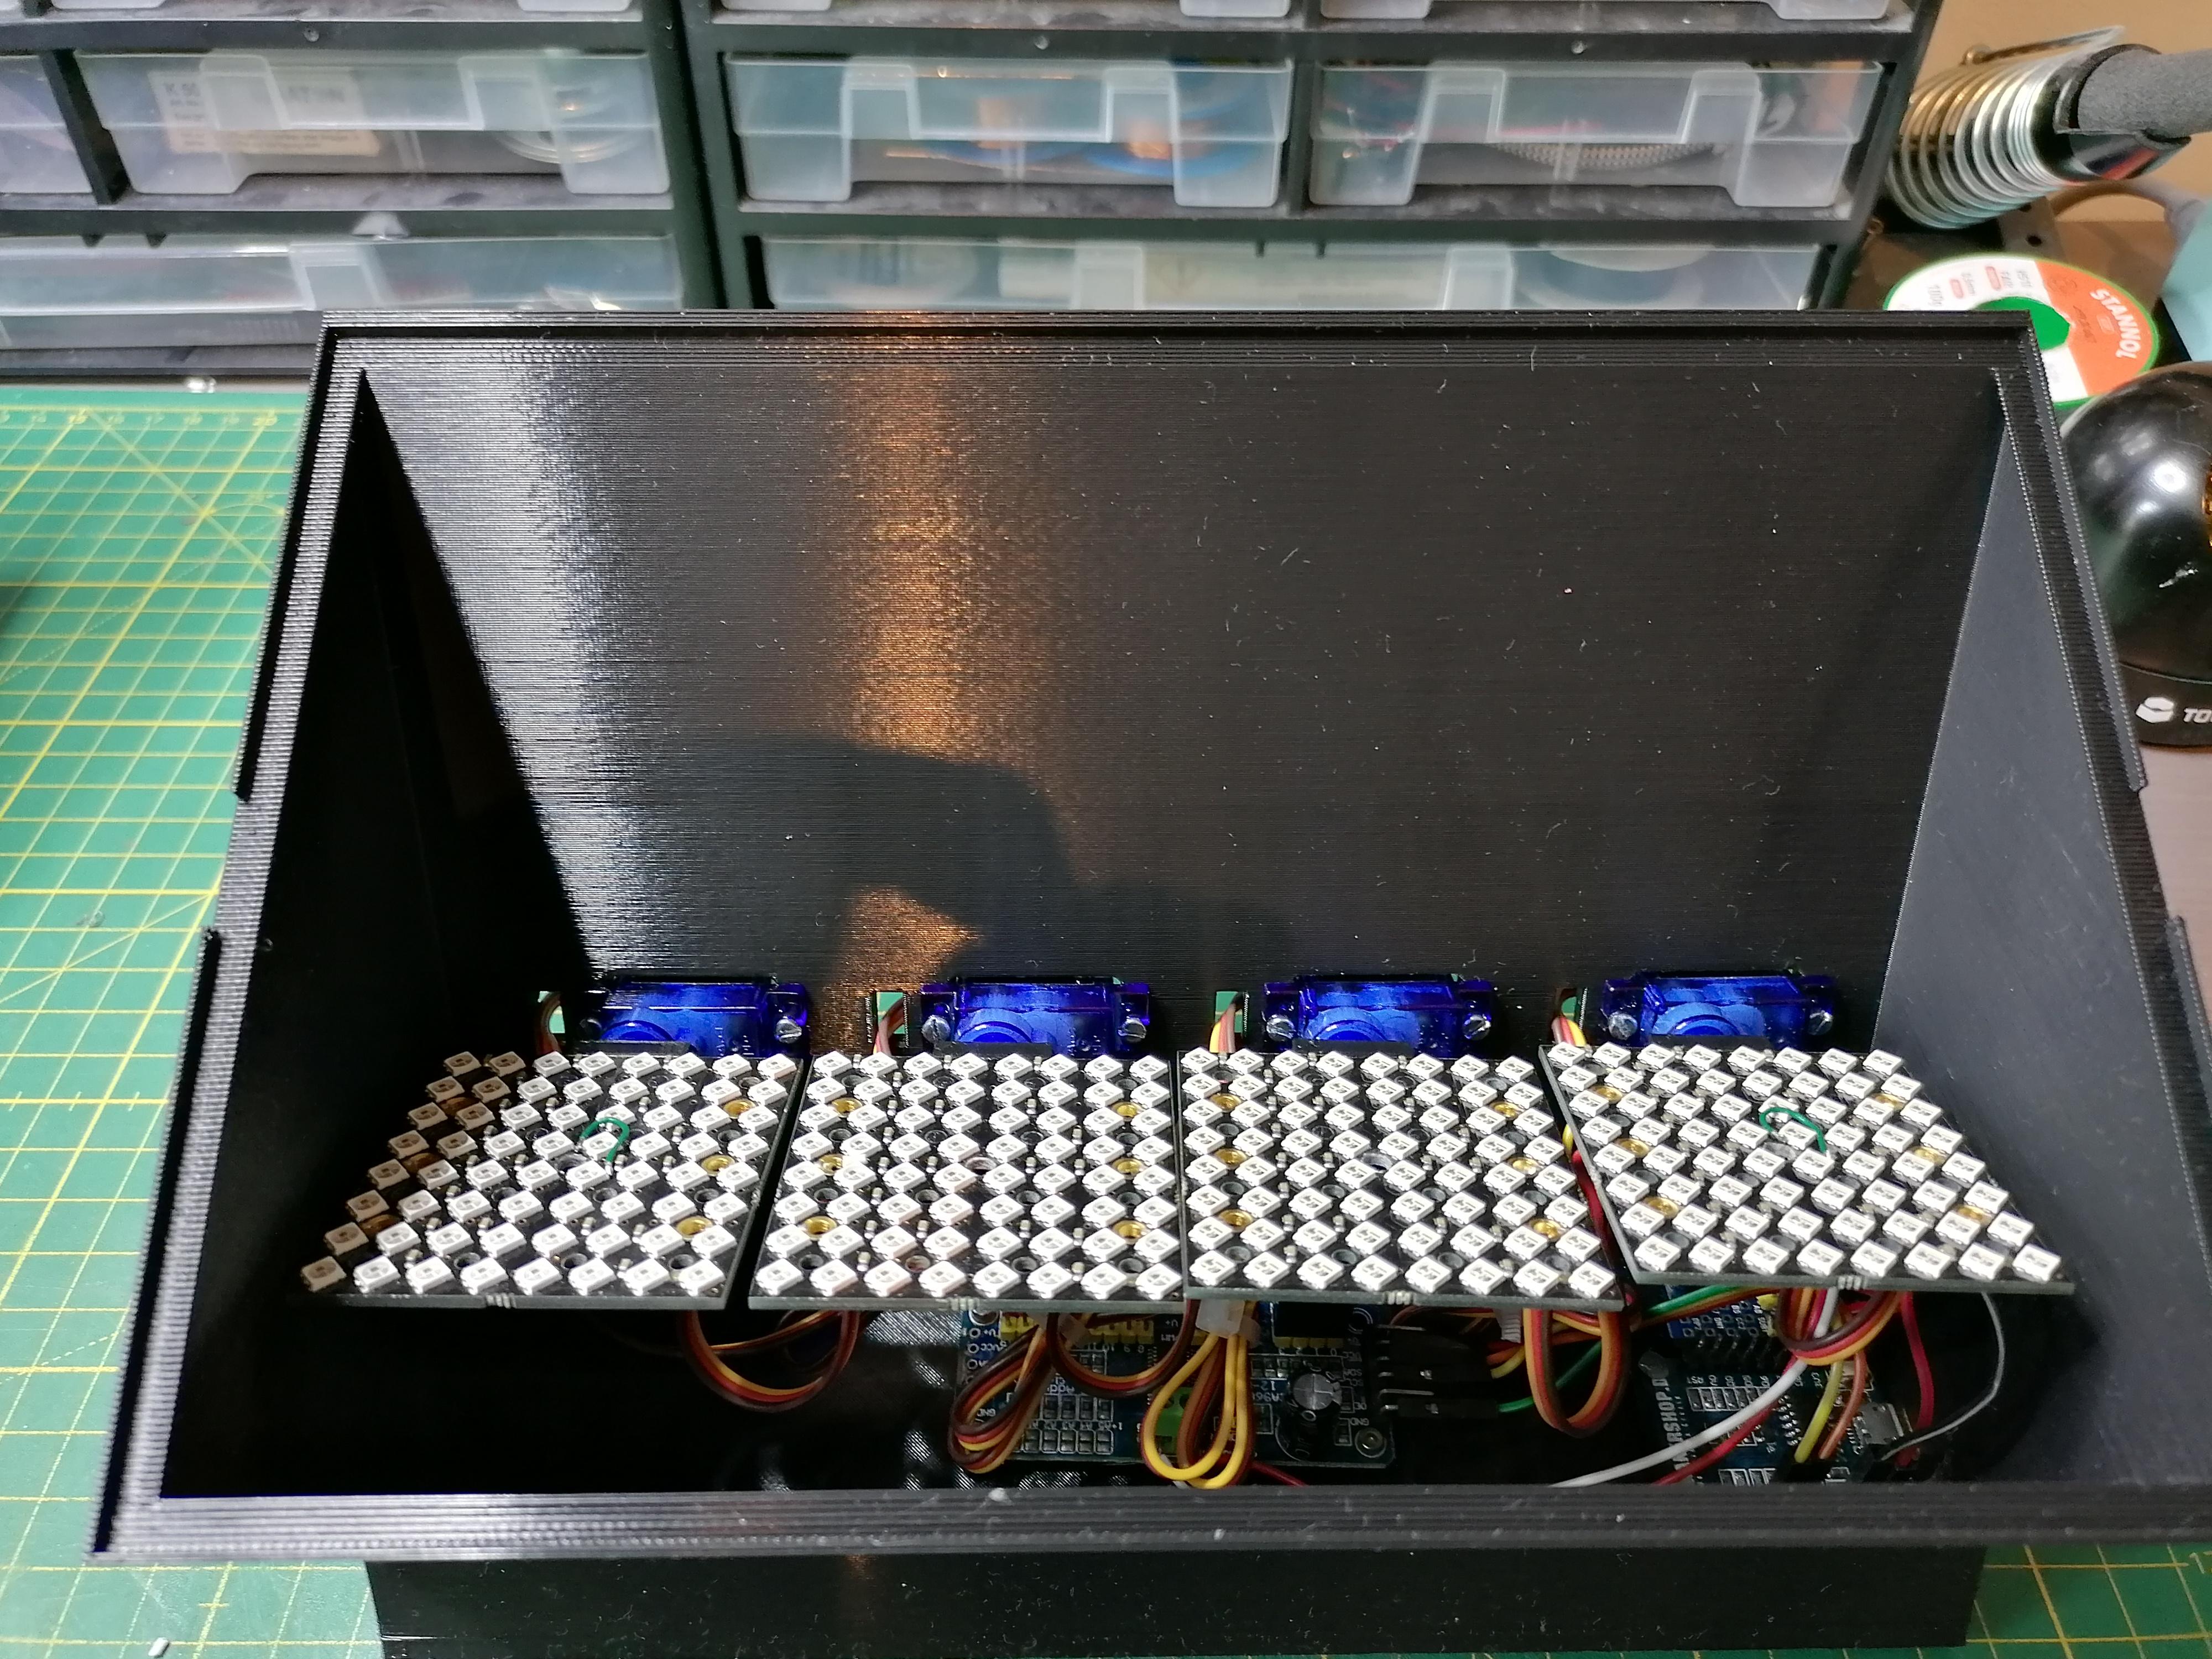
All components neatly fit together on a dual-layer PCB, which is a true work of art in itself. From the lightning bolt on the front to the hidden Frank Sinatra lyrics, it definitely stands out from the crowd of ordinary LCD wristwatches. It’s also quite a step up from [Eric]’s previous watch design, the Time Machine Mk.IV.
Over the years we’ve seen several other examples of how a bare PCB, or even a stack of them, can become a beautiful wristwatch.