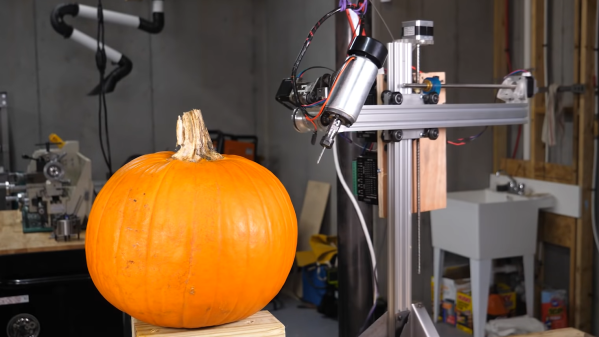
The day of carved pumpkins is near, and instead of doing manually like a mere mortal, [Shane] of [Stuff Made Here] built a five-axis CNC machine to take over carving duties. (Video, embedded below.)
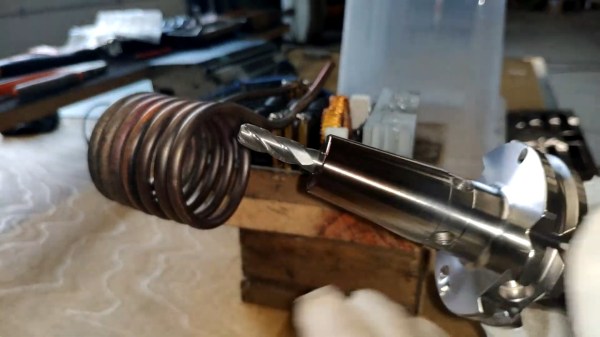
[Shane] initially intended to modify his barber robot, but ended up with a complete redesign, reusing only the electronics and the large ring bearing in the base. The swiveling spindle is a rotating gantry with two sets of aluminum extrusions for vertical and horizontal motion. The gantry isn’t very rigid, but it’s good enough for pumpkin carving. Software is the most challenging part of the endeavor due to the complexity of five-axis motion and mapping 2D images onto a roughly spherical surface. Cartographers have dealt with this for a long time, so [Shane] turned to Mercator projection to solve the problem. We’re also relieved to hear that we aren’t the only ones who sometimes struggle with equation-heavy Wikipedia pages.
Since there are no perfectly spherical pumpkins, [Shane] wrote a script to probe the surface of the pumpkin with a microswitch before cutting, appropriately named “TSA.exe”. The machine is capable of carving both profiles and variable depth lithophanes, mostly of [Shane]’s long-suffering wife. She seriously deserves an award for holding onto her sense of humor.
With projects like explosive baseball bats and CNC basketball hoop, the [Stuff Made Here] YouTube Channel is worth keeping an eye on.

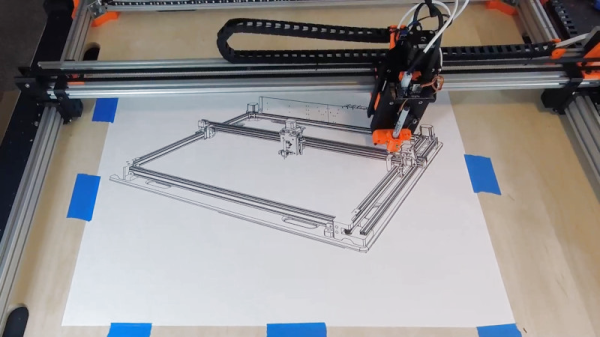
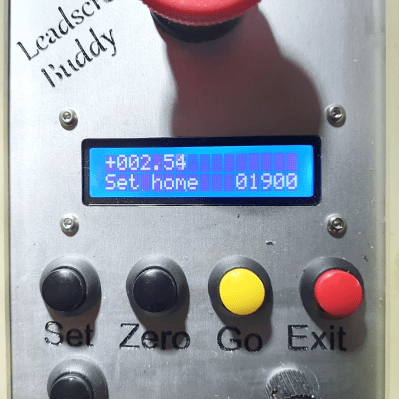 [Tony Goacher] took this idea a few steps further when he created the