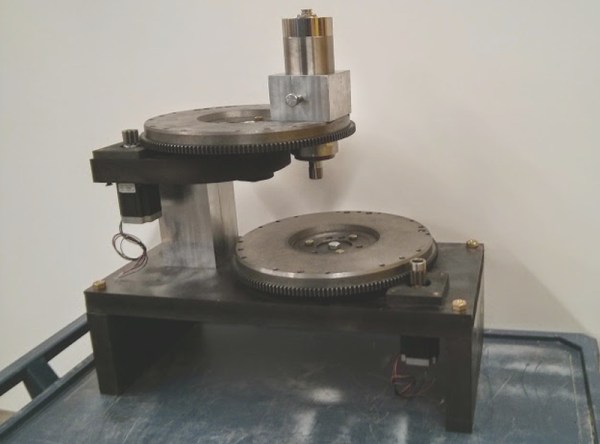
Whether 3D printer, lasercutter, or mill, most CNC machines use human-friendly, square-angle Cartesian geometry. This intriguing concept mill instead uses radial axes where motion is derived from scrap Chevy flywheels. It may look and feel weird at first, but it works – sort of.
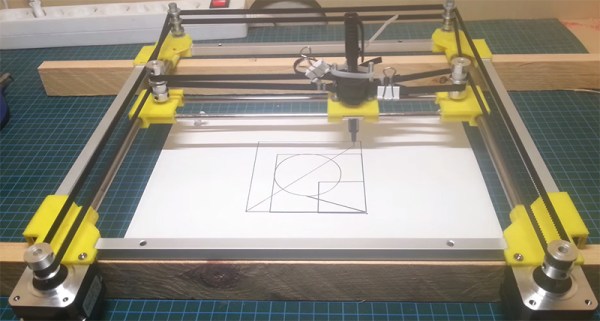
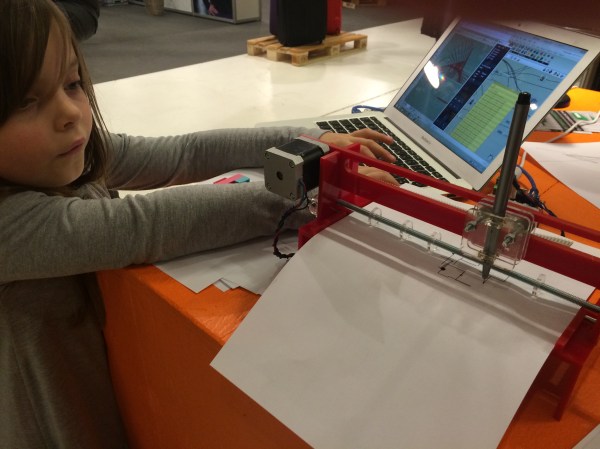
Cartesian axes are intuitive. If you want to go to the right, increase X. If you want to go to away from you, increase Y. If you want to lift, increase Z. On a manual mill this is easy for making rectangles and blocks, or, with creative clamping, straight lines of any sort. But if you want to carve a circle? As we all learned on an Etch-A-Sketch, you increase your swearing and then throw it in the corner.
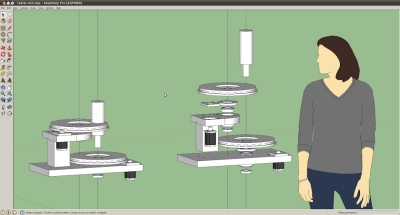
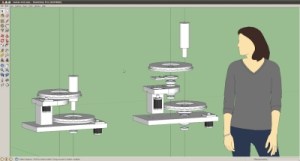 [Jason] knew that with a CNC machine all geometry problems are reduced to math done by software. With two offset discs, any position is possible by rotating both the correct way. It may look odd that both plates drunkenly meander about just to draw a straight line but the computer is ambivalent. Software can be complicated without penalty and is free once written – more on that later. If a machine is physically simple then it can be built and repaired easily and cheaply. This design does away with almost all the familiar – and [Jason] argues complicated – components of normal hobby CNC machines. No slides, rails, carriages or belts here. His design uses only about a dozen parts.
Because automotive flywheels are made from cast iron the machine is rigid and naturally dampening. Sticking with the junkyard theme he pulled bearings from an F-450 truck, good for a few thousand pounds. Some steppers and a Raspberry Pi and he was done – well, sort of.
[Jason] let us know that his project has sat for long enough that he has become passionate about other things and decided to move on. He documented his progress and submitted the tip in hope to inspire someone else to continue the design further. Any type of CNC is possible, not just a mill. 3D printer perhaps?
Two big caveats: it needs a Z-axis (linear, probably standard) and there appears to be deeper-seated-than-expected G-code demands to chit-chat about rectangles and only rectangles. Nothing insurmountable, just nothing he has solved yet himself.
[Jason] said not to expect any further updates from him but he would love to see what the next person could do with it.
See the video after the break of the mill drawing our skull and wrenches logo, (soft of, without a Z-axis to lift).
Continue reading “Peculiar Radial Mill From Car Parts” →