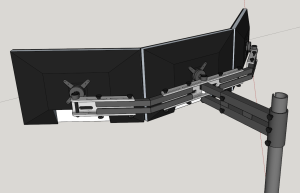
Reddit user [popson] just finished off this impressive monitor mount build. Designed completely in Sketchup, it’s adjustable and will fit monitors from 20″ to 27″.
While designing it they stuck with standard material sizes, and it makes use of a lot of cold rolled steel — box tube, angle, and tube. Wide aluminum channel provides the adjust-ability for various monitor sizes, and standard VESA monitor mounting brackets guarantee monitors will fit.
There’s a lot of welding involved, but like [popson] says, he’s no pro — it’s not that hard to do. Once everything was done, they painted it glossy black to protect it from rusting.
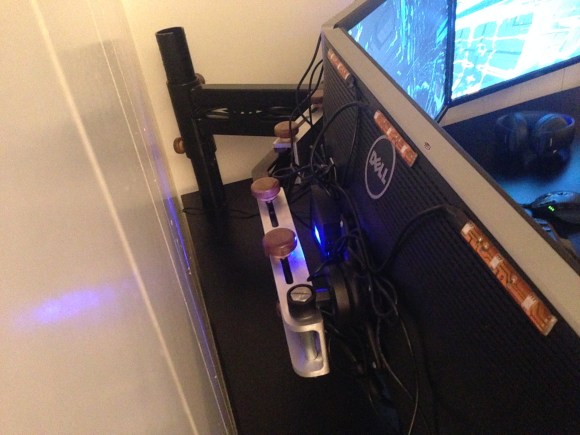
The adjustment knobs are even home-made, cut from a wooden plank using a hole saw, sanded, and varnished.
He’s even added RGB LED light strips onto each of the monitors for a fully immersed gaming experience.
Continue reading “Homemade Triple Monitor Mount Looks Professionally Made”