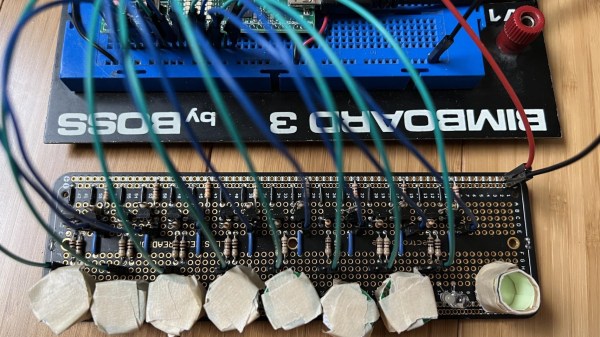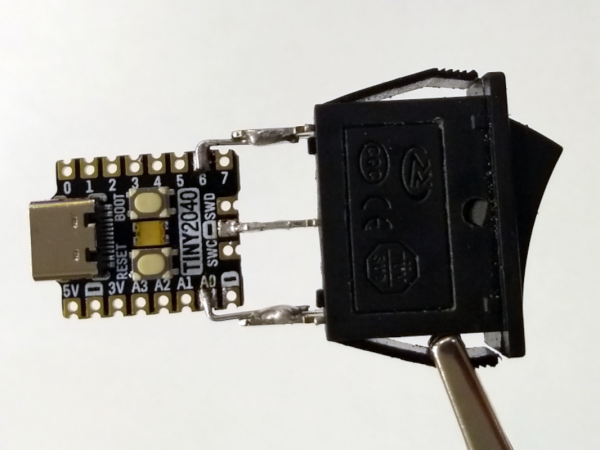
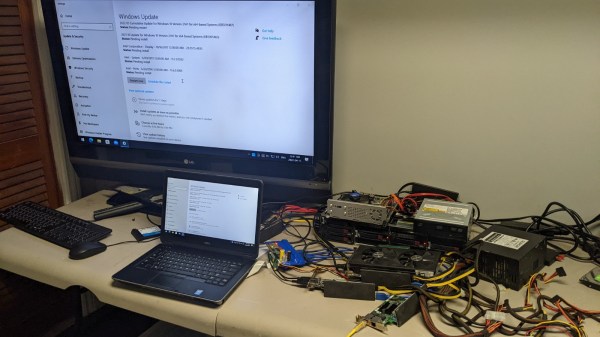
Dualbooting your computer can be a chore, the more switching between OSes you have to do – which is why virtualization or having separate computers are the go-to for many. Failing that, we have no choice but to smooth over our dualbooting experience with various workarounds and helpers. [William Somsky] shares one such helper tool with us – an elegant device made with a RP2040-sporting TinyPICO board and a three-way rocker switch, directing GRUB to boot into either Windows or Linux automatically, or leave us with the usual boot menu. This way, you can just flip the switch, hit “reboot” and walk away, coming back to your PC booted into OS of your choice, instead of timing your presence just so that you can catch the boot menu on time.
All you need to do is to solder a rocker switch to your RP2040 board of choice, then flash the RP2040 with code that detects the state of the switch, and creates a mass storage device hosting a file setting a Grub variable to either one of the 0, 1 or 2. [William] describes his journey, fighting mysterious caching problems, but tells us he got it working in the end. Sadly, [William] hasn’t shared the RP2040-side code with us, but he has at least put the Grub’s custom.cfg file in the ‘Files’ section of the Hackaday.io project.
Readily accessible microcontrollers with mass storage functions sure help make such hacks simple – earlier, we’ve seen dualboot switching like this done by modifying assembly code of the MBR. Dualbooting is a hacker’s rite of passage, and certain OSes of late can make it harder than other ones. Even if you don’t want to dualboot your PC, however, you sure can dualboot an Arduino!


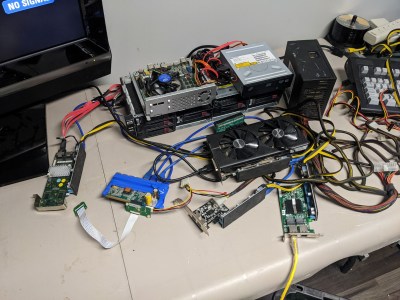 Now, there’s a reason why we don’t see more of such hacks. This seems to be a Latitude E5440 and the card is plugged into a mini-PCIe slot, which means the entire contraption is bound by a single PCI-E Gen2 x1 link, heavily offsetting the gains you’d get from an external GPU when, say, gaming. However, when it comes to the types and amount of peripherals, this is unbeatable – if you want to add an external GPU, high-speed networking and a SAS controller to the same computer that you usually lug around, there isn’t really a dock station you can buy for that!