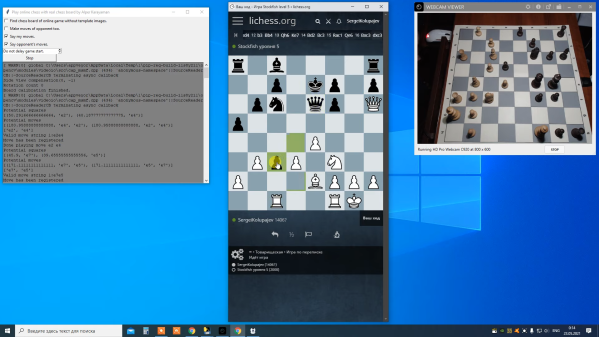
The Internet teaches us that we can accept stand-ins for the real world. We have an avatar that looks like us. We have virtual mailboxes to read messages out of make-believe envelopes. If you want to play chess, you can play with anyone in the world, but on a virtual board. Or, you can use [karayaman’s] software to play virtual games on real boards.
The Python program uses a webcam. You point it at an empty board and calibrate. After that, the program will track your moves on the real board in the online world. You can see a video of a test game below.
Automotive security specialist by day [P1kachu] hacks his own cars as a hobby in his free time. He recently began to delve into the Engine Control Units (ECUs) of the two old Hondas that he uses to get around in Japan. Both the 1996 Integra and the 1993 Civic have similar engines but different ECU hardware. Making things more interesting; each one has a tuned EPROM, the Civic’s being of completely unknown origin.
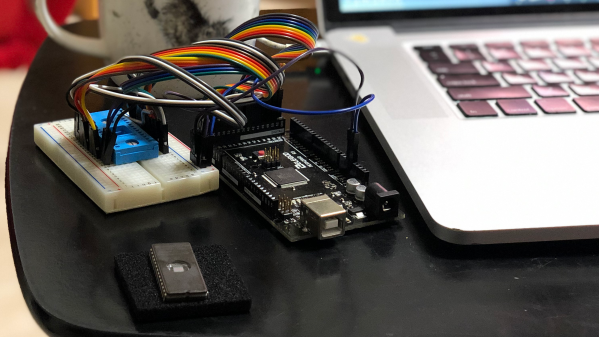
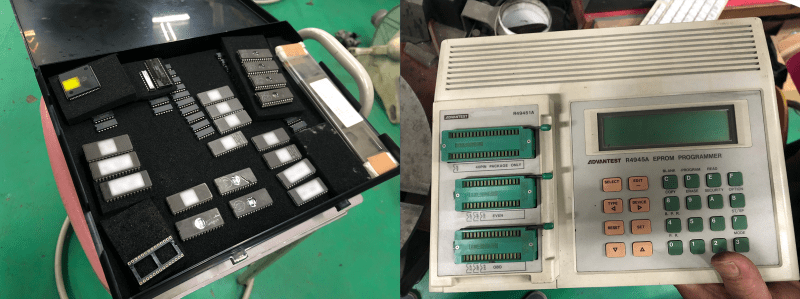
[P1kachu] took his Civic to a shop to have some burned-out transistors replaced in the ECU, and a chance conversation with the proprietor [Tuner-san] sends him on a journey into the world of old EPROMs. [Tuner-san] pulled out an old PROM duplicator stashed away under the counter which he originally used as a kid to copy PROM chips from console games like the Famicom. These days he uses it to maintain a backup collection of old ECU chips from cars he has worked on. This tweaked [P1kachu]’s curiosity, and he wondered if he could obtain the contents of the Civic’s mysterious PROM. After a false start trying to use the serial port on the back of the PROM copier, he brute-forces it. A few minutes of Googling reveals the ASCII pinout of the 27C256 EPROM, and he whips out an Arduino Mega and wires it up to the chip and is off and running.
Advantest R4945A EPROM Duplicator c.1980s
He’s currently digging into the firmware, using IDA and a custom disassembler he wrote for the Mitsubishi M7700 family of MCUs. He started a GitHub repository for this effort, and eventually hopes to identify what has been tweaked on this mysterious ECU chip compared to factory stock. He also wants to perform a little tuning himself. We look forward to more updates as [P1kachu] posts the results of his reverse engineering efforts. We also recommend that you be like [P1kachu] and carry an Arduino, a breadboard, and some hookup wire with you at all times — you never know when they might come in handy. Be sure to checkout our articles about his old Subaru hacks from in 2018 if these kinds of projects interest you.
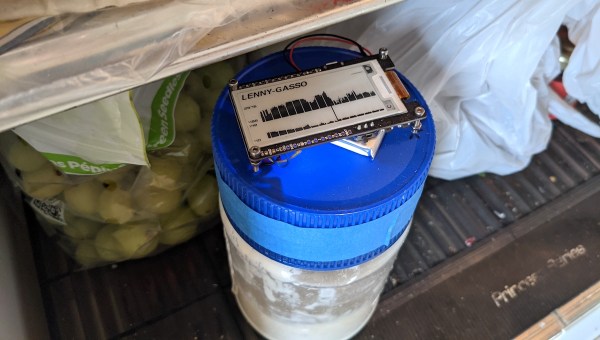
One of the unexpected side effects of our this pandemic is a sudden growth in the global population of captive colonies of Lactobacillus bacteria and yeast. Also known as sourdough starters, they are usually found in jars with curious names written on top, living off a mixture of flour and water. They require close monitoring to keep them healthy and to determine when they are ready for baking. [Noah Feehan] has been working to instrument and automate the process for the past two years, and has created a high-tech jar to keep an eye on his sourdough starter.
For a sourdough starter to stay active, it must be kept within a certain temperature range, and performance is measured by how much the level inside the jar rises. Existing open source and commercial projects monitor these two parameters and transmit data out, but [Noah] wanted to include a few more features. The height of a sourdough starter rises due to the production of CO2, so he added an SCD-30 sensor module, which includes a temperature and humidity sensor. For level monitoring, an VL6180 time-of-flight sensor is mounted over a hole on top of the jar. [Noah] wanted to be able to see recent CO2 production and height stats right on the jar, a ESP32 module with onboard E-ink display was used. To draw air over the CO2 sensor at a constant rate, a small extraction fan was also added. Power is provided by a small LiPo battery. For long term logging, the data is sent over MQTT to a server running Mycodo environmental regulation software.
There are still several software improvements [Noah] would like to make, including battery life, user interface and alerts, but everything is open-source and available on GitHub, so feel free to jump in and build your own.
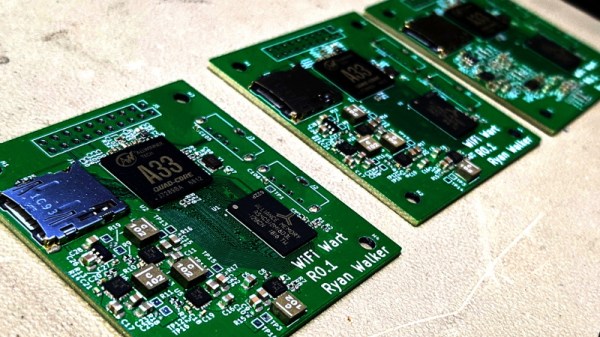
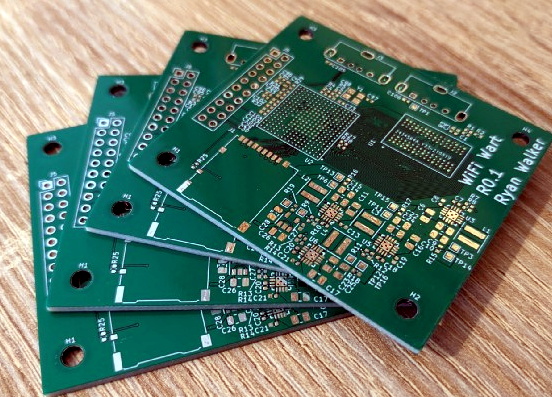
When we last checked in on the WiFiWart, an ambitious project to scratch-build a Linux powered penetration testing drop box small enough to be disguised as a standard phone charger, it was still in the early planning phases. In fact, the whole thing was little more than an idea. But we had a hunch that [Walker] was tenacious enough see the project through to reality, and now less than two months later, we’re happy to report that not only have the first prototype PCBs been assembled, but a community of like minded individuals is being built up around this exciting open source project.
Now before you get too excited, we should probably say that the prototypes didn’t actually work. Even worse, the precious Magic Smoke was released from the board’s Allwinner A33 ARM SoC when a pin only rated for 2.75 V was inadvertently fed 3.3 V. The culprit? Somehow [Walker] says he mistakenly ordered a 3.3 V regulator even though he had the appropriate 2.5 V model down in the Bill of Materials. A bummer to be sure, but that’s what prototypes are for.
Even though [Walker] wasn’t able to fire the board up, the fact that they even got produced shows just how much progress has been made in a relatively short amount of time. A lot of thought went into how the 1 GB DDR3 RAM would get connected to the A33, which includes a brief overview of how you do automatic trace length matching in KiCad. He’s also locked in component selections, such as the RTL8188CUS WiFi module, that were still being contemplated as of our last update.
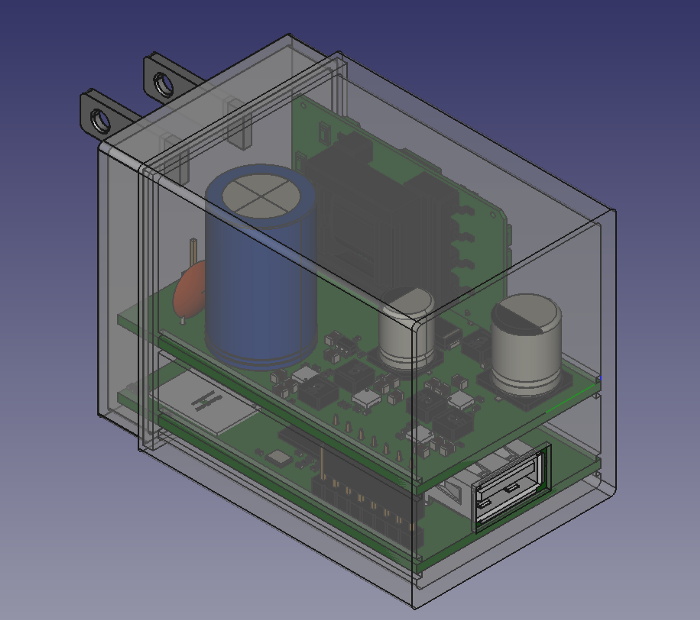
Multiple boards make better use of vertical space.
Towards the end of the post, he even discusses the ultimate layout of the board, as the one he’s currently working on is just a functional prototype and would never actually fit inside of a phone charger. It sounds like the plan is to make use of the vertical real estate within the plastic enclosure of the charger, rather than trying to cram everything into a two dimensional design.
Want to get in on the fun, or just stay updated as [Walker] embarks on this epic journey? Perhaps you’d be interested in joining the recently formed Open Source Security Hardware Discord server he’s spun up. Whether you’ve got input on the design, or just want to hang out and watch the WiFiWart get developed, we’re sure he’d be happy to have you stop by.
The commoditised PC is the most versatile tool many of us will own, and since it has been around for a very long time it is also something that can be found for free or very cheaply if the latest components aren’t a concern. It’s not without limitations though, while it’s designed for expansion it no longer has any ports that can easily be repurposed as GPIOs for reading sensors. A solution for some sensors comes courtesy of [Ruslan Nagimov], who shows us how the PC sound card can become a measurement interface.
The idea is that simple resistive or capacitive sensors can be read through their AC characteristics by sending out a sine wave on one channel of the card and reading the result on the other from a divider circuit. He goes extensively into the code, both for the resistive example and for reactive components, and we can see that it forms a handy extension to the PC capabilities.
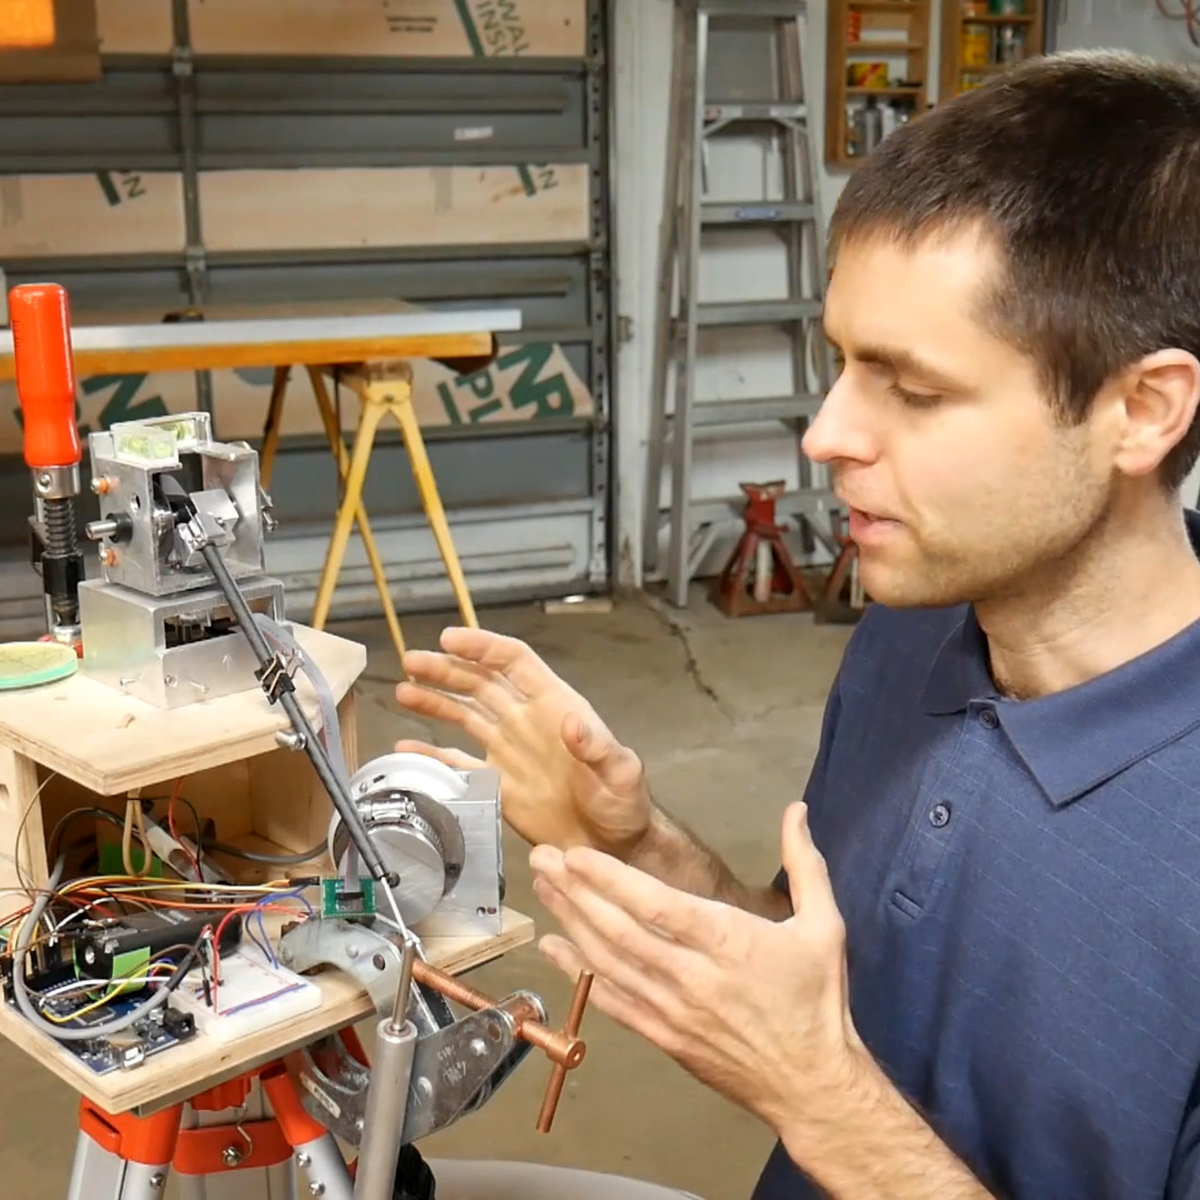
If you’ve taken a physics class, you’ve doubtless heard tales of mythical beasts like the massless string, the frictionless bearing, and the perfect sphere. And if you’re designing something new, it’s not always wrong to start by thinking in terms of these abstractions, just to get the basic framework laid and a first-order handle on the way things go. But once you start building, you’d better be ready to shed your illusions that a 6 mm peg will fit into a 6 mm hole.
Theory and practice are the same thing, in theory. But as soon as you step into practice, your “weekend build” can easily turn into a 500-hour project, full of hurdles, discoveries, experimentation, and eventual success. I’m not going to rehash [Scott Rumschlag]’s project here — you should really watch his detailed video — but suffice it to say that when building a sub-millimeter precision 3D measuring device, bearings do have friction and string does have non-zero mass, and it all matters.
When you start working on a project that “looked good on paper” or for whatever reason just doesn’t turn out as precisely as you’d wished, you could do worse than to follow [Scott’s] example: start off by quantifying your goals, and then identify where every error along the way accumulates to keep you from reaching them. Doing precise work isn’t easy, but it’s not impossible either if you know where all the errors are coming from. You at least have a chain of improvements that you can consider, and if you’ve set realistic goals, you also know when to stop, which is almost as important.
And if anyone out there has an infinite sheet of perfectly conductive material, I’m in the market.
This article is part of the Hackaday.com newsletter, delivered every seven days for each of the last 200+ weeks. It also includes our favorite articles from the last seven days that you can see on the web version of the newsletter.
Want this type of article to hit your inbox every Friday morning? You should sign up!
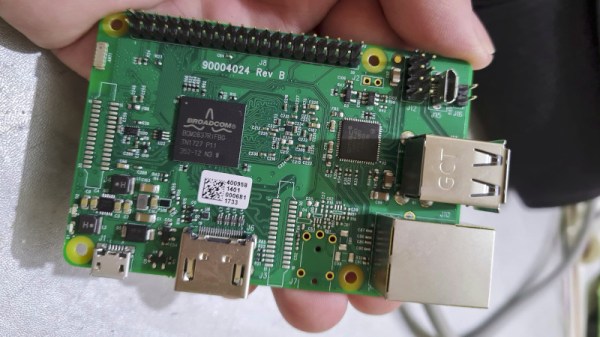
Since the first Raspberry Pi came to market back in 2012 there have been a variety of models released. Some of them are rarer than others, and unusual boards can even be rather sought-after. This one spotted at a Thai junk vendor won’t be in the hands of many collectors though, and investigating it sheds a bit of light on some of the most unusual boards from the company.
The board is recognisably very similar to a Pi 3 with a BCM2837 SoC, but despite all that it has no Pi logo. On the underside there is an eMMC in place of the SD socket, and one pair of USB sockets has been replaced by a micro USB socket and a header. The source is reported to have been a washing machine, but given that this SoC is exclusive to the the Pi Foundation there’s no way it could easily have been manufactured by anyone else. The answer comes in the 2015 launch of a customisation service for industrial customers, which allowed manufacturers to have their own versions made of the fruity SBC.
From the point of view of an experimenter this board offers nothing that a standard device can’t do. But it’s an interesting glimpse of an unseen side to the Pi story, and it holds the prospect of other special versions being unearthed. If you find one on your travels, let us know!