What do you do when you find some friends have bought a vacuum forming machine? Make novelty chocolates and ice cubes, of course! This was my response when I had the opportunity to play with a Vaquform DT2 all-in-one vacuum forming machine, so what follows is partly a short review of an exciting machine, and partly an account of my adventures in edible merchandise creation.
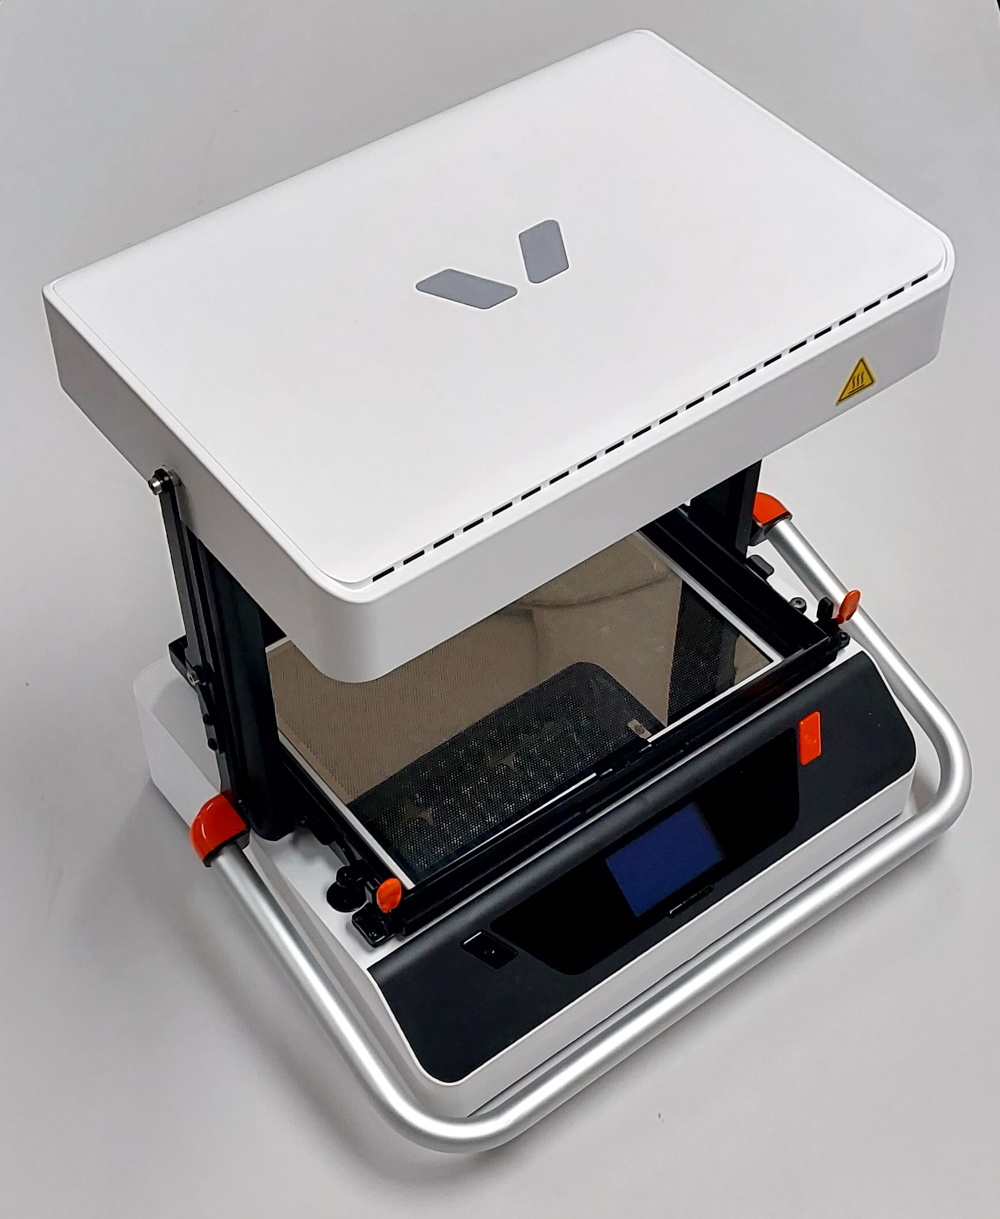
Vacuum forming, the practice of drawing a sheet of heat-softened plastic film over a model to make a plastic shell copy of it, is nothing new in our community. It’s most often found in hackerspaces in the form of home made vacuum forming tables, and usually requires quite a bit of experimentation to get good results. The Vaquform machine I was lucky enough to be able to try is an all in one machine that puts the whole process into a compact desktop machine of similar size to a typical 3D printer. It’s a machine of two parts with a moveable carriage between them for the plastic sheet; a vacuum table on its base, and a heater unit suspended above it. The unique selling point is that it’s an all-in-one computer controlled unit that does as much as possible for you, it simply requires the user to place a sheet in the carriage and follow the instructions.
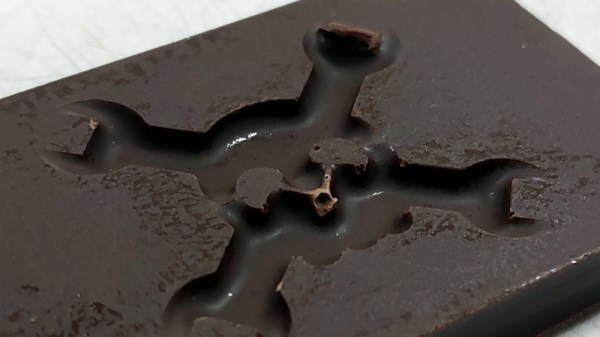
When I first saw the machine I didn’t really have anything to try it with, so of course I resorted to producing a Wrencher or two. Because what it makes are essentially moulds, it made sense to produce something Wrencher-shaped with them, and thus the chocolate and ice plan formed. The first mould was made with laser-cut Wrenchers in 2mm acrylic, stacked on two more layers of uncut acrylic to make a bar with an inset Wrencher on top, while the second one used a 3D-printed array of larger stand-alone Wrenchers with channels between them. Would my first attempt at vacuum forming make usable moulds or not? Only one way to find out. Continue reading “Ice Wrenchers, Wrencher Chocolates, And The Vaquform DT2”