Making a chocolate chip cookie is easy. Making a good chocolate chip cookie is a little harder. Making a good chocolate chip cookie quickly is a pretty tall order, but if you cobble together a microwave and a conventional oven, you just might get delicious and fast to get together.
The goal of this Frankenstein-esque project is to build a vending machine that can whip up a fresh-baked chocolate chip cookie on demand and make [Chaz] wealthy beyond his wildest dreams. We’re guessing at that last part; for all we know his goal is world peace through instant cookies. We’re fine with the idea either way, and his previous work on the project resulted in a semi-automatic cookie gun to splooge the dough out in suitable dollops.
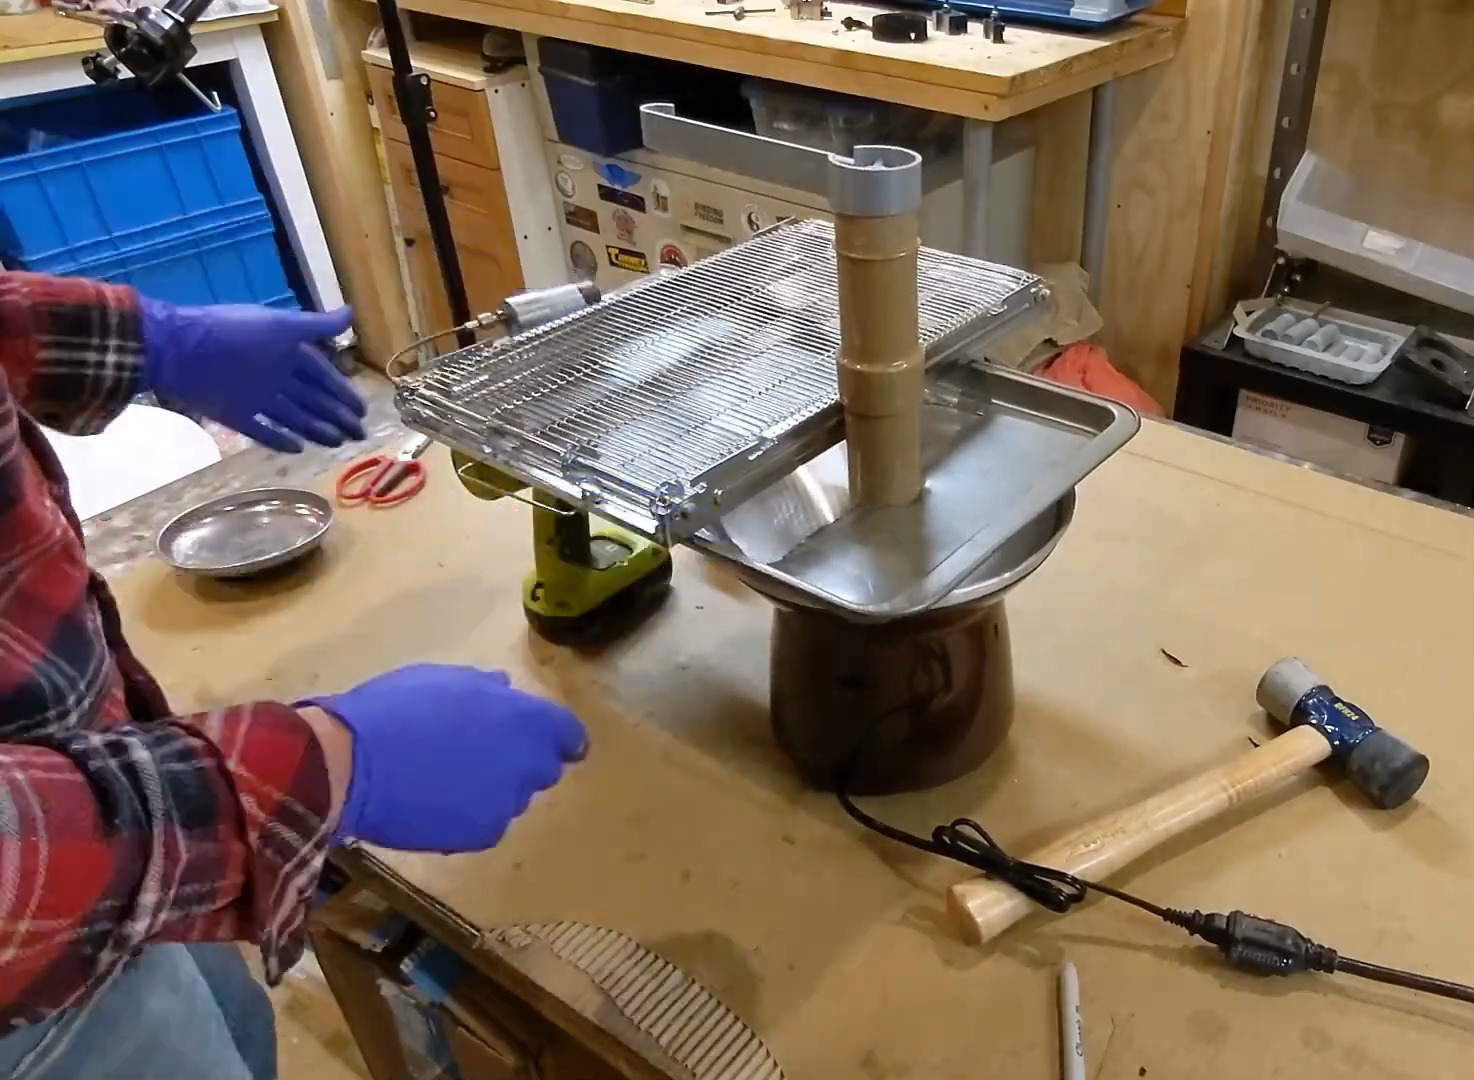
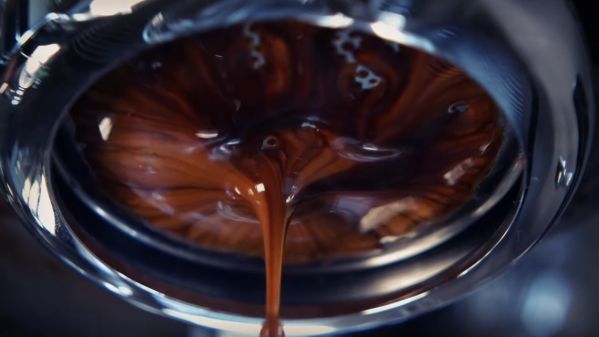
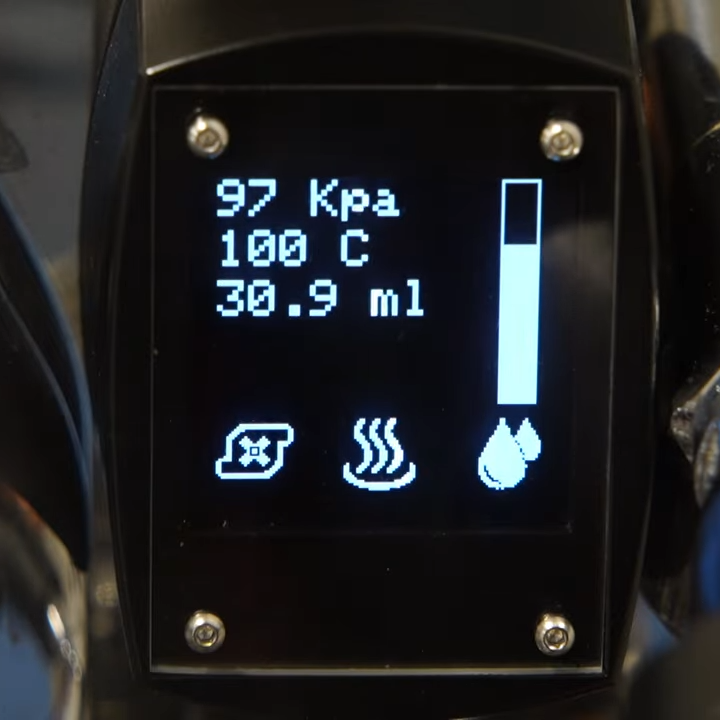
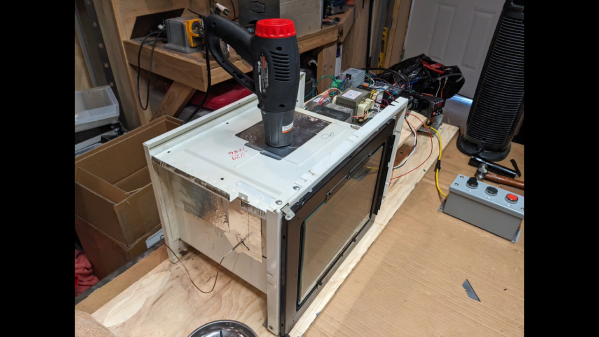
The current work is turning those into something edible, for which a microwave seems a logical choice. Experience tells us otherwise, so off to the thrift store went [Chaz], returning with a used air fryer. He ripped the guts out of a small microwave, slapped the magnetron onto the side of the air fryer, and discovered that this was officially A Bad Idea™ via a microwave leakage tester. Round 2 went the other way — adding a conventional heating element to a large microwave. That worked much better, especially after close-up video revealed the dynamics of microwave cookery and the best way to combine the two cooking modalities. The result is a contraption that makes a pretty tasty-looking two-minute cookie. World peace, here we come!
Of course there’s plenty to say about the safety of all this, much of which [Chaz] himself cops to in the video. It’s important to remember that he’s just prototyping here; we’re sure the final machine will be a little more sophisticated than a heat gun duct-taped to the side of a microwave. Those cookies aren’t going to bake themselves, though, so you’ve got to start somewhere.
Continue reading “Hack Makes Microwave Cookies Fast And Not Terrible”