When I got back into SLA resin printing recently, I knew that I’d inevitably have to deal with the agony of failed prints and of course resin spills. This moment eventually came, and I felt motivated to treat mistakes as teaching moments on aspects like how to properly prepare an SLA build plate in terms of angles and supports or how to deal with failed print aftermaths.
Before moving on to the disaster, I’d like to first start with a look at the resin print of the previous article, which contained a number of fairly small parts. These I had oriented and supported almost fully using the automatic methods provided by the ChituBox slicer software, and worked about 90% as I had hoped, while leaving plenty of room for improvement as well.
Overall, preparing an SLA build plate in the slicer isn’t quite the same as for an FDM printer, mostly due to one phrase that strikes fear in the heart of anyone who has ever done resin printing: “peeling forces”.
When we last left off, I had just set up a new SLA resin printer and was on the verge of doing the initial round of printing to see just how resin printing in 2026 compares to way back in 2020. Surely SLA printing had to be easier and less fussy than it was in 2020?
During these weeks of printing, setting up printers and taking a gander at the various workflows that certain printers and their manufacturers try to push you into I have both produced a series of not too shabby prints and some delightful spaghetti. I also flipped a few proverbial tables and formed some strong opinions on 3D printing workflows, of which some can considered to be family-friendly.
Without further ado, let’s get into some updates, a bit of ranting, and even some printing results.
PID controllers are everywhere. They regulate temperature, motor speed, power supplies, positioning systems, process equipment, and probably a dozen things within arm’s reach of you right now.
They’re also frequently explained with enough calculus to make them seem more mysterious than they really are. Granted, the I and D in PID stand for calculus terms, but they are easy enough to build into a spreadsheet. Grab a copy and keep it open while you read this post.
The Google Sheet implements a simple simulated PID controller along with a simulated process — the thing we’re trying to control. You can change the controller gains, alter the process, introduce disturbances, and watch what happens without compiling anything or wiring up a heater that might accidentally become a toaster. Continue reading “Calculus-Free PID (Almost) In A Spreadsheet”→
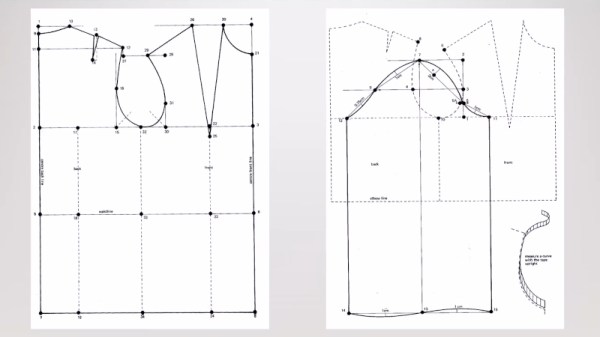
A talk from the recent Electromagnetic Field event in the UK caught our eye, in which [Amy Jeskins] looked at the overlooked engineering skill of pattern cutting. She takes us through the mechanics of creating a pattern for a piece of clothing, and asks why it is not a skill taught to engineers.
She’s a specialist in theatrical costume, and the talk takes us through some examples of her work before looking at the history of tailoring and pattern making. She explores flat cutting and draping a pattern on a form before coming into the present day with CAD packages designed for clothing work. It’s the social aspect of the talk that’s perhaps the most interesting, looking at how it has become a gendered skill and thus not something considered where it should belong, as engineering. We’re reminded of one of the most important additions for a healthy hackerspace, a textile room, as we’ve seen people there bridge this divide from both directions.
Local area networks (LANs) that use technologies like Ethernet and Wi-Fi are incredibly useful for letting devices talk with each other. Yet a core problem here is knowing which devices are where on the network, as anyone who has ever tried to add a network printer or network share to their system can probably attest to. Unless you happen to know the IP address of the LAN device, the port, and protocol, the target device may as well be located on the Moon without further help, such as automatic network discovery in lieu of waddling over to the device and reading the label listing its IP address.
Over the decades quite a few ways have been developed to enable such network discovery, with many of them using UDP broadcast as the first step. By broadcasting a global message on the entire LAN, any device that has an actively listening UDP socket on that particular port can parse said message and decide whether it’s feeling sociable enough to reply.
The topic of UDP broadcasting is however not as straightforward as it may sound if you’re just getting started, including the existence of many opinions on the ‘right way’. There is also a massive divide between a sprawling service discovery protocol like mDNS and a light-weight one like that one that I had to implement a few years ago for an open source project.
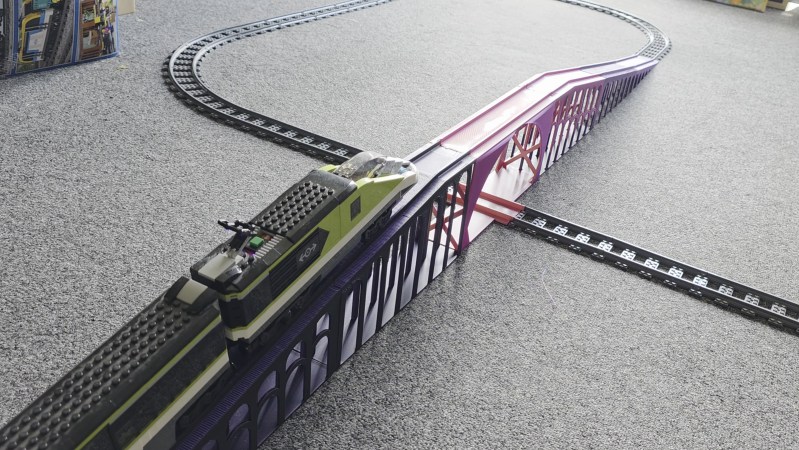
Lego train sets have been available for decades, now. The Danish manufacturer long ago realized the magic of combining its building block sets with motors and plastic rails to create real working railways for children and adults to enjoy. Over the years, Lego has innovated through several generations of trains, from classic metal-rail systems to the more modern IR and later Bluetooth-controlled versions. The only thing largely missing over all that time, though…? A bridge!
Yes, Lego has largely neglected to build any bridges for its mainstream train lineup. There are aftermarket solutions, and innovative hacks invented by the community, all with their own limitations and drawbacks. This glaring oversight, though, seemed like a perfect opportunity to me. It was time to fire up the 3D printer and churn out a fully-realized Lego rail bridge of my very own.
Bridges Are Hard
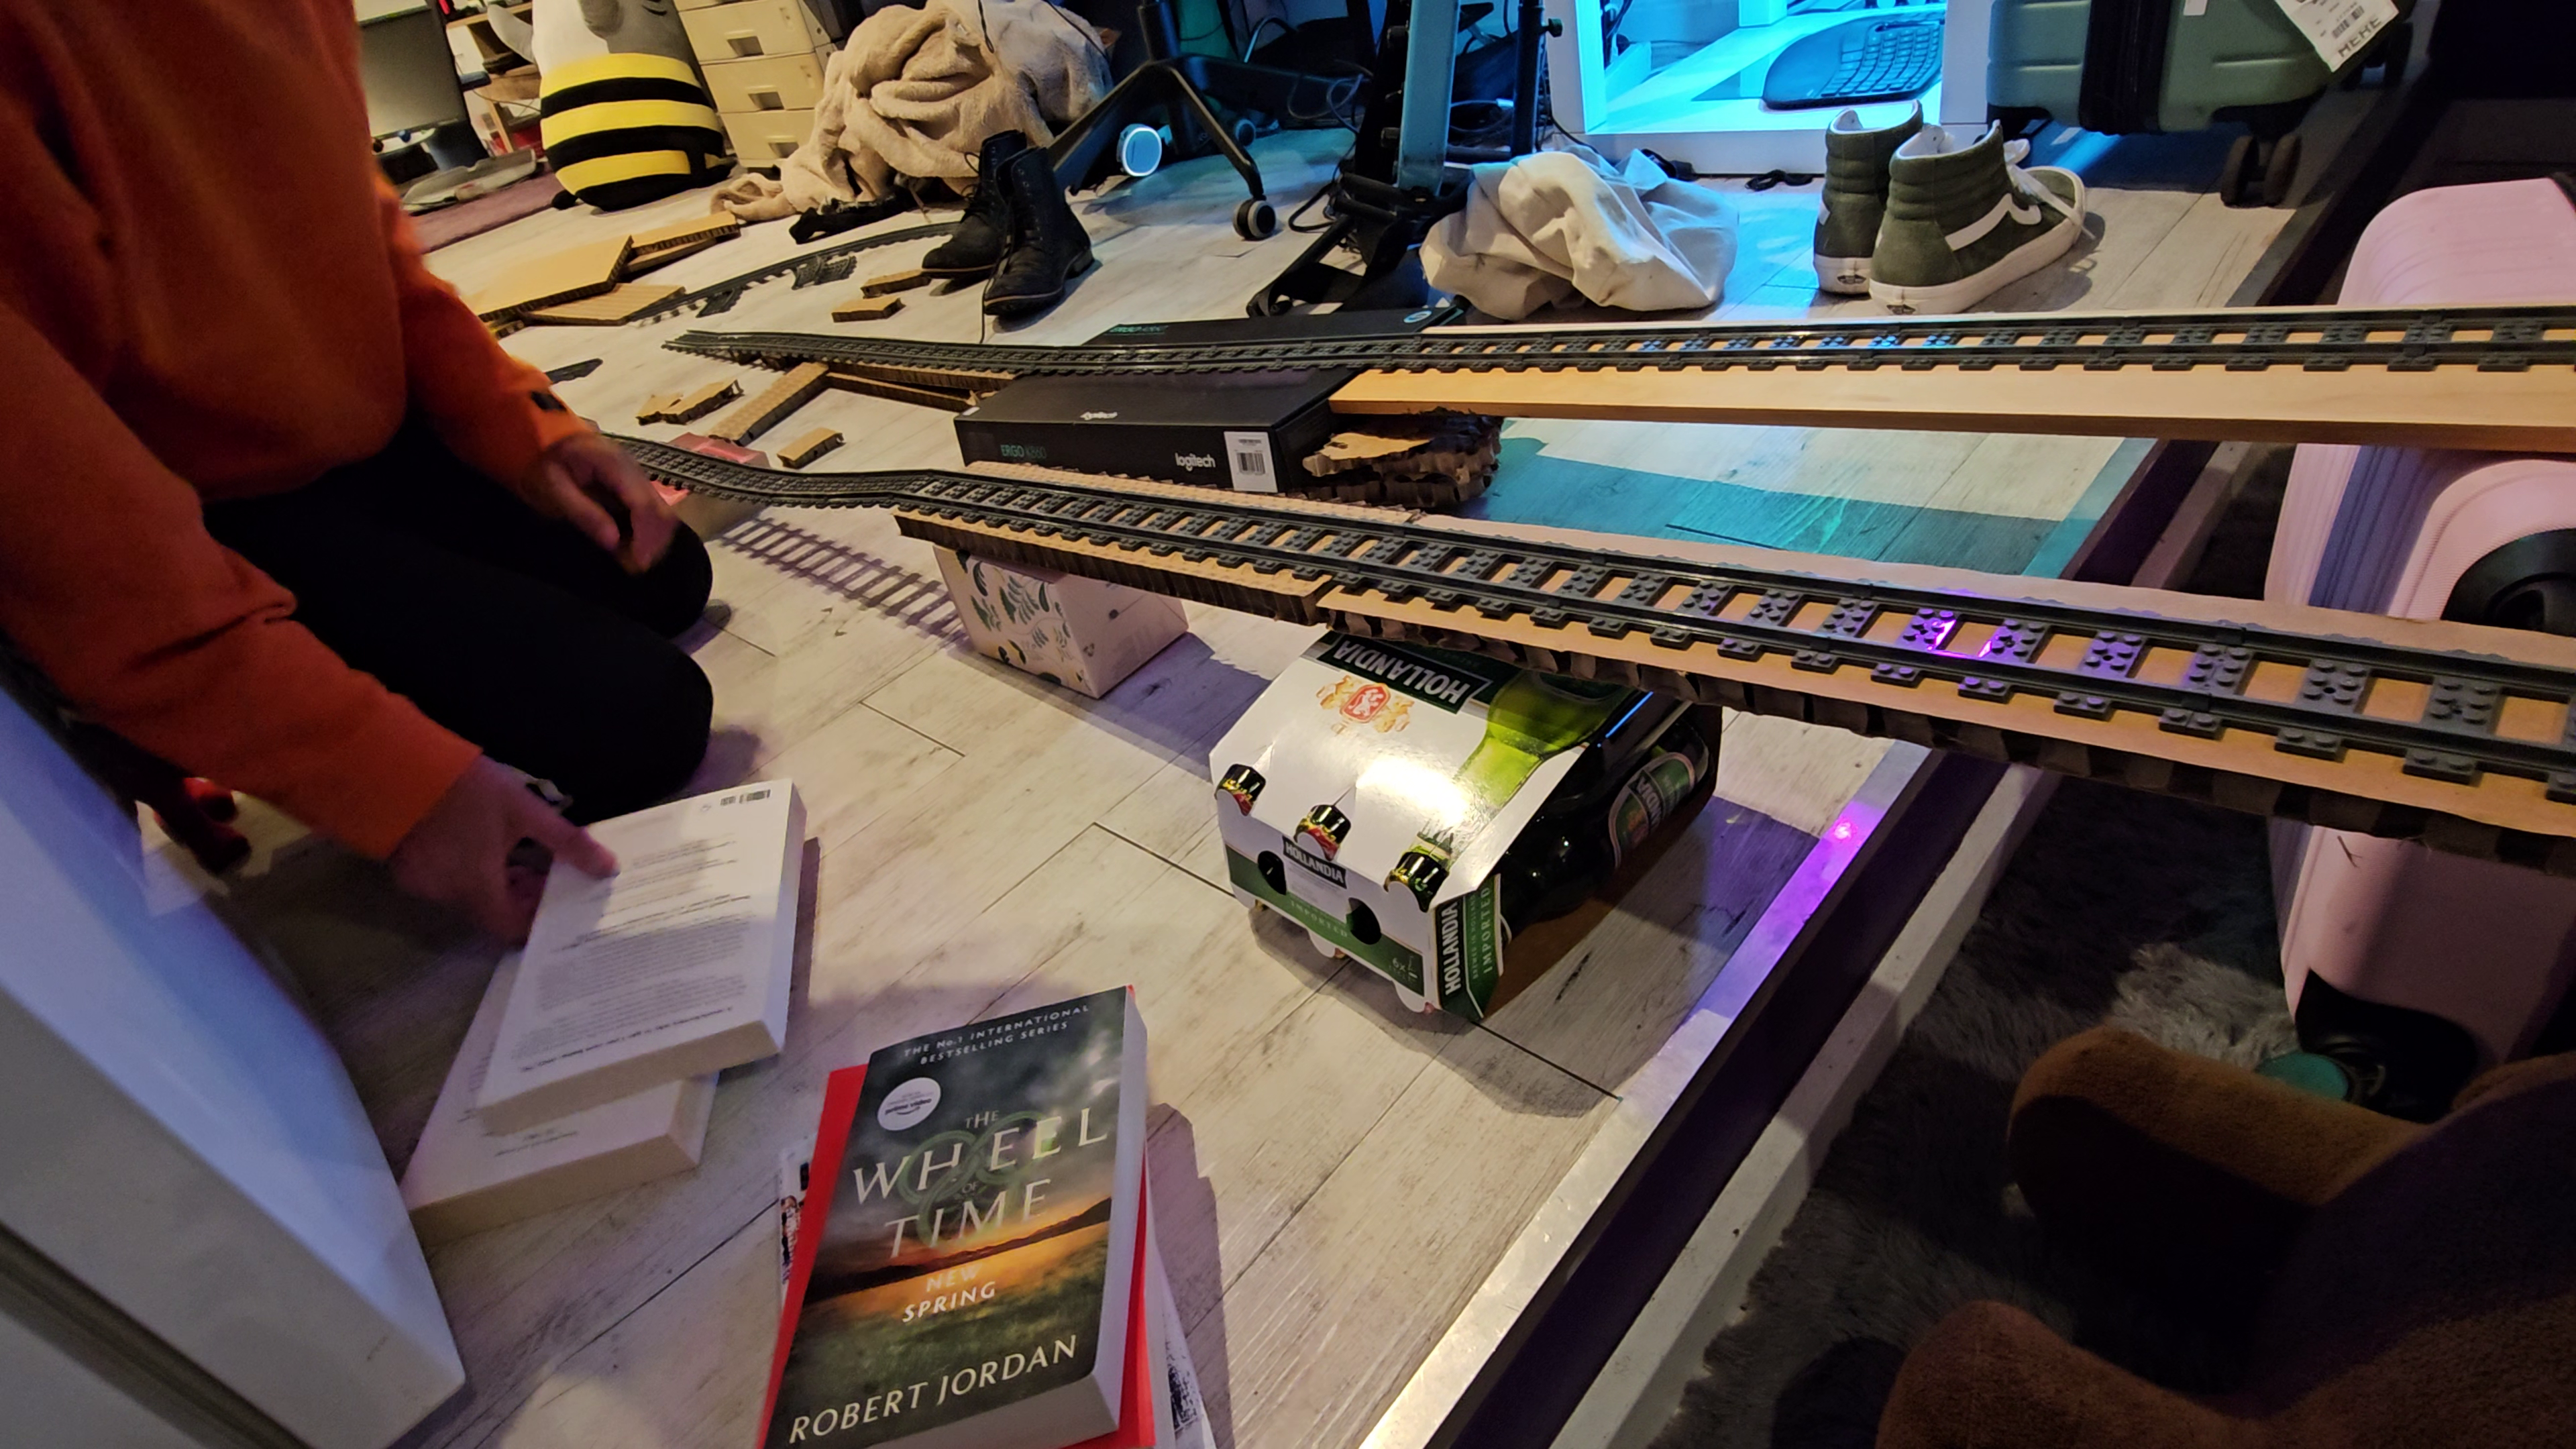
I’ve experimented with building Lego rail bridges before, using standard track and household objects like cardboard, books, and beer. Unfortunately, it can be very difficult to support the track evenly at the joints which occur every 150mm, and derailments are common. Credit: author
There’s actually a good reason Lego bridges aren’t a big thing in the company’s own product lineup, beyond a few obscure historical parts. This is probably because they aren’t very practical. Lego locomotives are not particularly strong haulers, nor do they have excellent grip on the rails, and this makes them very poor at climbing even mild grades. Any official Lego bridge would have to be very long with a shallow slope just to allow a train to climb high enough to clear a locomotive on a track below. This would end up being an expensive set that would probably prove unpopular with the casual Lego train builder, even if the diehard enthusiasts loved it.
There are third-party options available out there. However, most rely on standard Lego track pieces and merely combine them with supports that hold them up at height. This can work in some cases, but it can be very difficult to do cool things like passing a Lego train under a bridge, for example. It can be hard to gain enough height, and the short length of Lego track pieces makes it hard to squeeze a locomotive between supports. Continue reading “How I 3D Printed My Own Lego-Compatible Train Bridges”→
A lot of making goes on in this community these days, but sometimes you’ve just gotta do some old fashioned hacking. You might have grabbed an old Speak and Spell that you want to repurpose as an interface for a horrifyingly rude chatbot, or you’ve got a calculator that is going to become the passcode keypad for launching your DIY missiles. You want to work with the original hardware, but you need to figure out how to interface all the buttons yourself.
Thankfully, this is usually an easy job. The vast majority of buttons and keypads and keyboards are all implemented pretty much the same way. Once you know the basics of how to work with them, hooking them up is easy. It’s time to learn about key matrixes!