Knowing he was a guy who liked electronics and taking things apart, one of [Erik]’s friends sent him a vintage Apple QuickTake 100/150 digital camera as a bit of a joke. [Erik] enjoyed the gift, but since his friend hadn’t sent the necessary serial cable he really couldn’t do that much with it. He searched online only to discover the cable is very difficult to find these days, and thus very expensive. So, being the handy guy he is, he built his own.
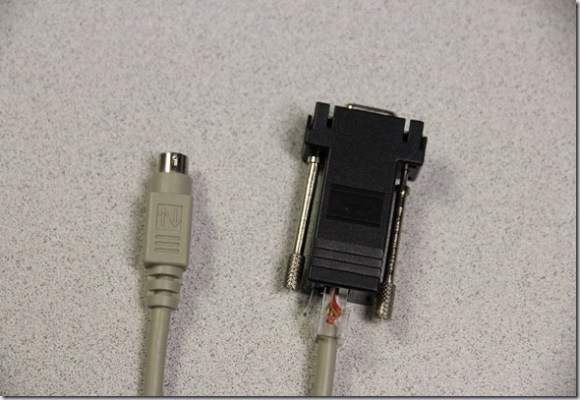
Starting with an Apple MiniDin8 Male cable, he cut off one end and attached the wiring to a RJ45 connector. That got plugged into a modular adapter with a DB9 Female Plug end and wired up. The procedure required no soldering, and cost less than $6. Awesome.
Unfortunately the lack of serial cable isn’t the only problem he faced. QuickTake isn’t compatible with newer Apple computers that use Intel. You have to either have a much older Mac, or use a Windows XP emulator. If that wasn’t bad enough, the cameras only want to save photos in QuickTake file format. Luckily, [Erik] documents how he overcome all these issues in his post.
[Thanks Erik]