You screwed everything up last night. The end of 2016 had a leap second, so instead of the seconds going up from 57, 58, 59… 00, there was a 61st second in the last minute of the year. Yeah, 2016 just wouldn’t quit. [Michel] built a device to keep track of 2016’s leap second using GPS, and everything worked beautifully.
Remember MechWarrior? There’s a reason those mid-90s games used mechs instead of more organic characters. Computers couldn’t draw that many polygons, making MechWarrior a stylistic choice driven by the limitations of technology. Here’s a real MechWarrior that could rip your head off without trying.
The Hackaday Retro Edition is a Web 1.0 version of our main blog, and a challenge to retrocomputing enthusiasts. [PK] recently got his Psion Series 3a surfing the interwebs with a little help from PPP and a Raspberry Pi. He also got a Psion Series 7 online using the same method, but that was a little more anti-climatic.
The NES Classic Edition costs too much, the cords are too short, and you can’t play anything but the pre-installed games. There’s a solution to this: [Andrew] has been working on the Beagle Entertainment System for a while now, and it’s ready for a proper release. The BES uses the SNES9X, VBA-M, and Nestopia emulators, with the original ROMs, and has a ‘shield’ for SNES gamepads. You can’t do better than this, and it’s cheaper than the NES Classic Edition.
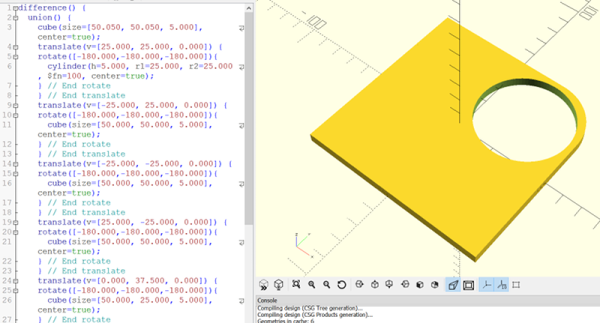
Vacuum pens, or vacuum pickup tools, or whatever you want to call them, are really useful when working with SMD parts. You can build your own out of an aquarium pump, duct tape, a lighter, paperclip, and a mechanical pencil, but that lacks the elegance of a footswitch-operated, solenoid valve pickup tool. [Dave] built a great version of a vacuum pickup tool from scratch for less than $200. There’s NTP fittings on here, so you know it has to be great.
 Terrible news! I’m in Vegas next week for CES. While I’ll be spending most of my time figuring out ‘which internet of things is best internet of things’, I might have some time for a Hackaday CES meetup.
The best idea I have for a Hackaday CES meetup is the Fun Dungeon in the Trashy Castle. It has Skee Ball and Crazy Taxi. If you have a better idea of where Hackaday fans and aficionados can meet up for an hour or two, leave a note in the comments below.


 Fail of the Week is a Hackaday column which celebrates failure as a learning tool. Help keep the fun rolling by writing about your own failures and


