A simple room refinishing project lead [Kris] to his biggest hack yet, a floor inspired by MC Escher’s Reptiles print. Maurits Cornelis Escher is well known for his reality defying artwork. His lifelong passion was tessellation, large planes covered identical interlocking shapes. Triangles, squares, hexagons all 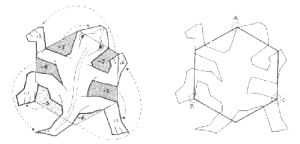 interlock naturally. Escher discovered that if he cut out part of a shape and replaced it on the opposite side, the new shape will still interlock. In Reptiles, Escher created a lizard shape by modifying a hexagon. One side flipped over to become the nose, 4 others to become the feet, and so on. If the cuts are all made perfectly, the final shape would still interlock.
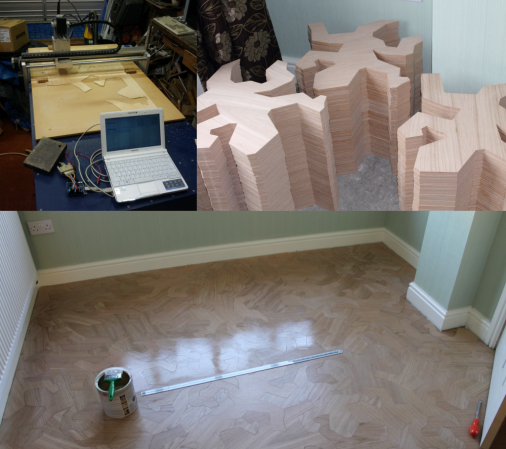
[Kris] was inspired by a photo of a commercial flooring project using small wooden reptiles as the tiles. He wanted to go with larger wooden tiles for his room. He knew his shapes had to be perfect, so he wrote a computer program to split the hexagon perfectly. Armed with art in DXF format, he went looking for a flooring company to help him. The silence was deafening. Even with artwork ready to go, none of the local custom flooring shops would take his job. Undaunted, [Kris] bought an older CNC machine. The machine was designed to be driven from MS-DOS via the parallel port of a Pentium II era PC. [Kris] substituted an Arduino running GRBL. After some GCode generation, he was cutting tiles.
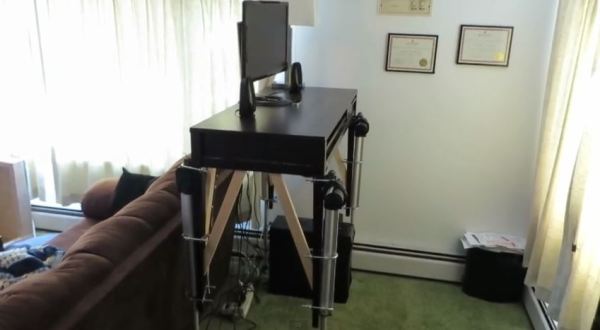
The real fun started when it was time to glue the tiles down. With all the interlocking parts, it’s impossible to just glue one tile and have it in the perfect position for the next. In [Kris’] own words, “You have to do it all in one go”. Thanks to some family support and muscle, the flooring project was a success. Great work, [Kris]!