Curious Marc Takes On Sewing Machine Repair

Even the most talented engineers can be stymied by simple repair projects. In this case, repairing a broken sewing machine has [CuriousMarc] all tangled up.  [Marc] is probably best known as a part of the team who managed to restore and boot up an apollo guidance computer, but he’s worked with plenty of other vintage machines.

This problem hit much closer to home. [Marc’s] daughter wanted to sew a Halloween costume. The machine would boot up fine, but when attempting to sew, it would make a bit of noise, then beep and display “The safety device has been activated”. Not very helpful.

The sewing machine in question is called “Baby Lock Decorator’s Choice” and is manufactured by Brother for Juken. [Marc] of course dug in, and quickly found himself stymied by a clamshell case that just didn’t want to come apart. This is the point where many of us would apply just a little too much force when prying and be rewarded with a broken case.

[CuriuosMarc] is thankfully the more patient sort. Rather than become [FuriousMarc], he carefully persevered to find a hidden screw holding things together. The screw could only be accessed by inserting a screwdriver through a tiny access hole on the front chassis of the machine.
With the screw out, a couple of molded clips were all that held the case sides together. After popping them, [Marc] was finally able to fix the real problem: A toothed belt that had slipped off its cog. That’s it — just a loose belt. The cryptic error code most likely was due to the machine realizing it the motor was on, but the machine wasn’t moving – which would generally indicate something stuck or tangled in the thread path.

This type of repair would be much easier if service manuals were readily available. We did a quick search for this model but didn’t find anything freely available.

Have you gotten stuck by a simple repair? Tell us about it down in the comments.

Continue reading “Curious Marc Takes On Sewing Machine Repair”

DC UPS Keeps The Internet Up

We occasionally get annoyed that so much gear takes the ubiquitous “wall wart” these days. But one advantage is that the devices operate on DC voltage. [TechRally] takes advantage of this to create an automatic DC UPS with dual outputs to power a router and modem in the event of a power outage. You can see two videos about the project below.

Some may say it would be better to use conventional UPS, but think about it. That UPS has a battery in it that gets converted to AC so the wall wart can convert it back to DC. Each conversion loses some energy, of course, and in the case of a cheap wall wart, you may even lose quite a bit.

The project contains eight 18650 batteries, an off-the-shelf charge controller, and power converters. Could you do a more efficient custom design? Maybe, but the use of these inexpensive and commonly available modules makes it quick and easy to pull something like this together.

No one would mistake this UPS for a commercial unit, but it does have a certain hacker aesthetic. We wouldn’t carry it through an airport, though. With those digital displays and all the wiring, it looks like a bad TV show’s bomb prop.

If you don’t care about the automatic switchover, we hear that 5V will power a lot of equipment these days and that makes battery operation as simple as stripping a USB cable. This could probably drive some other gear like a connected Raspberry Pi. Or, you could do that job with some supercaps.

Continue reading “DC UPS Keeps The Internet Up”

Building A Kinetic Sand Art Table

Many of us have marveled at art installations that feature marbles quietly and ceaselessly tracing out beautiful patterns in sand. [DIY Machines] is here to show us that it’s entirely possible to build one yourself at home!

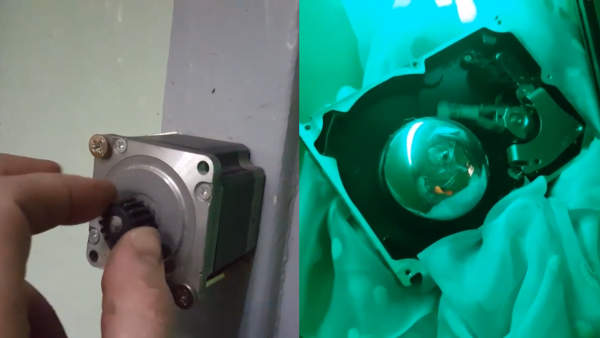
The basic mechanism is simple enough. The table uses a Cartesian motion platform to move a magnet underneath a table. On top of the table, a metal sphere attached to the magnet moves through craft sand to draw attractive patterns. An Arduino and Raspberry Pi work together to command the stepper motors to create various patterns in the sand.

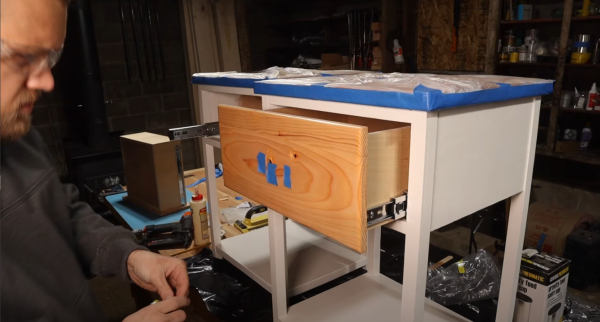
Low-cost pine is used to build most of the table, with oak used for the attractive bare wooden top. RGB LEDs surround the sand surface in order to light the scene, with options for mad disco lighting or simple white light for a subtler look. Other nice touches include sitting the craft sand atop a layer of faux leather, so the ball moving through the sand doesn’t make annoying crunching sounds as the ball moves.

It’s a great build that focuses on the smaller details like noise that can make a big difference to the final experience. We’ve seen similar projects before, too. Video after the break.
Continue reading “Building A Kinetic Sand Art Table”

Extracting Data From Smart Scale Gives Rube Goldberg A Run For His Money

[Kevin Norman] got himself a smart body scale with the intention of logging data for his own analysis, but discovered that extracting data from the device was anything but easy. It turns out that the only way to access data from his scale is by viewing it in a mobile app. Screen-scraping is a time-honored method of pulling data from uncooperative systems, so [Kevin] committed to regularly taking a full-height screenshot from the app and using optical character recognition (OCR) to get the numbers, but making that work was a surprisingly long process full of dead ends.

First of all, while OCR can be reliable, it needs the right conditions. One thing that ended up being a big problem was the way the app appends units (kg, %) after the numbers. Not only are they tucked in very close, but they’re about half the height of the numbers themselves. It turns out that mixing and matching character height, in addition to snugging them up against one another, is something tailor-made to give OCR reliability problems.

The solution for this particular issue came from an unexpected angle. [Kevin] was using an open-source OCR program called Tesseract, and joined an IRC community #tesseract to ask for advice after exhausting his own options. The bemused members of the online community informed [Kevin] that they had nothing to do with OCR; #tesseract was actually a community for an open-source 3D FPS shooter of the same name. But as luck would have it, one of the members actually had OCR experience and suggested the winning approach: pre-process the image with OpenCV, using cv2.findContours() to detect and create a bounding box around each element. If an element is taller than a decimal point but shorter than everything else, throw it out. With that done, there were still a few more tweaks required, but the finish line was finally in sight.

Now [Kevin] can use the scale in the morning, take a screenshot, and in less than half a minute the results are imported into a database and visualizations generated. The resulting workflow might look like something Rube Goldberg would approve of, but it works!

Tech In Plain Sight: Air Conditioning

I’m always amazed that technology can totally wipe out industries. Sure, some people make a living making horseshoes, for example, but the demand for them is way down compared to what it would have been when horses were the normal mode of transportation. But even so, people still make horseshoes. But think about the ice harvesting business. Never heard of it? Turns out, before refrigeration, there was a huge business of moving ice from where it naturally occurred to other places and storing it, usually underground with a lot of insulation. As far as I know, that business — including the neighborhood ice man — is totally gone now except for some historical exhibitions. We take refrigeration and air conditioning for granted, but it hasn’t been that long ago that ice was a luxury and your own reprieve from the heat was a fan.

Early Cooling

The story starts a little earlier than you might expect. In the 1840s, physician John Gorrie was concerned about “the evils of high temperature.” His hospital in Florida imported ice using the aforementioned ice trade and it wasn’t cheap nor was it very effective.

Undeterred, he developed a machine that used a horse, a waterwheel, steam, or wind power to drive a compressor to create ice. He got a patent in 1851 but it failed to catch on before his financial backer died. In fact, Oliver Evans had the idea in 1805 but never built a working machine. Jacob Perkins patented the first compression cooler in 1834, again with little practical use.

When U.S. President Garfield was shot, Navy engineers built a cooling box using cloths soaked in ice water to cool the president’s hospital room by 20 degrees. Since the mortally wounded president survived 80 days after the shooting, we presume he appreciated the comfort.

Continue reading “Tech In Plain Sight: Air Conditioning”

A 2nd gen Amazon Echo Dot inside a 1980s answering machine.

An Echo Dot For The 1980s

There’s so much obsolete technology out there with great design. It’s really sad to see it end up in the landfill, because even though the insides may be outdated, good design is forever. Take this 1980s Panasonic answering machine, for instance. The smoky plastic of the cassette lid is the perfect screen for Dot, because it lets the light through while hiding the modernity of the thing in the process. Check it out in action after the break.

What [ehans_makes] has written is really more of an overall guide to repurposing old electronics and fighting e-waste in the process. First, they non-destructively figure out what needs to be done to both the old thing and the newer thing to get them to play nicely together — what 3D printed parts need to be added, what can be salvaged and reused from the old thing, and what parts of the old enclosure can be Dremeled away. In this case, [ehans_makes] ended up printing an adapter to be able to re-use the original speaker’s mounting points inside the answering machine, and printed a mount for the Dot as well. The STLs are available if you happen to find the same answering machine at your local thrift store or neighbor’s estate sale.

While we’ve always managed to hold on to the screws when we disassemble something, [ehans_makes] has an even better idea: draw a diagram of where they go, and tape the actual screws to the diagram as you remove them.

Some of the best designs never really existed, at least not on a commercial scale. If you can’t find a cool old enclosure, you can always build one yourself.

Continue reading “An Echo Dot For The 1980s”

Minimalist Timer Counts Down With LED Matrix

Looking for something with a bit more style than the traditional kitchen timer, [Martin Jonasson] decided to take the last couple of months to design and build his own take on the idea using a rotary encoder, 16×9 LED matrix, and a Teensy 2.0 microcontroller. Were there better things he could have spent that time on? Possibly. But you probably wouldn’t have been reading it about it here, so we won’t trouble ourselves with such thoughts.

Put together on a piece of perfboard, the handwired circuit also includes an Adafruit PowerBoost 500 Charger, a 3.7 V 2500 mAh LiPo battery, a IS31FL3731 Charlieplexed PWM LED driver, and a piezo buzzer. The top of the rotary encoder has been capped off with a sold metal knob, which combined with the enclosure made of stacked laser cut 3 mm acrylic sheets, really gives the device a very sleek and classy look.

While the hardware is quite nice, it’s the software that really pulls this whole project together. A game developer by trade, [Martin] went all in on the timer’s GPLv3 licensed firmware. From using the toneAC library to play melodies at the end of the countdown, to the custom fonts and the code that pauses the timer while the user is spinning the knob, there’s plenty of little touches that should make the timer a joy to use. We’ve seen some unique kitchen timers over the years, but the attention to detail put into this build really raises the bar.

[Martin] has provided everything you need to create your own version of his timer, including the SVG file for the laser cut case. While not strictly required, coming up with a custom PCB for this project would be a nice touch, should you want to put your own spin on it.

[Thanks to Tom for the tip.]