Old boomboxes make great hacks. Their design is iconic; yes they look dated but that really just builds on the nostalgic urge to have one hanging around. Plus their big cases simply invite adding things inside in a way impossible with contemporary electronics.
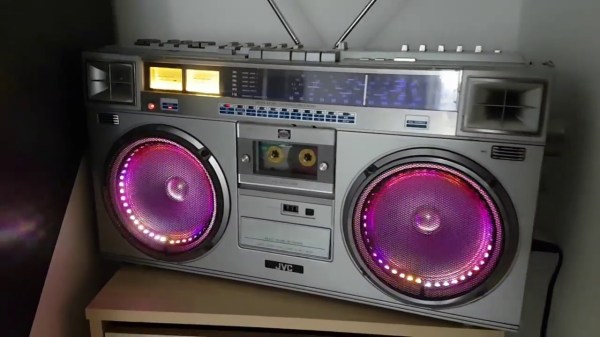
[Danc0rp] hacked his JVC M70 boombox to make the speakers glow with animated light, bumping VU meters, and a pulsing horizontal bar above the tape deck. The effect is superb. The cones of the speakers act like a projection surface and the grilles hide the LEDs until they activate, and enhance the effects once unleashed. It is one of the best LED speaker hacks we’ve ever seen.
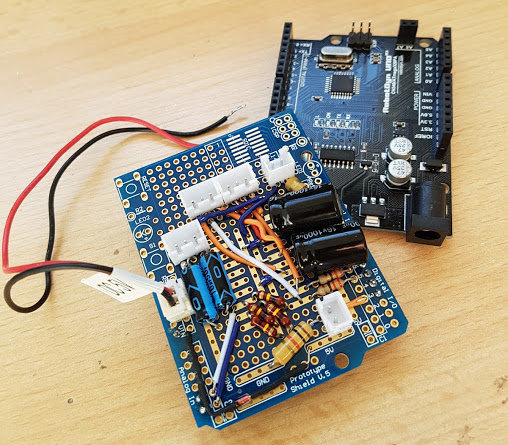
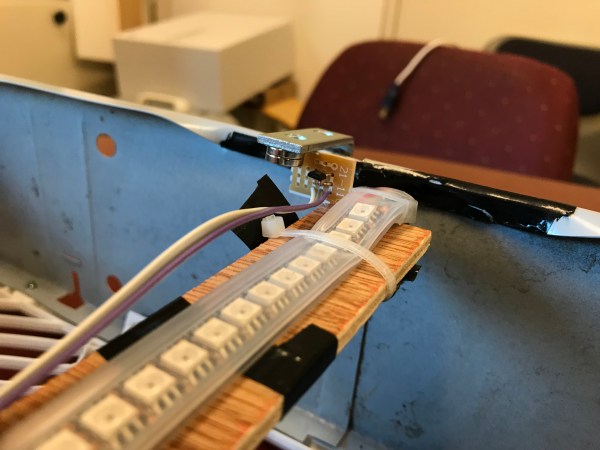
The light effects are provided by LED strips, which for the speakers are attached just inside the outer rim. The brains behind it all is an Arduino UNO. To connect to it, he soldered components to a blank Arduino prototyping board. That board takes input from the boombox’s line-out and does some filtering (an attempt to address some ground noise) before passing the signal on to the Arduino. That board also interfaces between the Arduino and the LED strips. The schematic is available on his GitHub page. He’d like to replace the board with a custom PCB instead and is looking for design help.
The result is not only beautiful but professional looking too. This makes us wonder why boomboxes don’t come this way. See it for yourself in the video below.