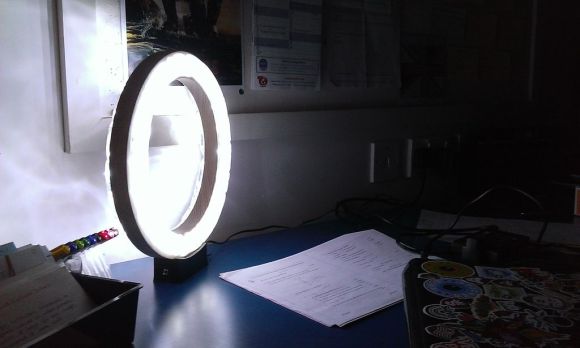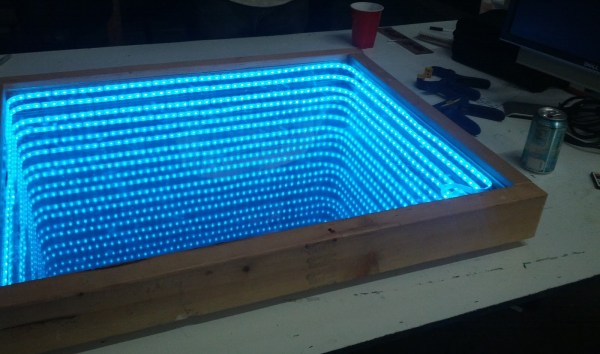
This infinity mirror prototype is small enough to test out the theory before committing to the full project. And the full project that [Kevin] and [Edward] have in mind is a huge infinity portal that they will showcase at this year’s Alchemy festival.
It’s called an infinity mirror because it has the illusion of being much deeper than the physical enclosure. The trick is accomplished by placing two mirrors parallel to each other with a light source in between. One of the mirrors is two-way, letting a portion of the light pass through to the viewer rather than reflecting it.
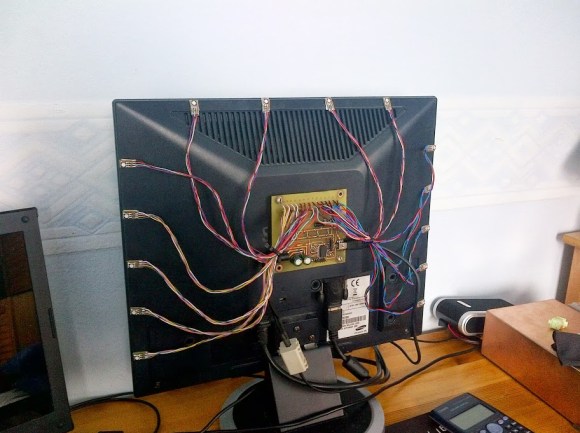
The video demo of the prototype shows that it’s just a 2×4 wooden frame which holds both mirrors. In between is an LED string. The nice thing about the prototype is that adding a bit of tempered glass on top will make it an infinity bar top for the Hackerspace.
Another mirror trick you might incorporate in your own projects is adding an LED display behind the glass.