Remember digital organizers? They were like the lower-spec version of a PDA that couldn’t really do much more than store a few phone numbers and calendar entries. [TundraLegendZ] recently grabbed such a device from 1995 and set about transforming it into something a little more capable.
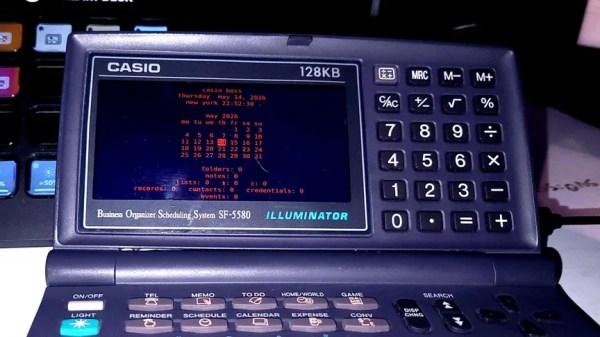
The device in question is a Casio Business Organizer Scheduling System SF-5580. The original guts have been replaced , though, with the power of a Raspberry Pi Zero. The single-board computer is hooked up to a small color LCD screen with a resolution of 480 x 800, which is tucked neatly into the spot where the original display lived. There’s also a Raspberry Pi Pico on board, which is charged with interfacing all 82 keys of the original keyboard. Power is courtesy of a 6000 mAh battery which should last a good few hours on a single charge. Hearing the buzzer hacked is fun, too. It’s more mobile phone ringtone than outright chiptune, but we still enjoyed listening to the results. Screencaps of the software show just what this setup can do with better hardware and a nicer screen than 1995 could provide. Future work is planned to give the build more capabilities with a HackRF upgrade.
We’re not convinced anyone ever got much use out of these diminutive digital organizers, but a great many were sold in the 1990s.