Get That Windows 7 Feel In An OS That Still Gets Updates

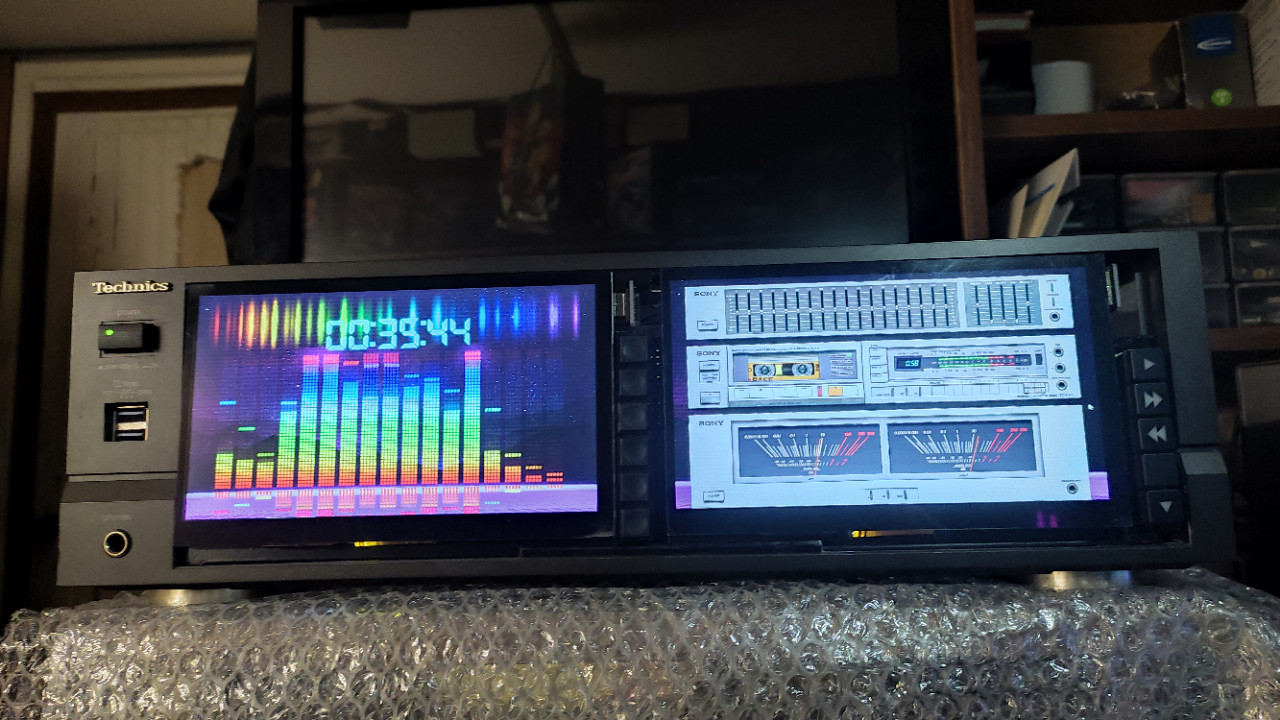
Do you want to go back to an era when Windows was… simpler? Back when things worked, before the AI and the bloat took over your hard drive and RAM space in equal measure? You might like to give Classic 7 a spin (via The Register).

From the drop, we should state that Classic 7 is not Windows 7 at all. Instead, it’s a reskin of Windows 10, specifically, the IoT Enterprise LTSC version. This is a particularly attractive version of Windows 10, as Microsoft has promised long-term support in terms of security updates until 2032. It also strips out annoying consumer-focused bloat like the Xbox gaming overlay and Cortana, and it eliminates forced feature updates that have become the norm in modern Windows installs. Combine all those niceties with the clean and simple feel of the recreated Windows 7 interface, and you have a beautiful operating system that has everything you need and nothing you don’t.

There are, of course, some hurdles to jump over; you’d need to find an appropriate license for this version of Windows and all that jazz. But if you long for the days before Microsoft so cruelly eviscerated the Start Menu and started making everything worse, you might find that Classic 7 is for you.

[Thanks to Stephen Walters for the tip!]

A tiny, rectangular, 3D-printed box with an e-paper display and a fortune cookie design beneath it. The fortune reads: "Your next firmware update will both solve and create problems."

E-Fortune Cookie Will Humble, But Never Crumble

Will your next project be a success? Only time will tell, but if you build [gokux]’s tiny ESP32 fortune cookie, we predict that, at the very least, there won’t be any crumbs involved.

After briefly entertaining the idea of shoving an ESP32 in a standard fortune cookie, [gokux] thought better of it and came up with this instead. Once shaken, this small gadget displays a fortune on its e-paper screen. It can store over 3,000 fortunes and works entirely offline, so you’re never without an oracle.

Inside you’ll find a Seeed Xiao ESP32-S3 Plus and a matching e-paper display board. [gokux] is detecting the shakes with an MPU-6050 accelerometer, and powers everything with a small Li-Po pouch.

If you tire of the fortunes that shake out, the small buttons on the left side will get you into the other modes, which are a dice roller and a coin flipper. Again, you just shake the thing until you get what you want. Be sure to check it out in the video after the break.

Want to know how an MPU-6050 works, and what it looks like under the hood? Yeah, we thought so.

Continue reading “E-Fortune Cookie Will Humble, But Never Crumble”

Sliding-Screen Cyberdeck Has Chunky, Rugged Design

[Jankbu] needed a new computer, but had little interest in purchasing a modern laptop off the shelf. Instead, it was time to build a cyberdeck with a neat modular design to suit his exact needs.

The heart of the build is a Raspberry Pi 5, which provides a good amount of computing power for regular tasks. It’s wrapped up in a 3D-printed enclosure with rail mounts on the back, along with a NOS 450 TKL mechanical keyboard, offering full-travel keys in a compact layout. The 10.1″ IPS touchscreen display is mounted on sliding rails to cover the keyboard when it’s not needed. A smattering of buttons live around the screen, in a manner akin to so many industrial controllers. On either side, the deck has large grab handles, with one side featuring custom horizontal and vertical scroll controls, while the other rocks a trackball.  Power is via NP-F batteries, which are more commonly used to run Sony camcorders.

Unlike so many cyberdecks, [Jankbu] didn’t just build the device to look cool—it also serves a practical purpose. It’s great for running Freecad, and the rail mounts on the rear make it perfect for mounting around the workshop during a job as needed. Files are on Github for those eager to learn more.

What’s fun about this build is that it’s not just a show piece, it’s something that gets used every day. That’s a testament to [Jankbu’s] well-reasoned design, that considered what the device was for before it was put together. We’ve featured plenty of other fantastic cyberdecks in the past, too. Video after the break.

Continue reading “Sliding-Screen Cyberdeck Has Chunky, Rugged Design”

Building A Device To Map Magnetic Fields

Magnetic fields are all around us. We can’t really feel or see them ourselves, per se, but we can map them with the right hardware, like this device built by [edosari50].

The build uses an ESP32 microcontroller, which is built on to a board with an integrated 4.3″ touchscreen LCD. It’s paired with an Arduino Nano, which does the work of actually talking to a pair of EMS100 Fluxgate magnetic sensors. The slower, less capable Arduino handles the low-level chatter and then passes the readouts to the ESP32 over a UART connection. Power is courtesy of a pair of 18650 lithium-ion cells, and a XL4005 DC-DC converter. A lithium-ion charging module is on hand to keep the batteries topped off safely.  Scan results are visualized on the device itself using a heatmap representation, and can also be exported to SD card for later analysis if so desired.

Unless you’re in the geological field or otherwise hunting for stuff underground, this probably isn’t a tool you’ll have a lot of use for. However, if you like finding magnetic anomalies and investigating them, it might be very much in your wheelhouse. We’ve featured other tools for magnetic visualization before, too. Video after the break.
Continue reading “Building A Device To Map Magnetic Fields”

Digital Organizer Given Modern Upgrade

Remember digital organizers? They were like the lower-spec version of a PDA that couldn’t really do much more than store a few phone numbers and calendar entries. [TundraLegendZ] recently grabbed such a device from 1995 and set about transforming it into something a little more capable.

The device in question is a Casio Business Organizer Scheduling System SF-5580. The original guts have been replaced , though, with the power of a Raspberry Pi Zero. The single-board computer is hooked up to a small color LCD screen with a resolution of 480 x 800, which is tucked neatly into the spot where the original display lived. There’s also a Raspberry Pi Pico on board, which is charged with interfacing all 82 keys of the original keyboard. Power is courtesy of a 6000 mAh battery which should last a good few hours on a single charge. Hearing the buzzer hacked is fun, too. It’s more mobile phone ringtone than outright chiptune, but we still enjoyed listening to the results. Screencaps of the software show just what this setup can do with better hardware and a nicer screen than 1995 could provide. Future work is planned to give the build more capabilities with a HackRF upgrade.

We’re not convinced anyone ever got much use out of these diminutive digital organizers, but a great many were sold in the 1990s.

Mix Your Own ECN-2 Development Chemicals

After the digital camera rose to prominence, it became a cool hobby to keep taking photos on film. It was even cooler if you did the same with an old motion picture camera. The retro film revival has kept a dedicated bunch of photo labs in business over the years, but it’s still possible to save some cash on development by doing it yourself. If that’s your game, you might try mixing up your own development chemicals. 

As explained by [No Grain No Gain], it’s quite possible to mix up your own ECN-2 chemistry from scratch if you know what you’re doing. ECN-2 is the chemistry you’ll want if you’re trying to develop any of Kodak’s Vision3 films, along with CineStill films.

The problem with traditional methods of making developer is that once it’s mixed up, it doesn’t keep well, and the more you use it, the worse the quality gets. To beat this problem, this method involves producing two stock solutions which can be kept on the shelf for long periods of time. They can then be combined together with a little CD-3 developer on an as-needed basis. This makes it easy to always have fresh developer on hand for the best possible results on every roll processed. To make everything, you’ll need sodium sulfite, potassium bromide, sodium carbonate, sodium bicarbonate, and the specialist CD-3 developing agent. It’s then a simple job to mix up the dry chemicals with a bunch of distilled water to make the two necessary solutions to keep on hand. The video also explains how to deal with RemJet films if you happen to be shooting those.

[No Grain No Gain] estimates that this method can cut the cost of development to as little as 50 cents a roll. There’s plenty of labor involved, but if you want the freshest, best developer on hand for your home lab, it’s a method worth considering.

We’ve explored modern film development techniques before, too. Video after the break.

Continue reading “Mix Your Own ECN-2 Development Chemicals”

How Giant Tanks Of Fluid Could Help Support The Power Grid

If you’ve been paying any attention to the renewable energy space, you’ll know that generation isn’t really the problem anymore. Solar panels are cheap, and wind turbines are everywhere. The problem is matching generation with demand—sometimes there’s too much wind and sun, and sometimes there’s not enough. Ideally, you could store that energy somewhere, and deploy it when you need it.

The answer everyone keeps reaching for is lithium-ion batteries, and they work just fine. However, there’s a competing technology that’s been quietly scaling up in the background—the vanadium flow battery. It has some unique advantages that could see it rise to prominence in the world of large-scale grid storage.

Continue reading “How Giant Tanks Of Fluid Could Help Support The Power Grid”