The life of a modern DJ is hard. [Gergely] loves his apps, but the MIDI controller that works with the app feels wrong when he’s scratching, and the best physical interfaces for scratching only work with their dedicated machines. [Gergely]’s blog documents his adventures in building an interface to drive his iPad apps from a physical turntable. But be warned, there’s a lot here and your best bet is to start at the beginning of the blog (scroll down) and work your way up. Or just let us guide you through it.
In one of his earliest posts he lays out his ideal solution: a black box that interprets time-code vinyl records and emulates the MIDI output of the sub-par MIDI controller. Sounds easy, right? [Gergely] gets the MIDI side working fairly early on, because it’s comparatively simple to sniff USB traffic and emulate it. So now he’s got control over the MIDI-driven app, and the hard part of interfacing with the real world began.
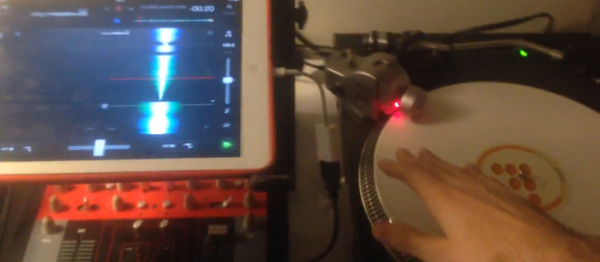
After experimenting a lot with timecode vinyl, [Gergely] gives up on that and looks for an easier alternative. He also considers using an optical mouse, but that turns out to be a dead-end as well. Finally, [Gergely] settled on using a Tascam TT-M1, which is basically an optical encoder that sits on top of the record, and that makes the microcontroller’s job a lot easier. You can see the result in the video below the break.
And then in a surprise ending worthy of M. Night (“I see dead people”) Shyamalan he pulls timecode vinyl out of the grave, builds up a small hardware translator, and gets his original plan working. But we have the feeling that he’s not done yet: he also made a 3D printed optical-mouse holder.
Continue reading “Scratching Vinyl Straddles Physical And Digital Realms”