Of all the musical instruments out there, the keyboard is among the worst for changing the pitch and timbre of individual notes. Wind and stringed instruments can do this easily in the hands of a skilled player, but outside the wheel and joystick controls of a few electronic keyboards, tickling the ivories means the only thing you can really change about how something sounds is the volume.
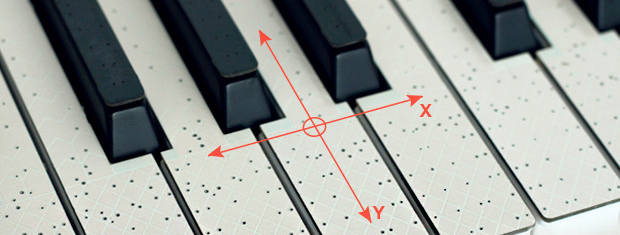
TouchKeys wants to put an end to this severe lack of dynamics available on keyboard instruments. Basically, it turns every single key on a keyboard into a multi-touch sensor, allowing any keyboardist to change the pitch, filter, timbre, or any other parameter of their instrument simply by moving their finger around on a key.
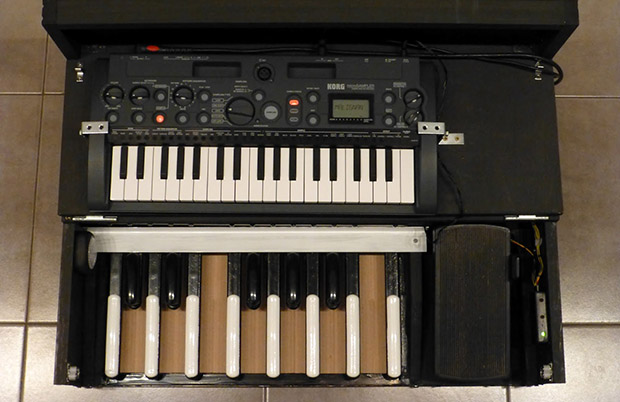
TouchKeys works by overlaying all the keys on a keyboard with circuit boards that plug into a module hidden under the hood. These boards are studded with capacitive sensing points, allowing a computer to recognize where the player is touching each key, and modifying filters or volume for each key independently.
The TouchKeys Kickstarter is offering a kit to equip a 25-key keyboard with these sensors for about $550. A hefty price tag, but hopefully we’ll see this tech in real production keyboards in the future.