Sometimes, the best gift is the one you make yourself. [Pigeonaut] decided to whip up a few Game Boy games of their very own creation to gift to the special people in their life.
The games were crafted using a platform called GB Studio. It’s a tool that allows the drag-and-drop creation of games for the Game Boy and Game Boy Color handhelds. It’s capable of creating ROM files to run in an emulator, within a web page, or they can be flashed to a cartridge and played on real Nintendo hardware.
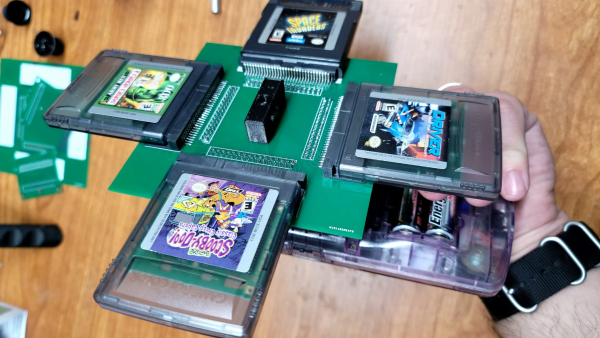
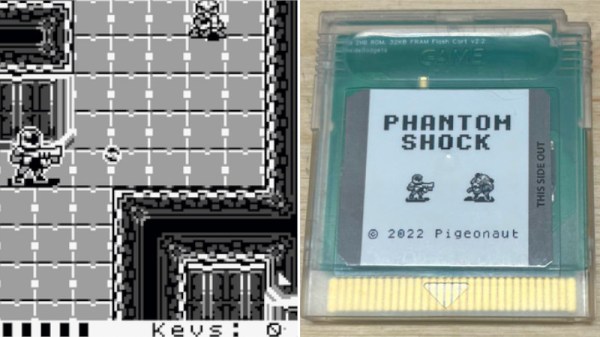
For the full effect, [Pigeonaut] went with the latter method. Four games were created: Phantom Shock, Climbing Mount Crymore, Cozy Cat Cafe, and A Tiny Hike. Each was flashed onto a real cart and given a high-quality label to make a lovely tangible gift. Upon gifting, [Pigeonaut]’s friends and partner were able to play their way through their personalized titles on a GameCube running the Game Boy Player accessory.
It’s hard to imagine a more touching gift than a personal game crafted from the ground up. Getting to play it on a real Nintendo is even better, and we’ve seen hardware that can achieve that before. Try out the games in your web browser via the links above, or send us in your own cool homebrew hacks to the Tipsline!