At the risk of stepping on our fantastic Keebin with Kristina series, a beautiful tutorial by [Ben Vallack] details how to create a custom low-profile keyboard in great detail.
We’ve covered complete guides to building your own and projects making custom rubber dome keyboards. In addition, several subreddits exist around custom keyboard builds and dozens of websites are dedicated to selling parts. So why add not add one more guide, especially on as well done as [Ben’s]?
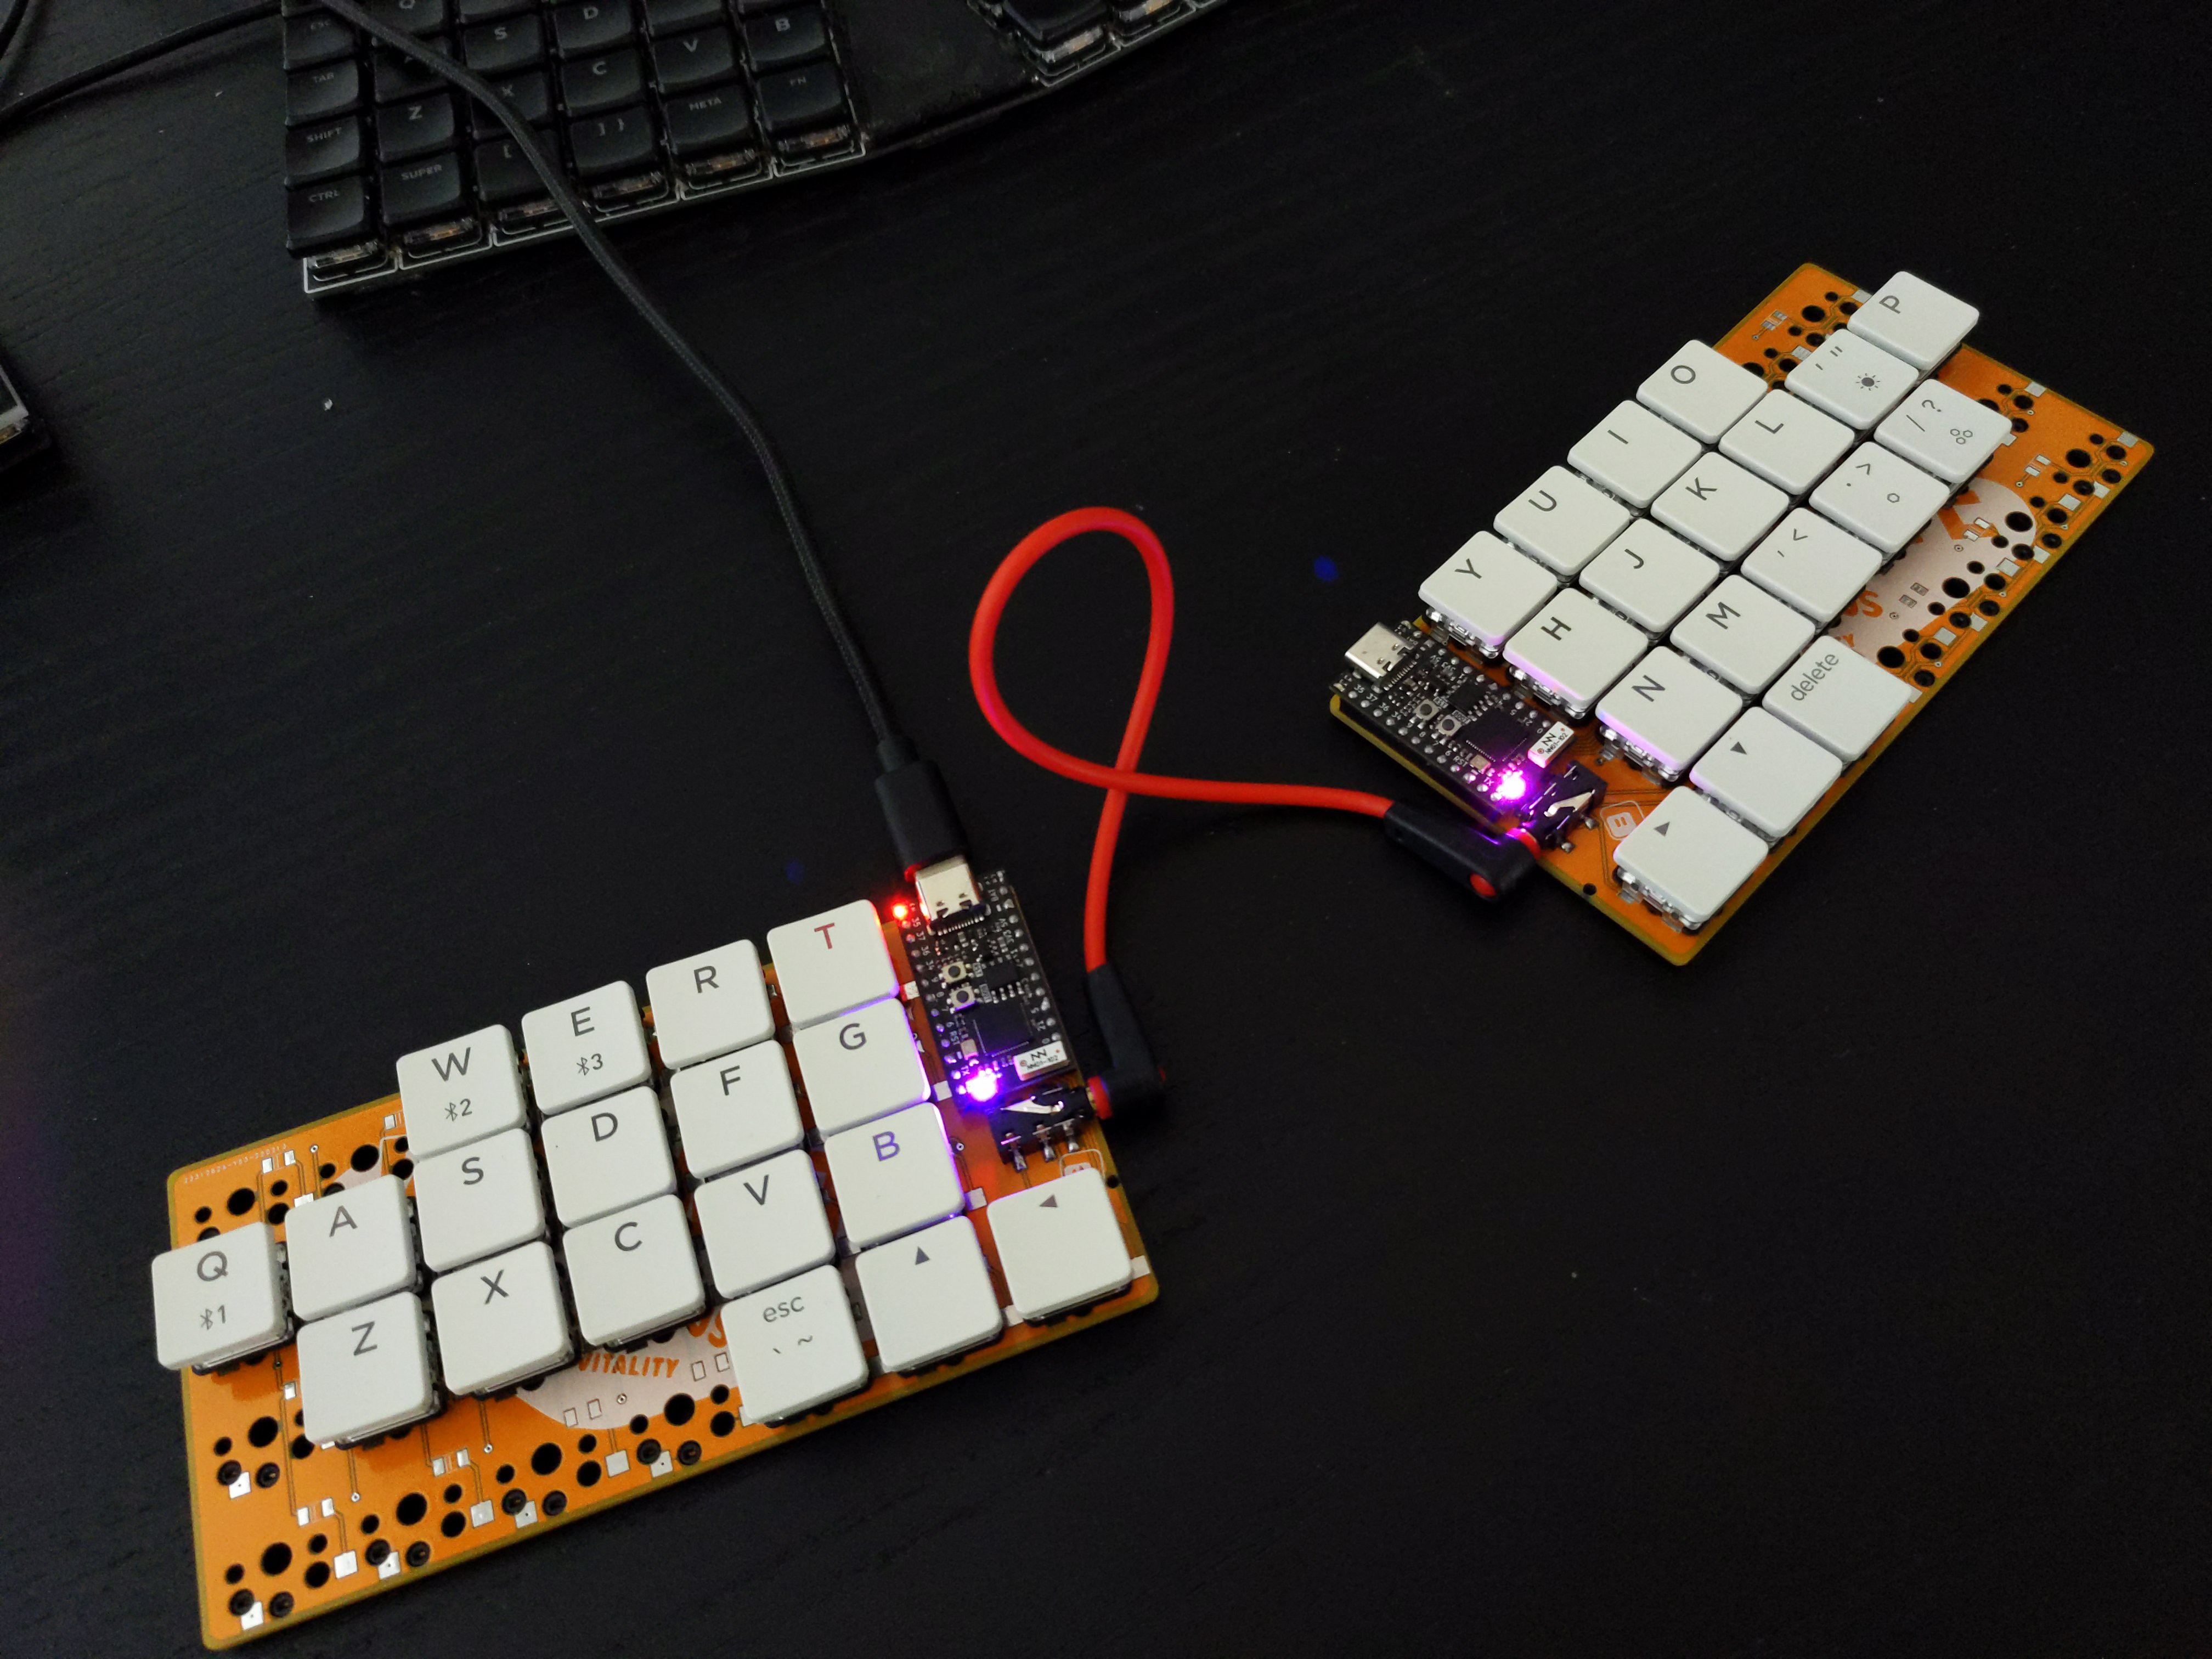
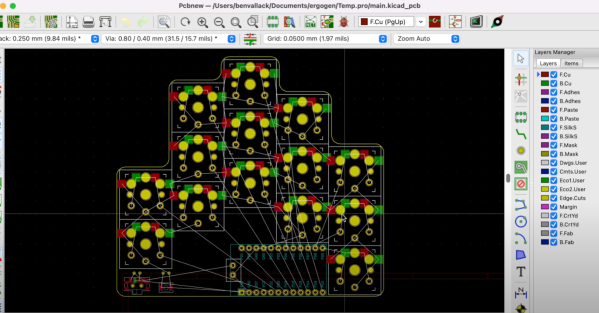
[Ben] focuses on the high-level tooling and the methodology of laying out a keyboard and how it all comes together. It all starts with determining your specific hand shape and layout with Ergopad. With that shape taken care of, you can move onto Ergogen, which allows you to take the layout you have in mind and generate a KiCAD board layout that just needs to be routed. Flippable boards, various footprints for switches, and connecting up different microcontrollers are all supported.
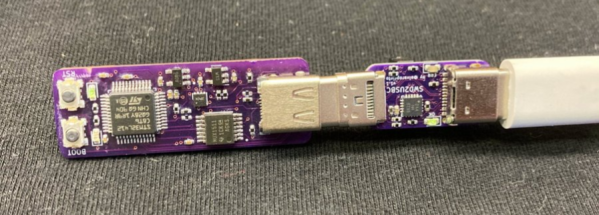
Once you have your PCB in hand, [Ben] walks you through soldering the sockets on the back and setting up your board firmware in ZMK with Github Actions. It’s a slick guide with a nifty product at the end. Video after the break.
Continue reading “A Clear Guide For A Low-Profile Bespoke Keyboard”