Everyone pays close attention to the weather, but for those who live where tornadoes are prevalent, watching the sky can be a matter of life and death. When the difference between making it to a shelter or getting caught in the open can be a matter of seconds, it might make sense to build an internet enabled Raspberry Pi weather alert system.
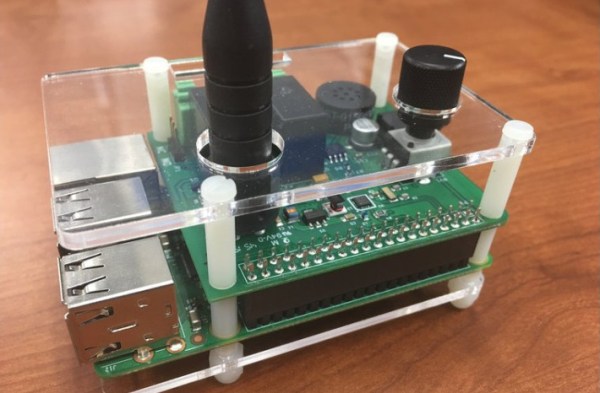
We know what you’re thinking – why not just buy an off-the-shelf weather alert radio with Specific Area Message Encoding (SAME) reporting, or just rely on a smartphone app? As [Jim Scarborough] explains, living in the heart of Tornado Alley and having had a brush with tragedy as a kid teaches you not to be complacent with severe weather. He found a problem with the SAME system: lack of locational granularity below the county level, leading to a tendency to over-warn during tornado season. [Jim]’s build seeks to improve SAME by integrating National Weather Service polygon warnings, which define an area likely to see a severe weather event as a collection of geographic vertices rather than a political unit. He’s using a Raspberry Pi NOAA weather radio receiver with SAME decoding, and while details are sparse and the project is ongoing, the idea seems to be to use the Pi to scrape the NWS site for polygon data once a county-level warning is issued.
It’s an interesting idea, and one we’ll be keeping an eye on as [Jim] continues his build. In the meantime, you can brush up on weather radio and SAME encoding with this Arduino SAME decoder.
[via r/weather]