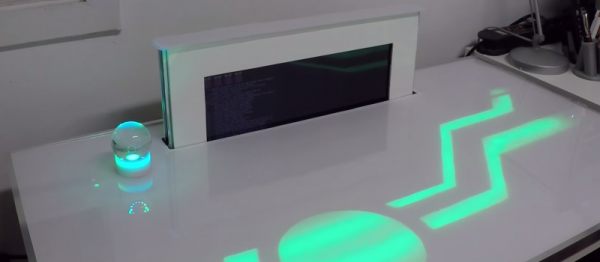
Recent science fiction movies always show people sitting at stylish semi-transparent desks that have all kinds of strange and wonderful gadgets in them. Our desks look like something your grandfather might have sat at. [Frederick Vandenbosch] must have seen those same movies so as part of contest he decided to build the desk of the future.
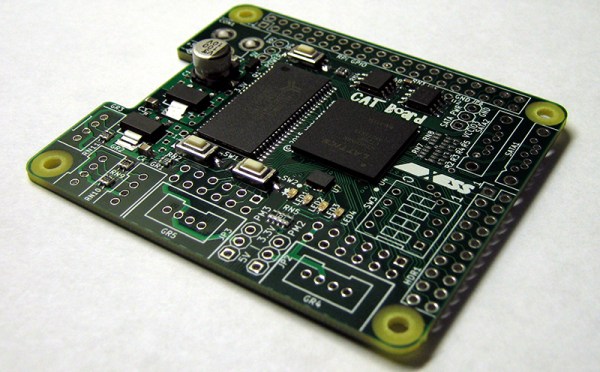
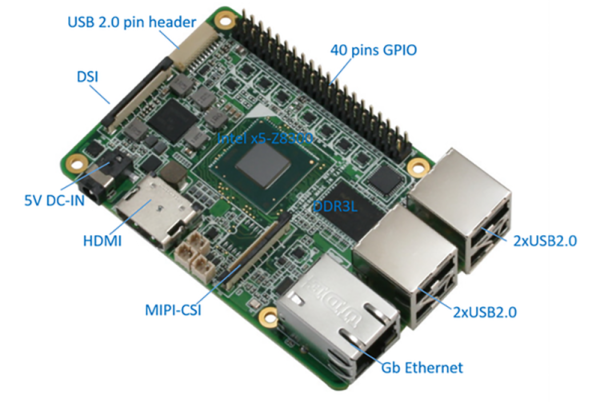
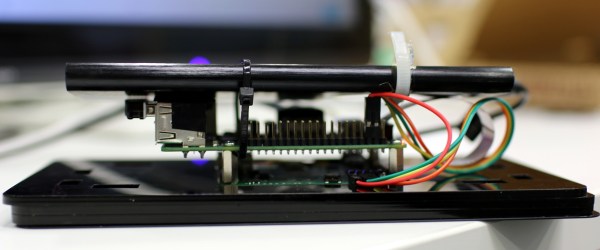
The desk is as much a furniture project as an electronics project, but it does have a Raspberry Pi, a scavenged laptop LCD, embedded touch sensors and LEDs, a wireless charger, and a built-in sound system. In addition, it uses a Gertbot and some stepper motors that it uses to raise and lower the screen in and out of the desk (watch the video below to see how that looks).
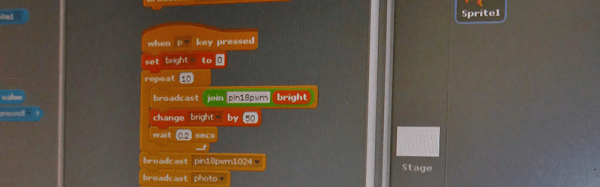
[Fredrick] used Python to get the major functions of the desk programmed. We couldn’t help but think of all the things you could do with an easily programmable desk surface: show stock quotes (or sports scores), notify about e-mail, or other things. Although it doesn’t look like it would be simple for a simple user to add those things, if you were a handy programmer, they look like they’d be in reach.
We’ve seen some desks before, but nothing quite like this. We couldn’t help but wonder if you could add some Minority Report-style goodness to [Frederick’s] already impressive desk.
Continue reading “Raspberry Pi Powers The Desk Of The Future”
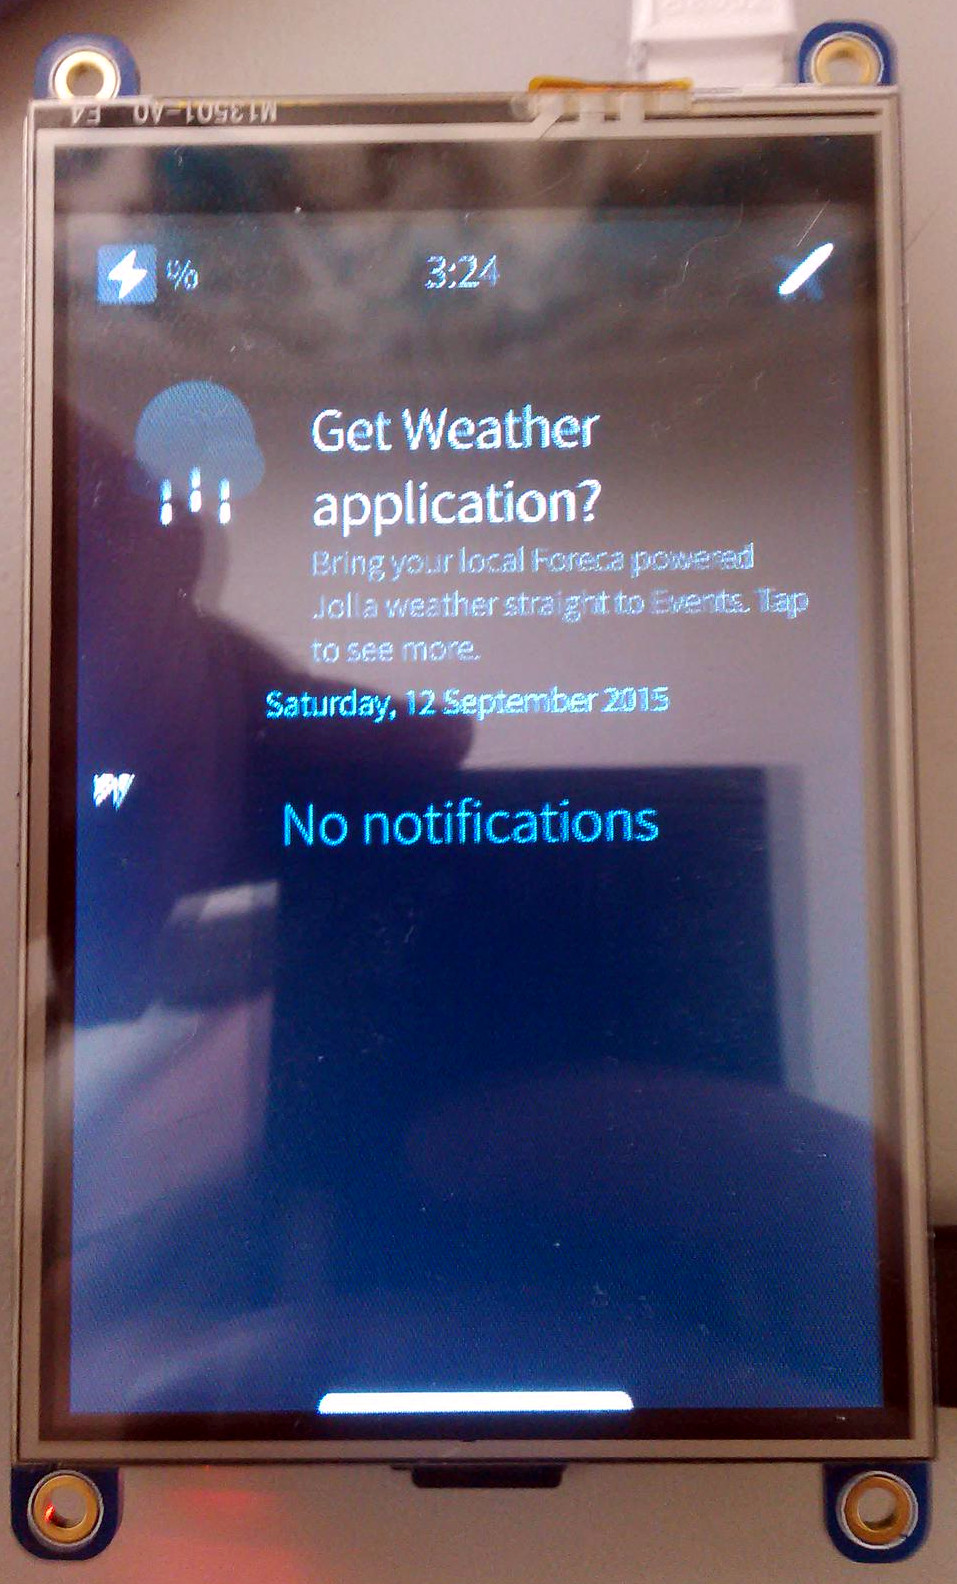 The creator, [Aleksi Suomalainen] expended a lot of effort pulling all the pieces together on this project.