Way back when the Kinect was first released, there was a realization that this device would be the future of everything 3D. It was augmented reality, it was a new computer interface, it was a cool sensor for robotics applications, and it was a 3D scanner. When the first open source driver for the Kinect was released, we were assured that this is how we would get 3D data from real objects into a computer.
Since then, not much happened. We’re not using the Kinect for a UI, potato gamers were horrified they would be forced to buy the Kinect 2 with the new Xbox, and you’d be hard pressed to find a Kinect in a robot. 3D scanning is the only field where the Kinect hasn’t been over hyped, and even there it’s still a relatively complex setup.
This doesn’t mean a Kinect 3D scanner isn’t an object of desire for some people, or that it’s impossible to build a portabilzed version. [Mario]’s girlfriend works as an archaeologist, and having a tool to scan objects and places in 3D would be great for her. Because of this, [Mario] is building a handheld 3D scanner with a Raspberry Pi 2 and a Kinect.
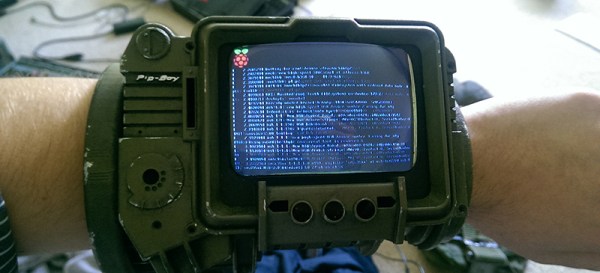
This isn’t the first time we’ve seen a portablized Kinect. Way back in 2012, the Kinect was made handheld with the help of a Gumstix board. Since then, a million tiny ARM single board computers have popped up, and battery packs are readily available. It was only a matter of time until someone stepped up to the plate, and [Mario] was the guy.
The problem facing [Mario] isn’t hardware. Anyone can pick up a Kinect at Gamestop, the Raspberry Pi 2 should be more than capable of reading the depth sensor on the Kinect, and these parts can be tied together with 3D printed parts. The real problem is the software, and so far [Mario] has Libfreenect compiling without a problem on the Pi2. The project still requires a lot of additional libraries including some OpenCV stuff, but so far [Mario] has everything working.
You can check out his video of the proof of concept below.
Continue reading “Portabilizing The Kinect” →