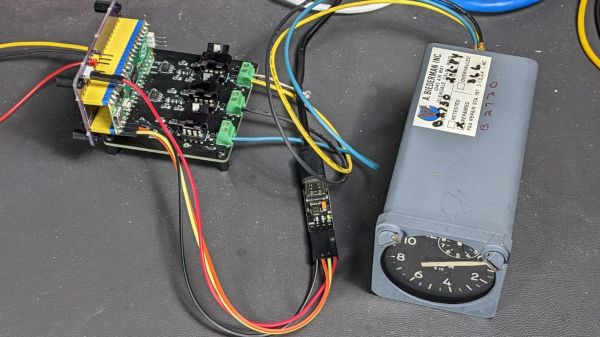
With so much data being thrown at our eyeballs these days, it’s worryingly easy for the actually important stuff to slip by occasionally. So when [Liam Jackson] wanted a way to visualize the number of test failures popping up in the continuous integration system at work, he went with a novel but effective solution — universal motorcycle tachometers.
It turns out these little gauges can be had for under $10 a piece from the usual overseas retailers, and are very easy to drive with a microcontroller. As [Liam] explains, all you need to do other than providing them with 12 volts, is feed them a PWM signal. Even though the gauges are designed for a 12 V system, they apparently don’t have any problem responding to the 5 V logic level from the Arduino’s pins.
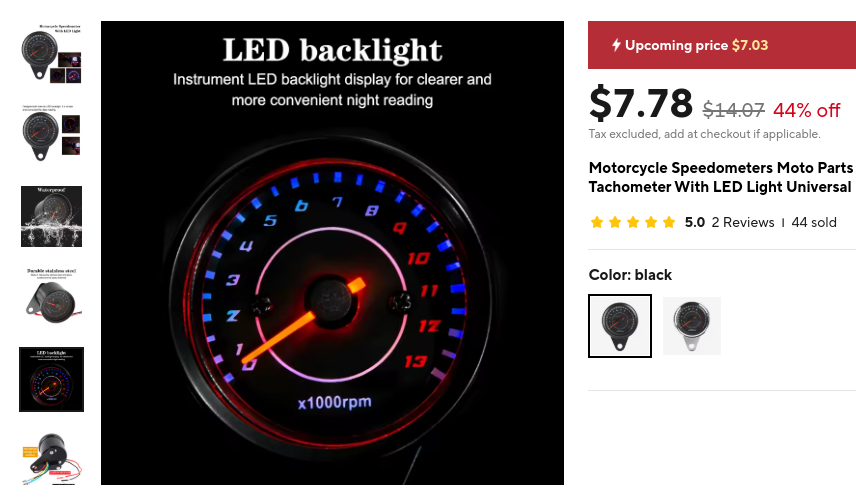 As for the frequency he says that 1,000 RPM corresponds to 16.66 Hz, so you can just multiply up from there to show whatever number you wish. That said, [Liam] warns that the gauges draw several hundred milliamps once the needle gets into the two digit range, so keep that in mind. Conveniently, those number happen to be in red anyway…
For his particular application, [Liam] put three of the gauges together to create a very handsome dashboard. If you want to recreate his setup exactly he’s made the STLs available for the gauge cluster housing. Note the small OLED at the center, this offers a way to show a bit more context than the three analog gauges alone can express, especially if you’ve got an application where you might be switching between multiple data sources.
Over the years we’ve seen several projects that repurposed analog gauges of various types, often for showing computer performance, but they generally involved having to drive the galvanometers directly. That these tachometers can simply be fed a simple digital signal should make implementing them into your project much easier.