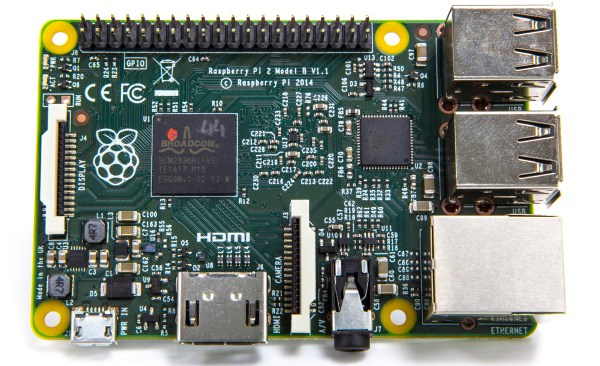
TL;DR It’s called the Raspberry Pi 2 Model B. Quad core ARM Cortex A7 with one Gig of RAM. It’s the same form factor as the Raspberry Pi Model B+. Available now at Newark, Element 14, Allied, and RS Components. It’s the same price as the old one. You’re not a child and you should learn to read.
The original Raspberry Pi released, three years ago, was looking a bit long in the tooth when it was first launched. That’s to be expected for a computer that sells for $35 USD. Three years is a long time in the world of electronics, and the Pi is due for an update. It’s here, now, and the biggest change is a faster quad-core chip, a better processor architecture, and 1GB of RAM.
The Raspberry Pi 2 Model B features a quad-core ARM Cortex A7 running at 1GHz with 1GB of RAM. This chip uses the ARMv7 architecture instead of the ARMv6 of the original Raspi. When playing around with it, it was noticeably zippier than my months-old Raspi Model B in web browsing tasks. Very, very cool, and something that opens up a few doors for CPU-intensive applications.
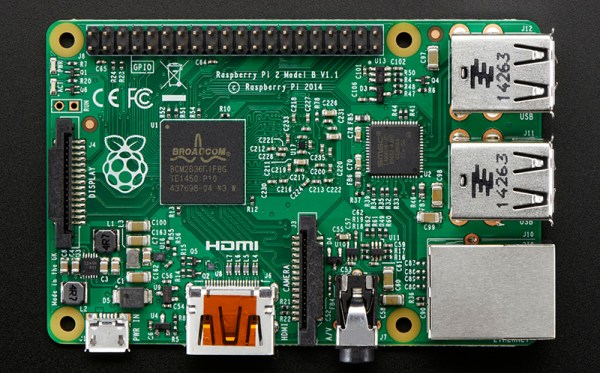
Although the CPU has been updated, there isn’t much else on the Pi that has changed. USB and Ethernet is still handled by the LAN9514 USB/Ethernet controller. If you’re looking for Gigabit Ethernet, sorry that’s not going to happen. We’re not going to get eMMC Flash, SATA ports, or anything groundbreaking other than the CPU with this hardware update. It’s pretty much just a CPU and RAM upgrade.
All the original ports found on the Raspberry Pi Model B+ are found on the Raspi 2; HDMI, audio, analog video, Ethernet, USB, CSI, the as-for-now unused DSI, and GPIO ports haven’t changed. Again, we’re looking at a CPU and RAM upgrade with this hardware release.
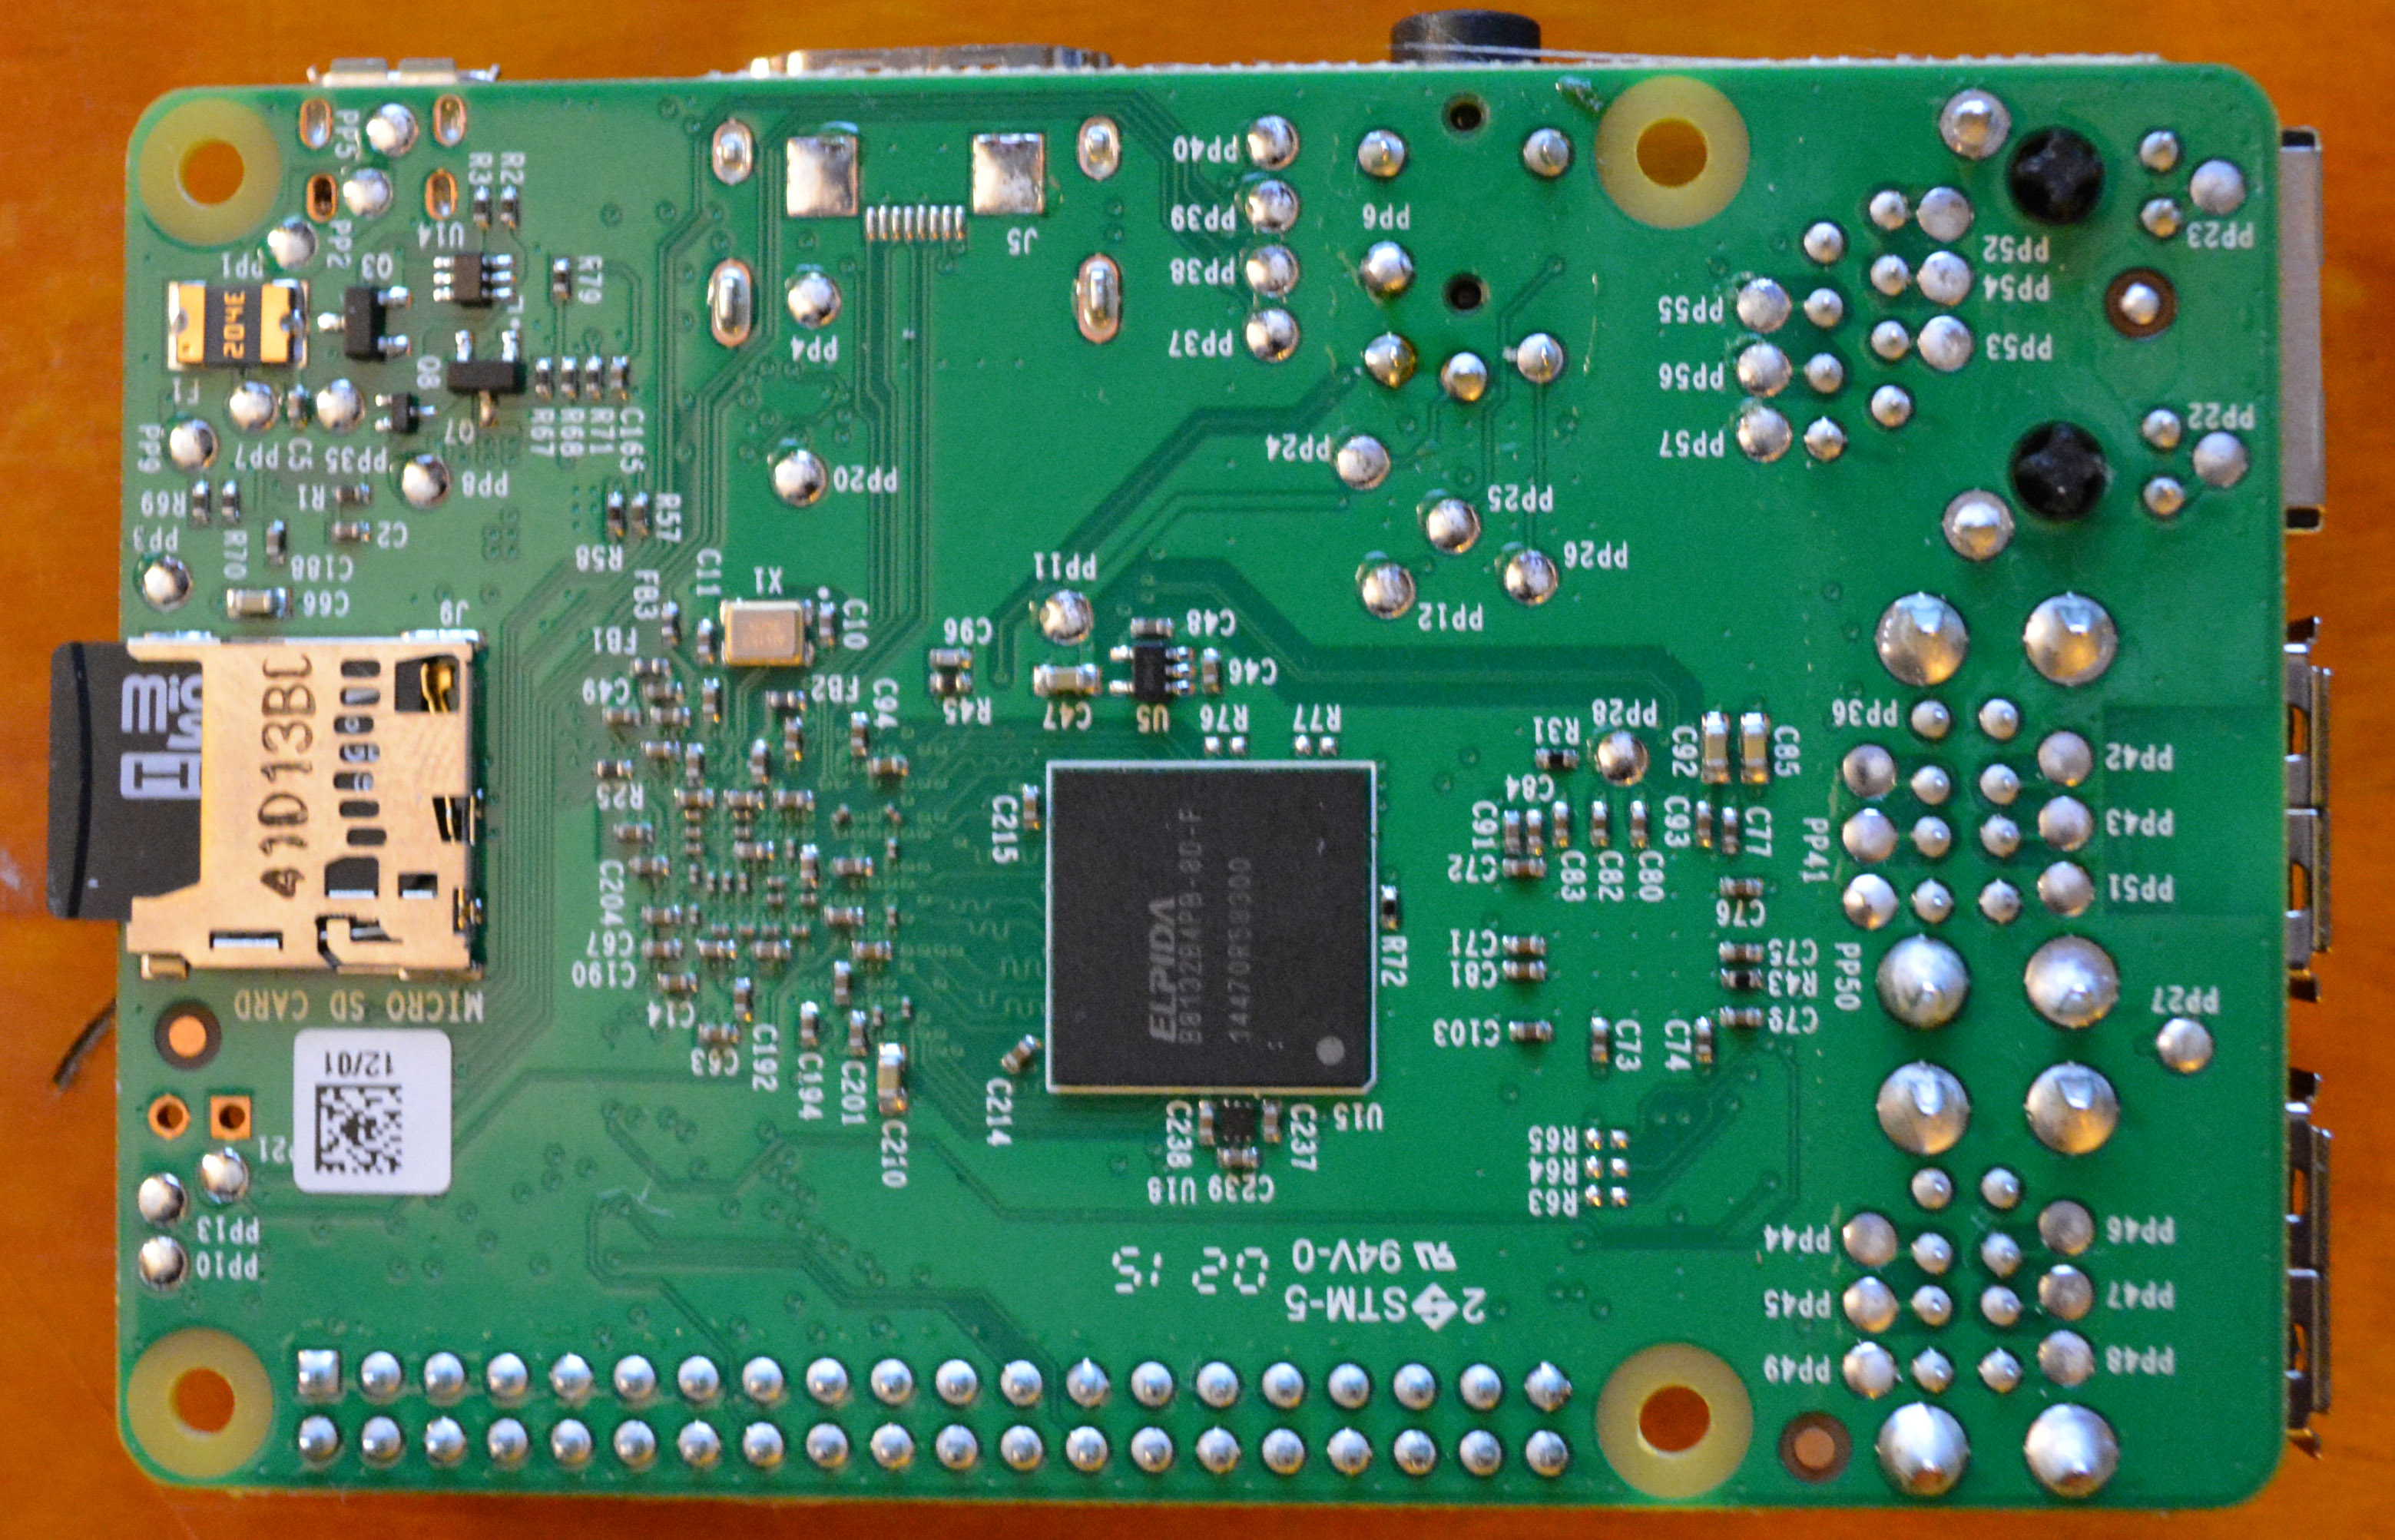
Instead of the odd Package On Package CPU and RAM stack featured in previous Raspberry Pis, the RAM has now moved to the back on the Raspi 2:
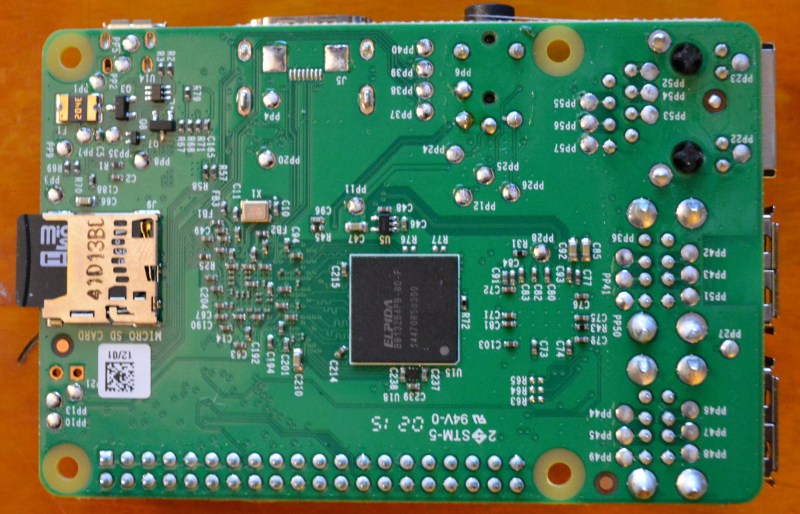
The RAM chip is an Elpida EDB8132B4PB-8D-F, an eight gigabit DDR2 RAM that has the same clock rate as the RAM in the original Raspi. Don’t look for an increase in memory performance or speed. Instead, just be glad there’s now a full gigabyte of RAM on the Raspi.
A few of you may remember the ‘upgrade’ all those Raspberry Pi early adopters missed out on. After the first few hundred thousand Raspberry Pi Model Bs shipped, someone realized they could upgrade the RAM from 256 MB to 512 MB. It is not yet known whether the Raspberry Pi 2 will be upgraded as easily. Sixteen gigabit RAMs do exist, but now that the CPU and RAM aren’t on the same package, there’s more to consider than just plopping down a new RAM chip.
Continue reading “Introducing The Raspberry Pi 2” →

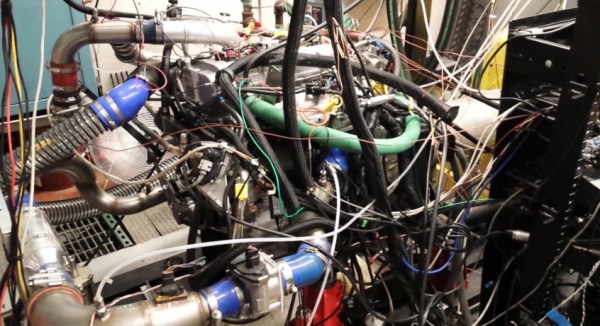
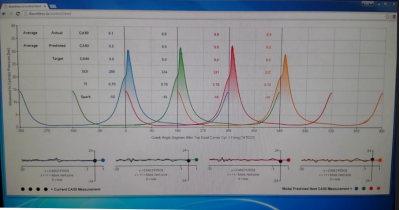 [Adam]’s algorithm calculates engine control parameters in real-time on the Pi based on the pressure readings and crankshaft position. The control values are sent over CAN to the low-level engine controller. The Pi monitors changes in the engine’s performance with the new values, and makes changes to its control values to optimize the combustion cycle as the engine runs. The Pi also serves up a webpage with graphs of the crankshaft position and cylinder pressure that update in real-time to give some user feedback.


