Maxing Out Your MacIntosh With A 4 MB Memory Stick Kit

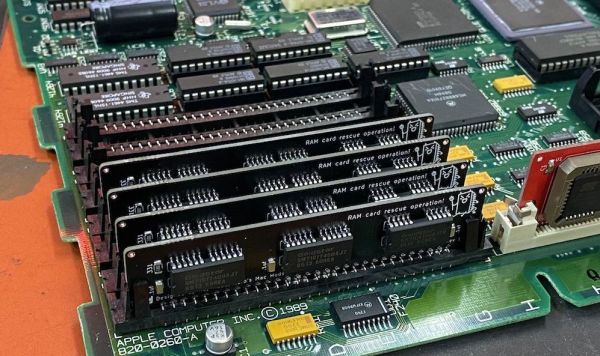
One fun aspect of retrocomputing is that you get to max out all aspects of these systems without having to take out a bank loan, as tended to be the case when these systems were new. Less fun is that decades after systems like the Apple MacIntosh SE/30 were last sold, the 30-pin SIMMs that form the expandable RAM for these systems has become rather scarce. This has led many to make their own SIMM PCBs, including [Kay Koba] with a PCB for 4 MB SIMMs along with information on which memory and parity ICs are suitable for these SIMMs.

For systems like the MacIntosh SE/30 with 8 30-pin memory slots, the maximum capacity is 128 MB, but this comes with many gotchas due to its ROM being ’32-bit dirty’. While this can be circumvented by swapping in a ROM from a later MacIntosh variant, the less invasive way is to enable the MODE32 system extension and install eight 4 MB SIMMs for a total of 32 MB RAM. RAM chips for such 30-pin SIMMs can be scavenged from the far more common 72-pin SIMMs, along with any old new stock one may come across.

These 4 MB SIMM PCBs are offered for sale by [Kay] with optionally the SMD components (capacitors, resistors and LED) included in the package. The original PCB card edge design is credited to work by [Zane Kaminski] whose GitHub profile also leads to e.g. this 30-pin SIMM project.

Have you modded your MacIntosh or other retro system yet to the maximum RAM and storage limits?
Classic Video Chip Drives A Modern TFT

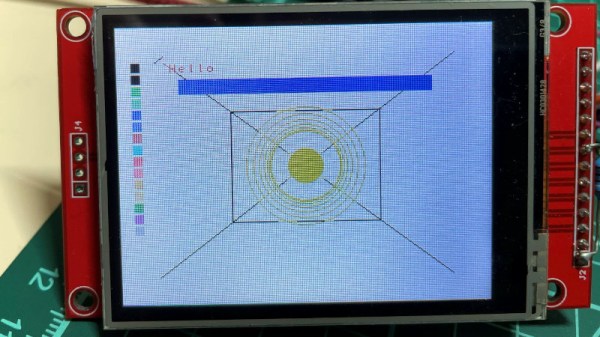
A lot of us have a soft spot for retrocomputers, and there’s nothing quite like running original hardware. Unfortunately if you’re after the truly original touch then that means carrying along the family TV from 1982, and that’s where life becomes annoying. What if there were a way you could easily drive an LCD panel from a classic video controller? Help is at hand for owners of TI TMS9928A video chips, courtesy of [umaker], with a clever interface board that drives an SPI or parallel TFT.

At its heart is not the FPGA you might expect, but an STM32G4 microcontroller on an STM Nucleo board. This digitizes the R-Y and Y components from the TMS chip which would originally have been destined for an NSC or PAL encoder, does the color conversion through its algorithm, and transfers the result to the screen. This is a task which would back in the day when NTSC or PAL were king have been seen as extremely computationally intensive, so it’s a mark of just how capable an STM can be that a few dollar microcontroller can do it.

We can see this technique proving to be extremely useful across a lot of different retro color graphic applications. We’re not sure whether its lag would be too much for a light gun game, but it would be nice to think that it would result in handheld retro machines.

We encountered this project previously, when as part of its development he needed a sync separator.

Is It A Game? Or A Calculator?

If you are a certain age, you probably remember the Mattel Football game. No LCD screen or fancy cartridges. Just some LEDs and a way to play football when you should be in class. While these might seem primitive to today’s kids, they were marvels of technology in the 1970s when they came out. [Sean Riddle] looks, well, not exactly at the games, but more like in them. As it turns out, they used chips derived from those made for calculators.

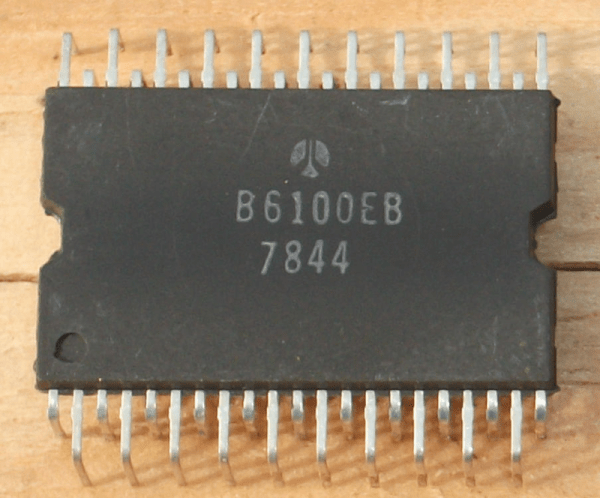
[Sean’s] post is a glimpse into this world of over four decades past. Football was actually the second electronic game from Mattel. The first one was Auto Race. There were also games called Space Alert, Baseball, and Gravity. Inside each are quad in-line packages with 42 pins, a Rockwell logo, and a custom part number.

Continue reading “Is It A Game? Or A Calculator?” →

DIY GameTank Game Console Gets Upgraded Cartridge

Over the summer, you might recall seeing a homebrew 6502 game console called the GameTank grace these pages. The product of [Clyde Shaffer], the system was impressively complete, very well documented, and even had a budding library of games.

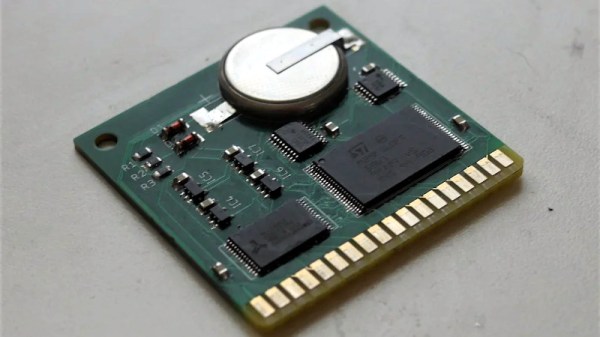
Recently, [Clyde] took to the r/electronics subreddit to show off the latest improvement to the GameTank: a revised removable cartridge. The biggest change this time around is the addition of 32 KB of battery-backed SRAM that gives games (or any other software that might be on the cartridge) some persistent storage to work with. Continue reading “DIY GameTank Game Console Gets Upgraded Cartridge” →

Squeezing A Minimalist 6502 Retrocomputer Onto A Single Breadboard

Over the years, and especially lately, we’ve seen tons of single-board retrocomputer builds. That’s fine with us — the more, the merrier. But they all start to run together a bit, with little to distinguish between them. Not so this about-as-compact-as-possible 6502 computer that fits on a single breadboard.

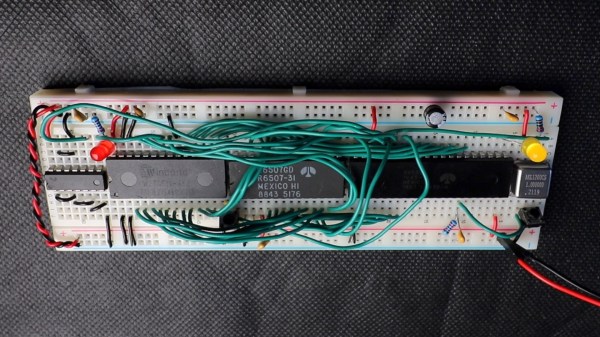
Now, when you do the math, it seems like there’s no way that [Anders Nielsen] would have been able to fit even a minimal chipset onto a standard solderless breadboard. The 40-pin 6502 alone takes up nearly two-thirds of the connections available; add in equally large but necessary chips like the 6522 interface adapter, ROM and RAM chips, and some support ICs, and one breadboard isn’t going to cut it. Luckily, some frugal engineers at MOS back in the 70s came up with the 6507, a variant on the 6502 in a 28-pin DIP. The other key to this build is the 6532 RAM-I/O-timer chip or RIOT, which puts a tiny amount of RAM and some IO lines on a single 40-pin DIP. Along with a 28-pin ROM, a 14-pin hex inverter, and a little crystal oscillator, the entire chipset just barely fits on a single breadboard.

But what can this minimalist 6502 actually do? As you can see in the video below, anything a 555 timer can do, and maybe a little bit more. That’s not a dig, of course — [Anders] actually calls out his initial blinkenlight application as a little more than a glorified 555, and actually comes up with a marginally more complex application just to prove the point. The interesting part here is dealing with the constraints imposed by the limited resources available on this machine.

We’re looking forward to whatever comes next for this clever build. It’s hard to see how some of the plans [Anders] has for it will still fit on a single breadboard, though — these things tend to spread out as they go.

Continue reading “Squeezing A Minimalist 6502 Retrocomputer Onto A Single Breadboard” →

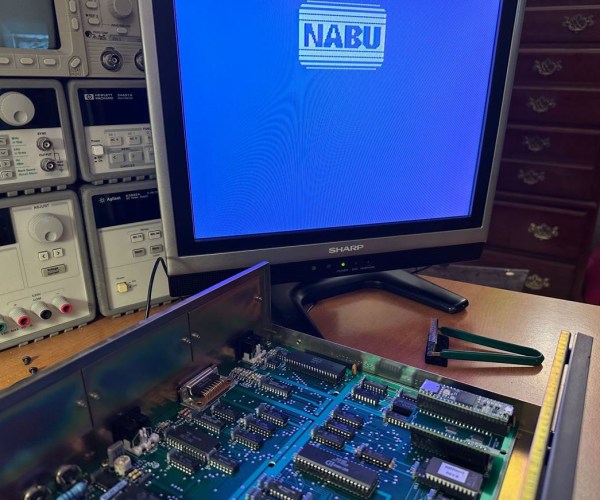
A NABU PC opened up and powered on

NABU PC Gets CPU Upgrade, Emulates A TRS-80

The NABU PC caused a bit of a buzz in the retrocomputing community a couple weeks back. After all, it doesn’t happen often that a huge batch of brand-new computers from the 1980s suddenly becomes available on eBay. Out of the box, the computer itself isn’t that useful: with no internal storage, or any application software whatsoever, it can really only serve as a bare-bones development platform. But since its hardware is quite similar to that of other contemporary home computers, emulating one of those shouldn’t be too difficult, which is exactly what [Ted Fried] did: he managed to turn his NABU into a TRS-80 clone by using his MCLZ8 CPU emulator.

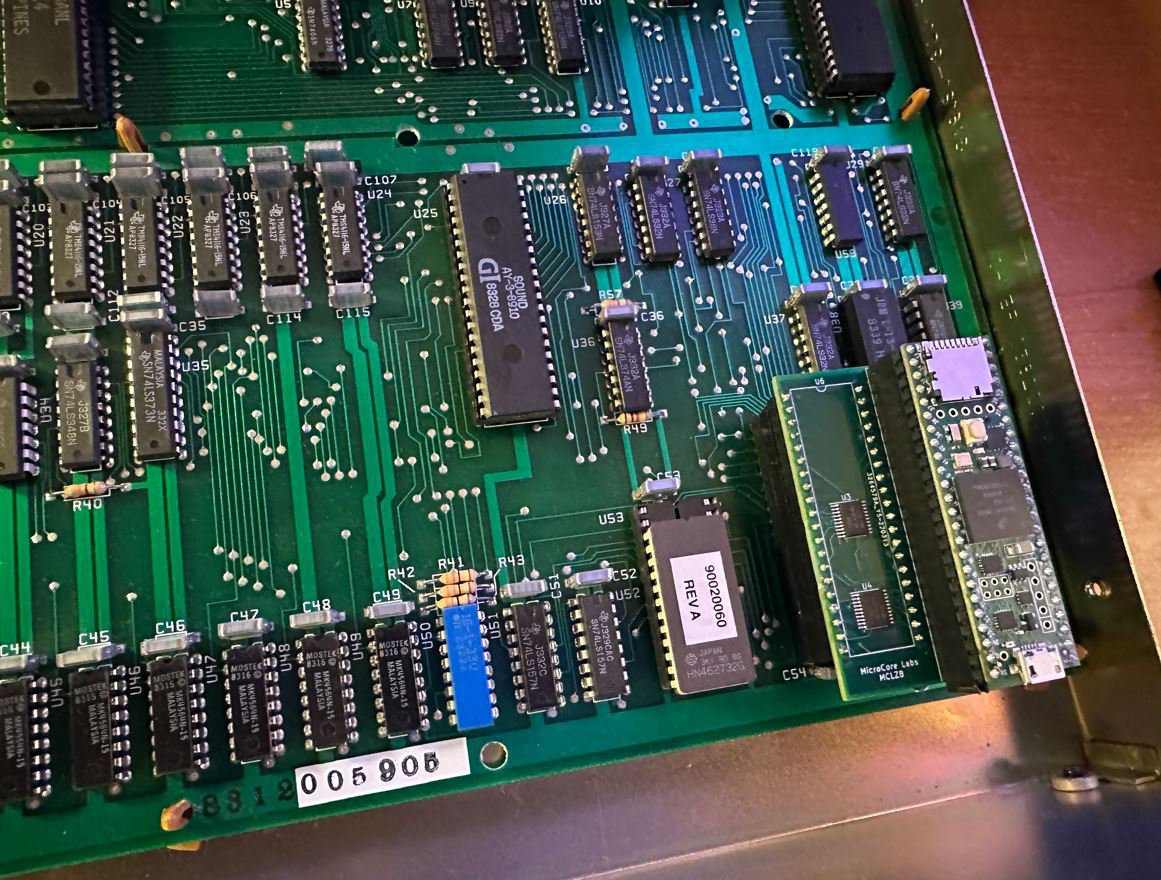
The MCLZ8 is basically an 800 MHz Teensy CPU with an adapter board that allows it to be plugged into a Z80 socket. It emulates the Z80 CPU in real-time, but it also holds the TRS-80 ROM and performs real-time translation between peripherals. On the input side, it reads out the ASCII characters coming in from the NABU’s 8251A UART and stores them in the virtual TRS-80’s keyboard buffer. On the output side, it transfers the TRS-80’s video data to the NABU’s TMS9918 video chip.

The motherboard of a NABU PC with a Teensy-based CPU upgradeOne problem [Ted] ran into was a difference in screen resolution: the NABU has a 40×24 character display, while the TRS-80 generates a 64×16 character image. [Ted] solved the vertical difference by simply keeping the NABU logo on the screen at all times, and decided to just ignore the 24 characters that drop off the right side – it’s not a big issue for a typical BASIC program anyway.

The repurposed NABU might not be a perfect TRS-80 clone, but that’s not the point: it shows how easily the NABU’s hardware can be reprogrammed to do other things. For example, [Ted] has already started work on a new project that doesn’t emulate the Z80, but instead runs code directly on the Teensy’s ARM A9 processor. As you might imagine, this gives the NABU several orders of magnitude more processing power, although the practical use of this is limited because the CPU still has to wait for the NABU’s slow data bus and display chip. [Ted] explains the setup and runs a few impressive demos in the video embedded below.

[Ted]’s NABU experiments are a great example of the Teensy board’s flexibility: we’ve already seen how it can emulate a Z80 as well as an 8088. We’re also curious to see what others will develop with the NABU’s hardware — if they can still buy it, of course.

Continue reading “NABU PC Gets CPU Upgrade, Emulates A TRS-80” →

Building A New Commodore 64 In 2022 With All New Components

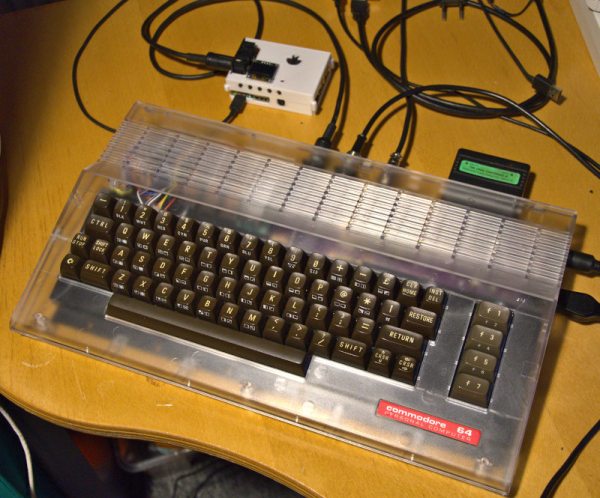
Call it fake or simply new, but when [DusteD] set out to build a brand-new Commodore 64 with only new parts, it resulted in Project MaxFake64 that is electrically and binary compatible with any genuine C64 out there. While not really ‘fake’ in the sense that a C64 emulator is fake, it is in the sense that it uses no parts produced before this millennium. This might actually be easier than getting a used C64 in fully working condition these days.

In total, the project contains an aftermarket C64 power supply by Electroware, a brand new C64C case, a C64 (ASSY NO 250407) mainboard based on the genuine board, a generic RF modular module, an FPGA-based Kawari VIC-II replacement, a 6502 MPU using a 6502-to-6510 adapter by Monotech PCs, a dual-GAL-based PLA replacement, EPROMs for the kernal, character and BASIC ROMs (with in-socket hacks), and a SinSID Nano as (temporary) SID replacement.

Issues discovered during the process include some cracking on the (transparent) C64C case and lack of availability on CIA replacements like the J6526. The keyboard will also be replaced at some later point, and items like the joystick ports were salvaged from an old C64 rather than purchased brand new. None of which are fundamental problems, and might actually make financial sense when it comes to finding replacement parts in the future.