A Chip8 Emulator For 68000-based Macs

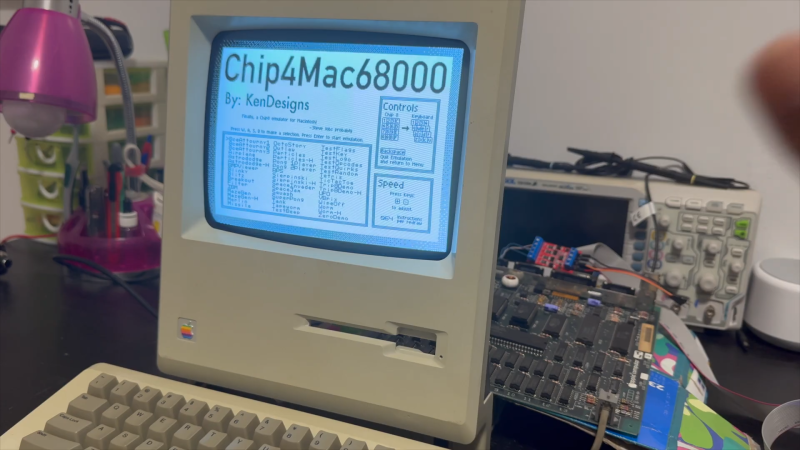
Among this crowd, it’s safe to say that the original 68000 Macintosh computers need no introduction, but it’s possible some of you aren’t familiar with Chip8. It was an interpreted virtual machine originally created for the COSMAC VIP microcomputer by [Joe Weisbecker] way back in 1977. It enabled coding simple games on the COSMAC VIP without getting into machine code on the VIP’s CDP1802 processor. For the obvious reason of “Why not?” [KenDesigns] decided to put the two together with Chip4Mac68000, a Chip8 emulator for the original Macintosh.

Chip4Mac68000 is not actually a Macintosh program; it doesn’t run in the System Software. Instead, it is a bootdisk that runs bare-metal on the 68000 processor, bypassing Apple’s ROM completely. Doing that is probably more impressive than emulating Chip8 — anyone who wants to get into writing emulators starts with Chip8. That’s not to knock on anyone who goes to the effort of writing an emulator, it’s just that given its origins in a 1970s micro, it’s understandably a very simple system. Not many people do bare-metal coding on this sort of hardware anymore; it’s not like there’s an SDK you can go grab.

Or there wasn’t, anyway, because in order to get this emulator to work, [KenDesigns] wrote a bare-metal SDK for 68000-based Macs. Note that when he says 68000, he does mean 68000 — anything newer than a Macintosh Classic is out. It’s 68000, not 680xx. It was not a trivial endeavour. In the demo video embedded below, you can see his 512k Macintosh in pieces because he’s been poking at it with a logic analyzer to verify the hardware does what he thinks it’s being told.

If you want to try it out, apparently you don’t need real hardware: [KenDesigns] says MAME is accurate enough to make it all work, but miniVmac is not. No word if it would work on the RP2040-based PicoMac; if you try it, let us know how it works out.

This isn’t the first time we’ve seen people writing new software for old Macs of late. If you’re working new magic on very old machines, drop us a line. We’d love to hear about it.
Continue reading “A Chip8 Emulator For 68000-based Macs” →

Explore The Granddaddy Of All Macs With LisaGUI

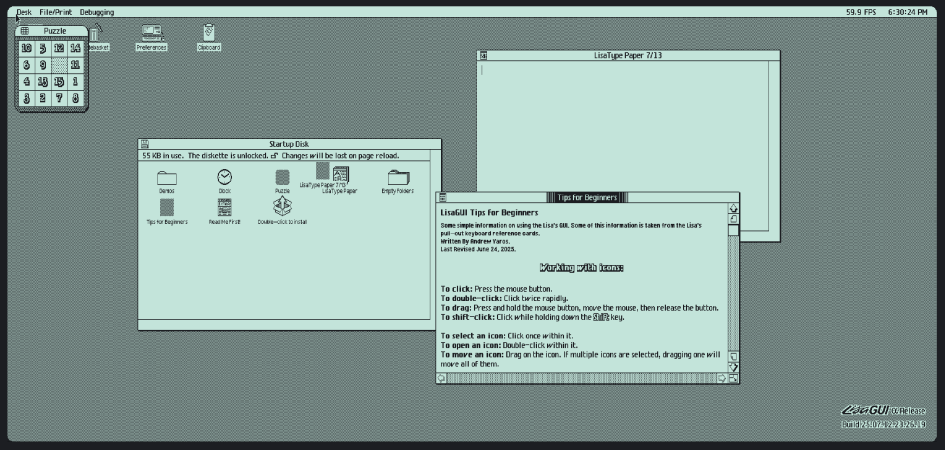
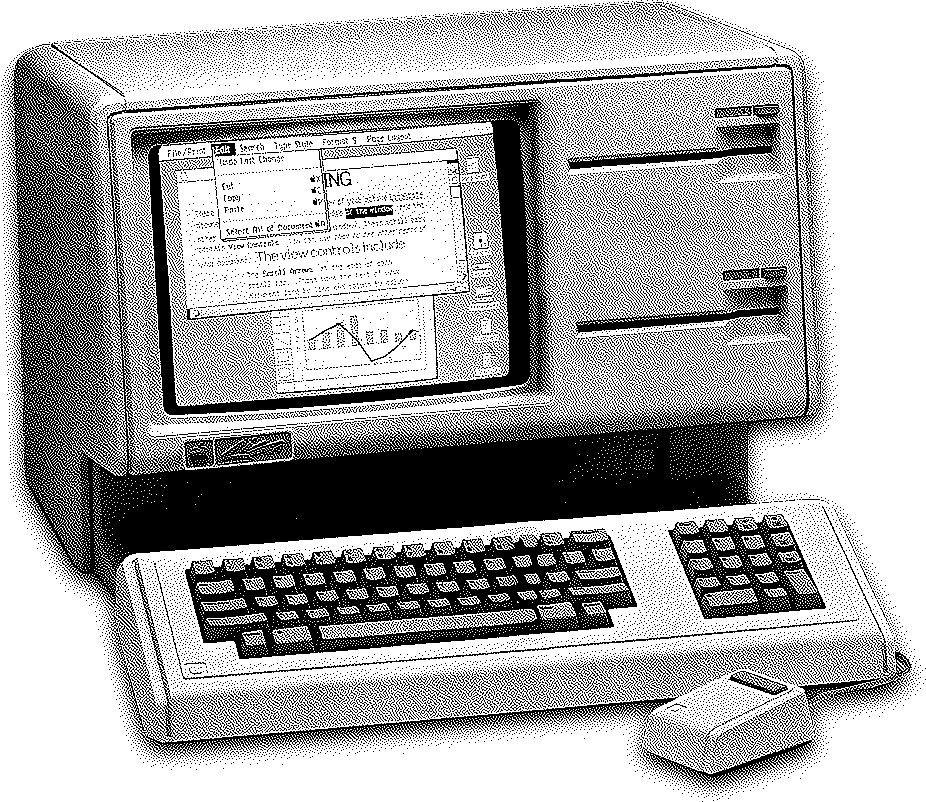
Sure, Apple’s Lisa wasn’t the first computer released with a graphical user interface — Xerox was years ahead with the Alto and the Star workstation — but Lisa was the first that came within the reach of mere mortals. Which doesn’t mean many mortals got their hands on one; with only about 10,000 sold, they were never common, and are vanishingly rare nowadays. Enter [Andrew Yaros], who has graced the world with LisaGUI, an in-browser recreation of the Lisa Office System in Javascript.

Lisa’s GUI varies from modern conventions in a few interesting ways. For one, it is much more document-focused: if you double-click on LisaType, you do not start the program. Instead you “tear off” a document from the “pad” icon of LisaType, which you can then open with another double click. The desktop is also not a folder for files to live permanently, but a temporary space. You can “set aside” a file to the desktop, but its home on disk is unchanged.

Unlike the family of Mac emulators, LisaGUI does not purport to be a perfect replica. [Andrew] has made a few quality-of-life improvements for modern users, as well as a few innovations of his own. For instance, menus are now “sticky”– on the Lisa, you had to hold down the mouse to keep them open, and release on the appropriate entry. LisaGUI leaves the menu open for you to click the entry, as on a later Macintosh.

Obviously the menu bar clock and FPS counter are not native to the Lisa; nor is the ability to theme the icons and change (1-bit) colour palettes. The ability to draw unique icons to assign to documents is all [Andrew], but is something we wish we had back in the day. He also makes no attempt to enforce the original aspect ratio, so you’ll be dragging the window to get 4:3 if that’s your jam.

Right now it does not look as though there’s much original software aside from LisaType. We would have loved to see the famous LisaProject, which was the original “killer app” that led NASA to purchase the computer. Still, this is an Alpha and it’s possible more software is to come, if it doesn’t run afoul of Apple’s IP. Certainly we are not looking too hard at this gift horse’s chompers. What’s there is plenty to get a feel for the system, and LisaGUI should be a treat for retrocomputer enthusiasts who aren’t too anal about period-perfect accuracy.

We stumbled across this one in a video from [Action Retro] in which he (the lucky dog) also shows off his Lisa II, the slightly-more-common successor.

Get Roped Into Magnetic Core Memory With This 512 Bit Module

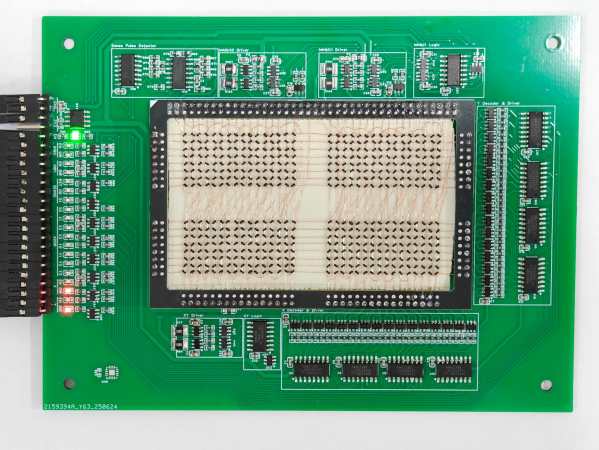
Magnetic Core memory was the RAM at the heart of many computer systems through the 1970s, and is undergoing something of a resurgence today since it is easiest form of memory for an enterprising hacker to DIY. [Han] has an excellent writeup that goes deep in the best-practices of how to wire up core memory, that pairs with his 512-bit MagneticCoreMemoryController on GitHub.

Magnetic core memory works by storing data inside the magnetic flux of a ferrite ‘core’. Magnetize it in one direction, you have a 1; the other is a 0. Sensing is current-based, and erases the existing value, requiring a read-rewrite circuit. You want the gory details? Check out [Han]’s writeup; he explains it better than we can, complete with how to wire the ferrites and oscilloscope traces to explain why you want to wiring them that way. It may be the most complete design brief to be written about magnetic core memory to be written this decade.

This little memory pack [Han] built with this information is rock-solid: it ran for 24 hours straight, undergoing multiple continuous memory tests — a total of several gigabytes of information, with zero errors. That was always the strength of ferrite memory, though, along with the fact you can lose power and keep your data. In in the retrocomputer world, 512 bits doesn’t seem like much, but it’s enough to play with. We’ve even featured smaller magnetic core modules, like the Core 64. (No prize if you guess how many bits that is.) One could be excused for considering them toys; in the old days, you’d have had cabinets full of these sorts of hand-wound memory cards.

Magnetic core memory should not be confused with core-rope memory, which was a ROM solution of similar vintage. The legendary Apollo Guidance Computer used both.

We’d love to see a hack that makes real use of these pre-modern memory modality– if you know of one, send in a tip.

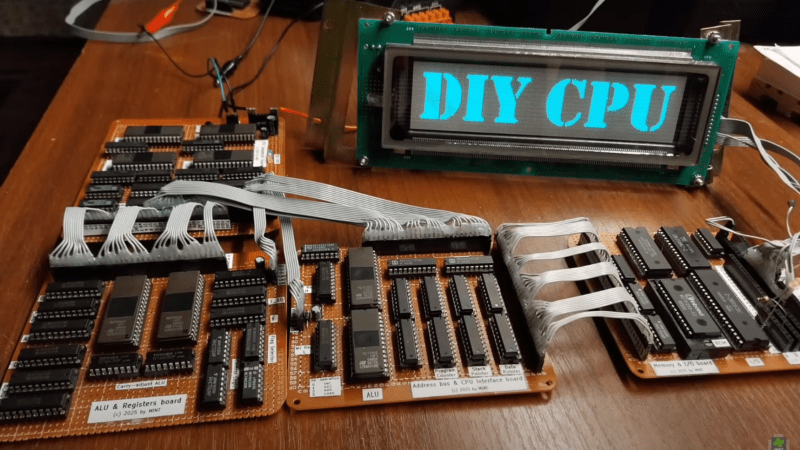
Four brown perf board circuits are visible in the foreground, each populated with many large DIP integrated circuits. The boards are connected with grey ribbon cable. Behind the boards a vacuum fluorescent display shows the words “DIY CPU.”

Designing A CPU With Only Memory Chips

Building a simple 8-bit computer is a great way to understand computing fundamentals, but there’s only so much you can learn by building a system around an existing processor. If you want to learn more, you’ll have to go further and build the CPU yourself, as [MINT] demonstrated with his EPROMINT project (video in Polish, but with English subtitles).

The CPU began when [MINT] began experimenting with uses for his collection of old memory chips, and quickly realized that they could do quite a bit more than store data. After building a development board for single-chip based programmable logic, he decided to build a full CPU out of (E)EPROMs. The resulting circuit spans four large pieces of perfboard, weighs in at over half a kilogram, and took several weeks of soldering to create. Continue reading “Designing A CPU With Only Memory Chips” →

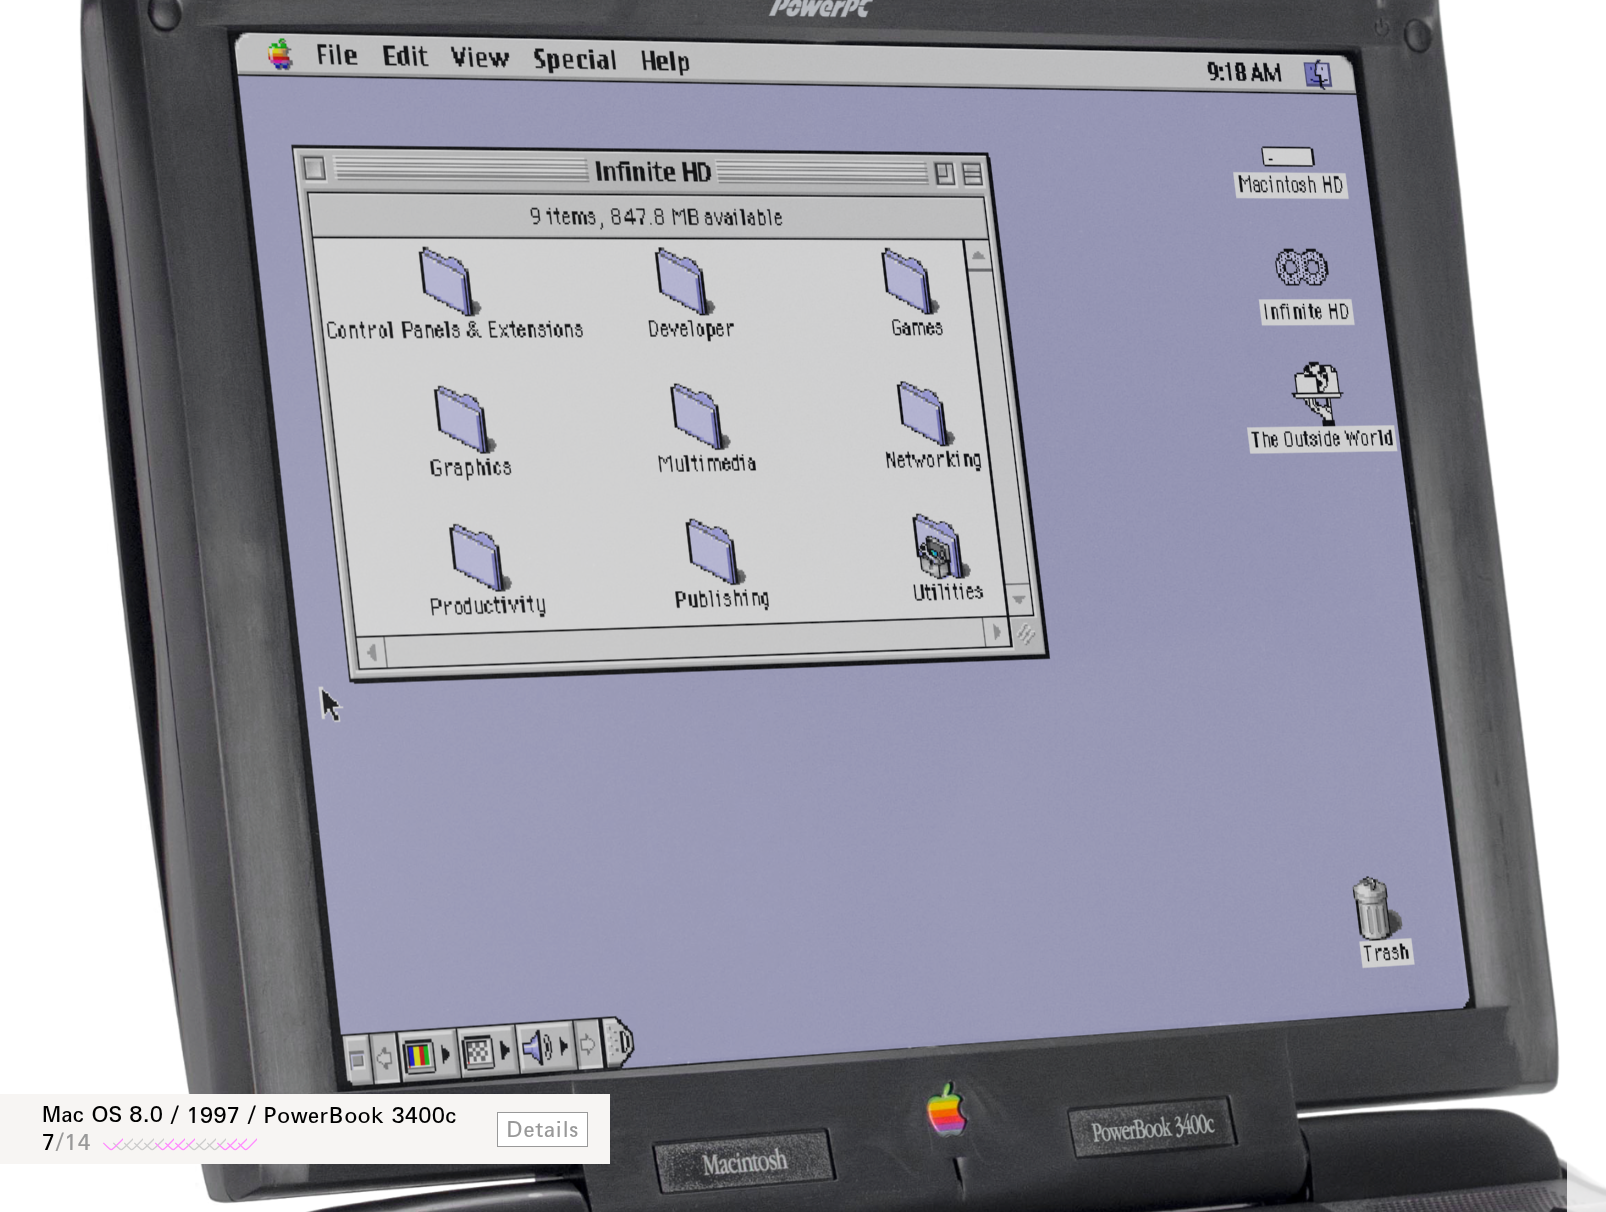
Screenshot of "Frame of Preference"

An Emulated Stroll Down Macintosh Memory Lane

If you’re into Macs, you’ll always remember your first. Maybe it was the revolutionary classic of 1984 fame, perhaps it was the adorable G3 iMac in 1998, or even a shiny OS X machine in the 21st century. Whichever it is, you’ll find it emulated in [Marcin Wichary]’s essay “Frame of preference: A history of Mac settings, 1984–2004” — an exploration of the control panel and its history.

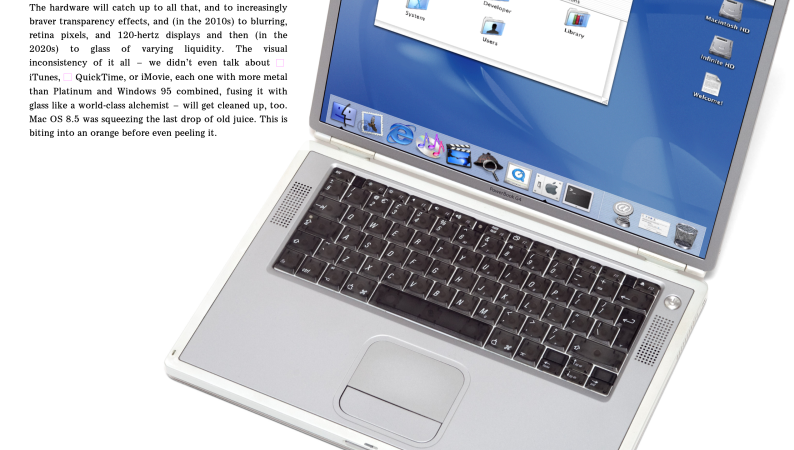
Image of PowerBook showing the MacOS 8.0 desktop.
That’s not a photograph, it’s an emulator. (At least on the page. Here, it’s a screenshot.)

[Marcin] is a UI designer as well as an engineer and tech historian, and his UI chops come out in full force, commenting and critiquing Curputino’s coercions. The writing is excellent, as you’d expect from the man who wrote the book on keyboards, and it provides a fascinating look at the world of retrocomputing through the eyes of a designer. That design-focused outlook is very apropos for Apple in particular. (And NeXT, of course, because you can’t tell the story of Apple without it.)

There are ten emulators on the page, provided by [Mihai Parparita] of Infinite Mac. It’s like a virtual museum with a particularly knowledgeable tour guide — and it’s a blast, getting to feel hands-on, the design changes being discussed. There’s a certain amount of gamification, with each system having suggested tasks and a completion score when you finish reading. There are even Easter eggs.

This is everything we wish the modern web was like: the passionate deep-dives of personal sites on the Old Web, but enhanced and enabled by modern technology. If you’re missing those vintage Mac days and don’t want to explore them in browser, you can 3D print your own full-size replica, or a doll-sized picoMac.

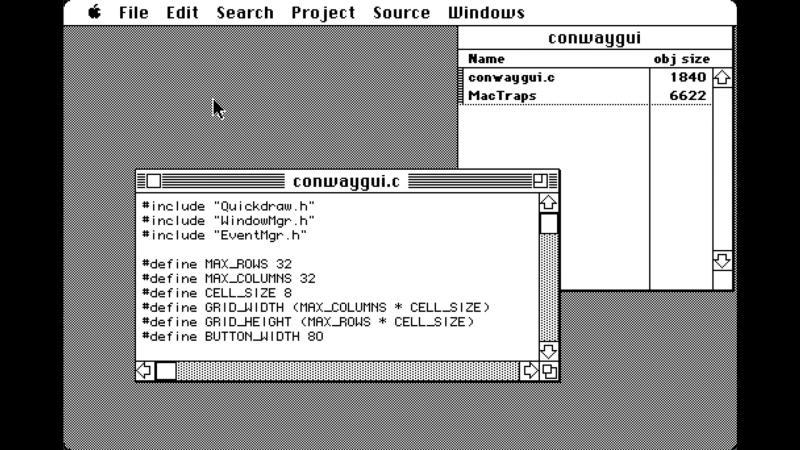
screenshot of C programming on Macintosh Plus

Programming Like It’s 1986, For Fun And Zero Profit

Some people slander retrocomputing as an old man’s game, just because most of those involved are more ancient than the hardware they’re playing with. But there are veritable children involved too — take the [ComputerSmith], who is recreating Conway’s game of life on a Macintosh Plus that could very well be as old as his parents. If there’s any nostalgia here, it’s at least a generation removed — thus proving for the haters that there’s more than a misplaced desire to relive one’s youth in exploring these ancient machines.

So what does a young person get out of programming on a 1980s Mac? Well, aside from internet clout, and possible YouTube monetization, there’s the sheer intellectual challenge of the thing. You cant go sniffing around StackExchange or LLMs for code to copy-paste when writing C for a 1986 machine, not if you’re going to be fully authentic. ANSI C only dates to 1987, after all, and figuring out the quirks and foibles of the specific C implementation is both half the fun, and not easily outsourced. Object Pascal would also have been an option (and quite likely more straightforward — at least the language was clearly-defined), but [ComputerSmith] seems to think the exercise will improve his chops with C, and he’s likely to be right. 

Apparently [ComputerSmith] brought this project to VCS Southwest, so anyone who was there doesn’t have to wait for Part 2 of the video to show up to see how this turns out, or to snag a copy of the code (which was apparently available on diskette). If you were there, let us know if you spotted the youngest Macintosh Plus programmer, and if you scored a disk from him.

If the idea of coding in this era tickles the dopamine receptors, check out this how-to for a prizewinning Amiga demo.  If you think pre-ANSI C isn’t retro enough, perhaps you’d prefer programming by card?

Continue reading “Programming Like It’s 1986, For Fun And Zero Profit” →

Software Defined Retro ROM Makes 8-bit Easy

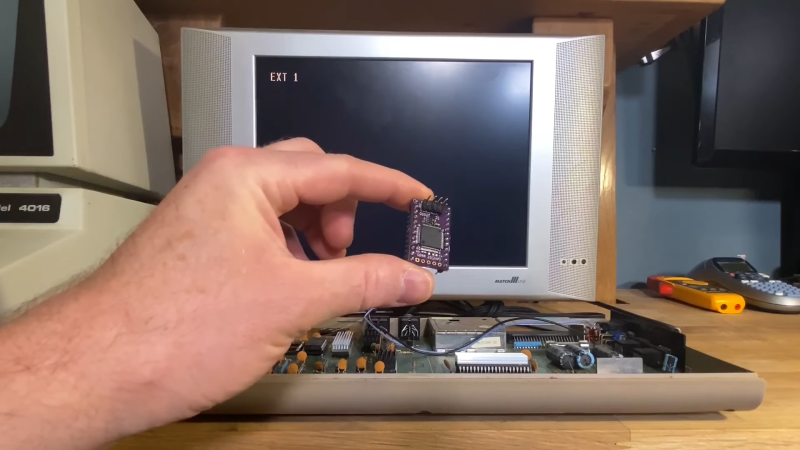
Like the rest of us, 8-bit hardware is not getting any newer, and failed ROMs are just a fact of life. Of course you can’t call up Commadore corporation for replacement parts anymore, so something is needed. [Peirs Rocks] wasn’t satisfied with the existing options, so he came up with the Software Defined Retro ROM to serve as a drop-in replacement for 2364, 2332, and 2316 ROM chips.

Physically, the Software Defined Retro ROM is a PCB that matches the footprint of the original ROM chip, and holds an STM32F4 family microcontroller with a number of extra pins facing upwards. Some of those pins are for programming, so you can flash the board in-situ without removing it from the system using a Pi Pico. The others pins are jumpers for image selection or chip configuration. Depending which STM32 you use, you can have upto 16 ROM images on the board, at whatever chip select behaviour you require. The ROM’s chip select lines could be configured at the factory to answer to HIGH or LOW, and this board can handle either with a jumper swap.

The documentation on the GitHub is very well done, for which we applaud [Piers]. Instructions and demos are also available in the video embedded below. We could certainly see this hack becoming popular in the retrocomputer community, especially as everything ages and memories continue to, uh, y’know. What were we talking about, again?

Oh, right, ROMs. You might think an mask ROM would last a very long time, but it’s been a very long time since some of these were made. Best to dump them while you still can. If the chip is really far gone electrically, you might try decoding a photograph of the die.


Continue reading “Software Defined Retro ROM Makes 8-bit Easy” →