Sine-wave speech can be thought of as a sort of auditory illusion, a sensory edge case in which one’s experience has a clear “before” and “after” moment, like going through a one-way door.
Sine-wave speech (SWS) is intentionally-degraded audio. Here are the samples, and here’s what to do:
- Choose a sample and listen to the sine-wave speech version (SWS). Most people will perceive an unintelligible mix of tones and beeps.
- Listen to the original version of the sentence.
- Now listen to the SWS version again.
Most people will hear only some tones and beeps when first listening to sine-wave speech. But after hearing the original version once, the SWS version suddenly becomes intelligible (albeit degraded-sounding).
These samples were originally part of research by [Chris Darwin] into speech perception, but the curious way in which one’s experience of a SWS sample can change is pretty interesting. The idea is that upon listening to the original sample, the brain — fantastic prediction and learning engine that it is — now knows better what to expect, and applies that without the listener being consciously aware. In fact, if one listens to enough different SWS samples, one begins to gain the ability to understand the SWS versions without having to be exposed to the originals. In his recent book The Experience Machine: How Our Minds Predict and Shape Reality, Andy Clark discusses how this process may be similar to how humans gain fluency in a new language, perceiving things like pauses and breaks and word forms that are unintelligible to a novice.
This is in some ways similar to the “Green Needle / Brainstorm” phenomenon, in which a viewer hears a voice saying either “green needle” or “brainstorm” depending on which word they are primed to hear. We’ve also previously seen other auditory strangeness in which the brain perceives ever-increasing tempo in music that isn’t actually there (the Accelerando Illusion, about halfway down the list in this post.)
Curious about the technical details behind sine-wave speech, and how it was generated? We sure hope so, because we can point you to details on SWS as well as to the (free) Praat software that [Chris] used to generate his samples, and the Praat script he wrote to actually create them.
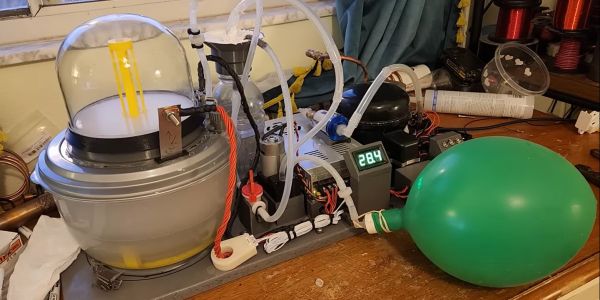
![Automated hydrogen generator setup, courtesy of [Hyperspace Pirate]'s dog drinking bowl.](https://hackaday.com/wp-content/uploads/2023/10/automated_hydrogen_generator_basics.jpg)