[Action Retro] came into an antique Sol-20 computer and argues that it was the first totally integrated computer aimed at consumers that didn’t require you to buy or build some kind of terminal. These are fairly rare, so we appreciated the peek inside that you can see in the video below.
Sure, the Sol-20 wasn’t the very first computer out there in the market. It was, however, one of the first ones that didn’t need anything more exotic than a monitor to have a functional system (and the monitor was included). There were alternatives such as a Xerox Alto or a Wang 2200, but those had price tags that didn’t land them in your home. Even Apple, which would become famous for a turnkey system, was only producing the Apple I at that time. As the video points out, it was complete as long as you could build your own power supply and knew how to interface a keyboard — keeping in mind that keyboards were all wildly different in those days.
Imagine you’re a young engineer whose boss drops by one morning with a sheaf of complicated fluid dynamics equations. “We need you to design a system to solve these equations for the latest fighter jet,” bossman intones, and although you groan as you recall the hell of your fluid dynamics courses, you realize that it should be easy enough to whip up a program to do the job. But then you remember that it’s like 1950, and that digital computers — at least ones that can fit in an airplane — haven’t been invented yet, and that you’re going to have to do this the hard way.
The scenario is obviously contrived, but this peek inside the Bendix MG-1 Central Air Data Computer reveals the engineer’s nightmare fuel that was needed to accomplish some pretty complex computations in a severely resource-constrained environment. As [Ken Shirriff] explains, this particular device was used aboard USAF fighter aircraft in the mid-50s, when the complexities of supersonic flight were beginning to outpace the instrumentation needed to safely fly in that regime. Thanks to the way air behaves near the speed of sound, a simple pitot tube system for measuring airspeed was no longer enough; analog computers like the MG-1 were designed to deal with these changes and integrate them into a host of other measurements critical to the pilot.
To be fair, [Ken] doesn’t do a teardown here, at least in the traditional sense. We completely understand that — this machine is literally stuffed full of a mind-boggling number of gears, cams, levers, differentials, shafts, and pneumatics. Taking it apart with the intention of getting it back together again would be a nightmare. But we do get some really beautiful shots of the innards, which reveal a lot about how it worked. Of particular interest are the torque-amplifying servo mechanism used in the pressure transducers, and the warped-plate cams used to finely adjust some of the functions the machine computes.
If it all sounds a bit hard to understand, you’re right — it’s a complex device. But [Ken] does his usual great job of breaking it down into digestible pieces. And luckily, partner-in-crime [CuriousMarc] has a companion video if you need some visual help. You might also want to read up on synchros, since this device uses a ton of them too.
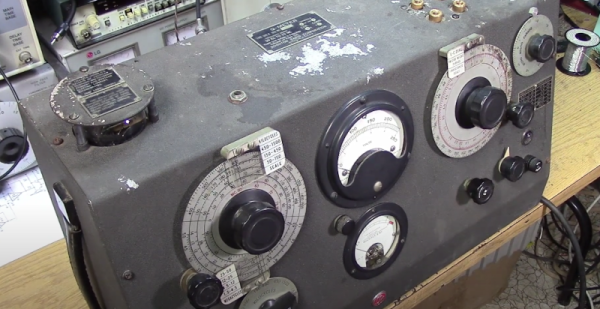
The RCA CR-88 was a radio receiver made to work in top-secret government eavesdropping stations. As you might expect, these radios are top-of-the-line, performance-wise, at least when they are working correctly. [Mr. Carlson] has one on his bench, and we get to watch the show on his recent video that you can see below.
Interestingly, [Mr. Carlson] uses some Sherlock Holmes-like deductive reasoning to guess some things about the radio’s secret history. The radio’s design is decidedly heavy-duty, with a giant power transformer and many tubes, IF transformers, and large filter capacitors.
If you’ve ever dealt with RF circuits, you probably have run into Q — a dimensionless number that indicates the ratio of reactance to resistance. If you ever wanted to measure Q, you could do worse than pick up a vintage Boonton 160A Q meter. [Mikrowave1] did just that and shows us how it works in the video below.
Most often, the Q is of interest in an inductor. A perfect inductor would have zero resistance and be all reactance. If you could find one of those, it would have an infinite Q because you divide the reactance by the resistance. Of course, those inductors don’t exist. You can also apply Q to any circuit with reactance and the video talks about how to interpret Q for tuned circuits. You can also think of the Q number as the ratio of frequency to bandwidth or the dampening in an oscillator. A versatile measurement, indeed.
It sounds as though you could just measure the resistance of a coil and use that to compute Q. But you really need to know the total loss, and that’s not all due to resistance. A meter like the 160A uses a signal generator and measures the loss through the circuit.
The best part of the video is the teardown, though. This old tube gear is oddly beautiful in a strange sort of way. A real contrast to the miniaturized circuits of today. The Q meter is one of those nearly forgotten pieces of gear, like a grid dip oscillator. If you need to wind your own coils, by the way, you could do worse than see how [JohnAudioTech] does it.
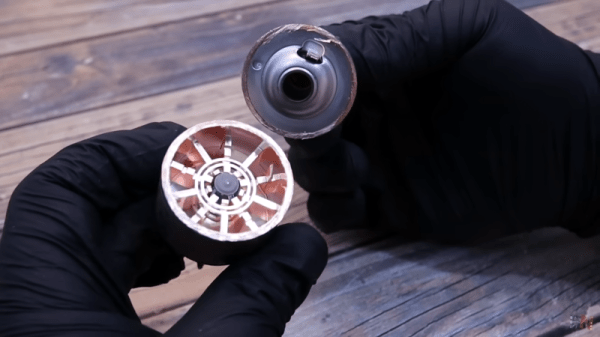
[Electronoobs] has a healthy respect for the voltages and ceramics inside a microwave oven. But he still found the courage to tear one apart and show us the insides and characterize some of the components. You can see the video of the teardown below.
The danger of the voltage is obvious. However, there is also a ceramic insulator inside. Some of them are made from aluminum oxide, but others are made with beryllium oxide. You probably don’t want to inhale either one, but beryllium oxide, if powdered, can cause serious health problems. Obviously, you need to be careful if you decide to rip your oven open. Of course, the other danger is if you put the oven back together and try to use it. You need to ensure all the shielding is back in the proper place.
The video shows the operation of several of the components using test equipment and, in some cases, some surrogate components. The animation of an LC oscillator is very easy to understand. However, when he actually cuts into the magnetron with a rotary tool, you can really see how the device works. Some animations make it even clearer.
[Ben Conrad] received an interesting tool as a gift that purported to be a better mousetrap. It was a crescent wrench (made by the Crescent company, even) that didn’t have a tiny adjusting wheel like a traditional wrench. Instead, it had a slide running down the length of the handle. The idea is that you would push the slide to snug the wrench jaws against the bolt or nut, and that would be fast and easy compared to a conventional wrench. As [Ben] notes, though, it doesn’t work very well. Most of us would have just dumped it in the back of the tool chest or regifted it. [Ben] tore his apart to find out what was wrong with it.
A typical adjustable wrench has four parts. This one has 19 parts and looks like a conventional wrench with an extra slide and screw running down the length of the handle. [Ben] found the parts were poorly made, but that wasn’t the main problem.
The original Roomba robotic vacuum cleaner led to loads of clones and lookalikes over the years, and one of them is the ALEE mopping “robot”. [Raymond] tears it down and reveals what’s inside. Turns out it contains mostly regret! Although it does host some design cleverness in its own way.
Technically the ALEE, which cost [Raymond] a cool $85 USD, is not a robot since it has no sensors. And unless a dragging a wet cloth pad kept moist by a crude drip reservoir counts as “mopping”, it’s not much of a mop, either.
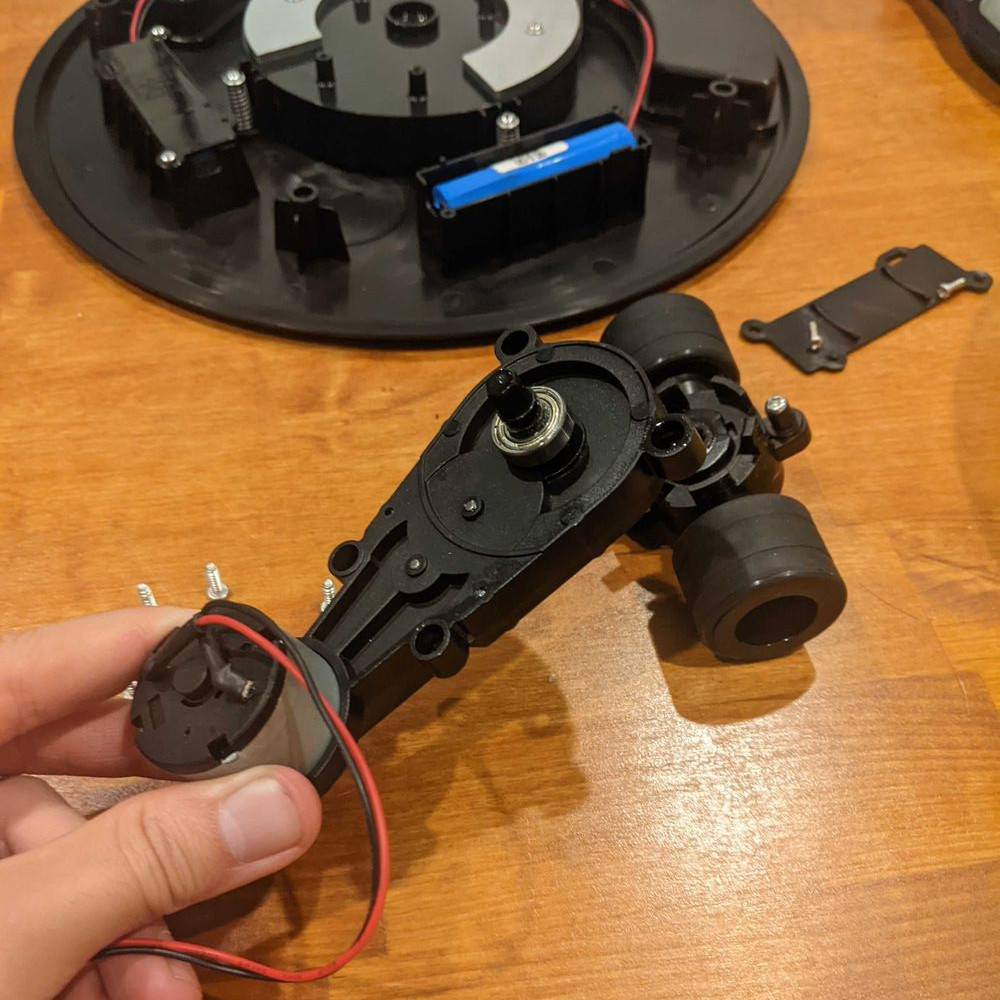
This one-motor unit (and tiny battery) is responsible for both motion and direction control. There are no sensors.
There is one interesting aspect to this thing, and it’s to do with the drive system and direction control. The whole thing is driven by a single motor, and not a very powerful one. The center of the robot has a pair of wheels that are both driven at the same rate and speed, and the wheel assembly can pivot around its axis. That’s about it. There are not even any bump sensors of any kind.
So how does this thing move, let alone change direction to (poorly) emulate an original Roomba-like crisscross pattern? The control board appears to have one job: if the motor stalls, reverse direction. That, combined with the fact that the drive unit can pivot and the enclosure is dragging a wet rag, appears to be all the chaos that’s needed to turn bonking into a wall into an undefined direction change.
It’s not great performance, but it sure is some impressive cost-cutting. You can see it bonk around unimpressively in a short video, embedded below the page break.
Just to be clear, [Raymond] knows perfectly well what he’s in for when he obtains cheap tech items from overseas retailers for teardowns. The ALEE does have some mildly interesting secrets to share, but overall, it really wasn’t worth it. Sometimes cheap tech has hacker potential, but there’s no such potential here. Seriously, don’t buy this thing.